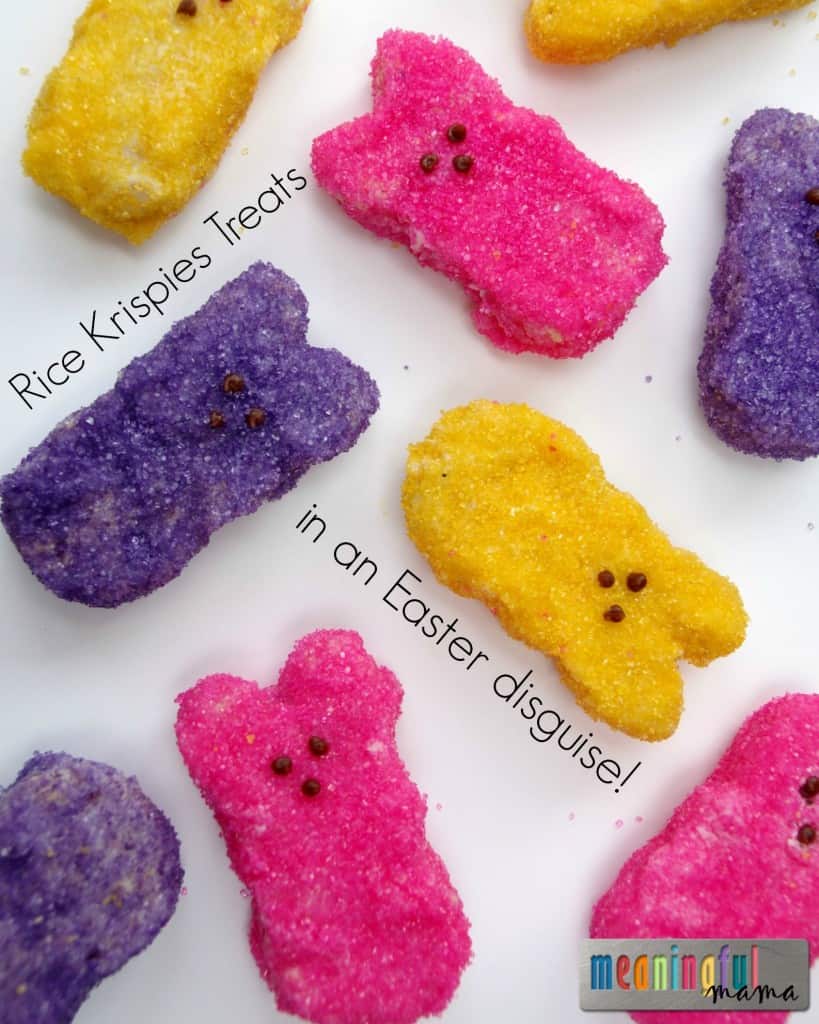
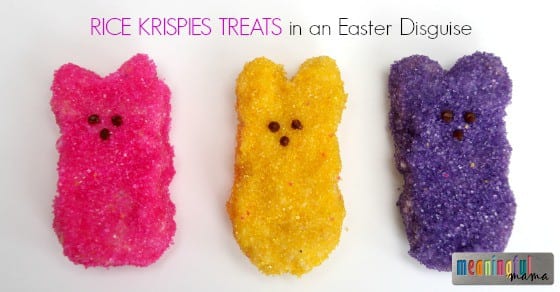
I have always loved the look and fun nature of different Easter treats. Around Easter, I want to buy candy or snacks that are cute. The problem? I don’t love the taste of all the traditional Easter goods. What I do love, however, is the marshmallow and cereal taste of the classic Rice Krispies Treats®. Therefore, I thought that creating Rice Krispies Treats® in an Easter disguise would be a fabulous dessert for this Easter season. That is right! A Rice Krispies Treats® disguised as a bunny. Lots of fun, right?
Who doesn’t enjoy the classic nature of Rice Krispies®? The bonus is that they are super easy to make and can be made with the whole family. Making them into a sugar coated bunny just requires a few extra ingredients and a couple more steps. I’ll walk you through it so you can enjoy this treat this Easter. The kids were able to help with both the making and decorating. It seems the creativity that stems from the making of unique Rice Krispies Treats® ideas never ends. I am always amazed at the variety of ways to make these classic treats special for any occasion.
Ingredients Needed to Make Rice Krispies Treats® in an Easter Disguise
* Affiliate links provided for your convenience. Anything you purchase through these links helps to support Meaningful Mama and the free resources I provide. Thank you for choosing to support us.
- Original Rice Krispies® Recipe (Only 3 Ingredients – Rice Krispies®, Kraft Jet-Puffed Marshmallows and Butter)
- White Candy Melts
- Bunny Silicone Pan
- Wilton Colored Sugars in Yellow, Pink and Purple
- Wilton Brown Icing Tube
- Cake Decorating Tip 2
- Cake Decorating Coupler
- Crisco, Butter or Shortening
How to Make Rice Krispies Treats® in an Easter Disguise
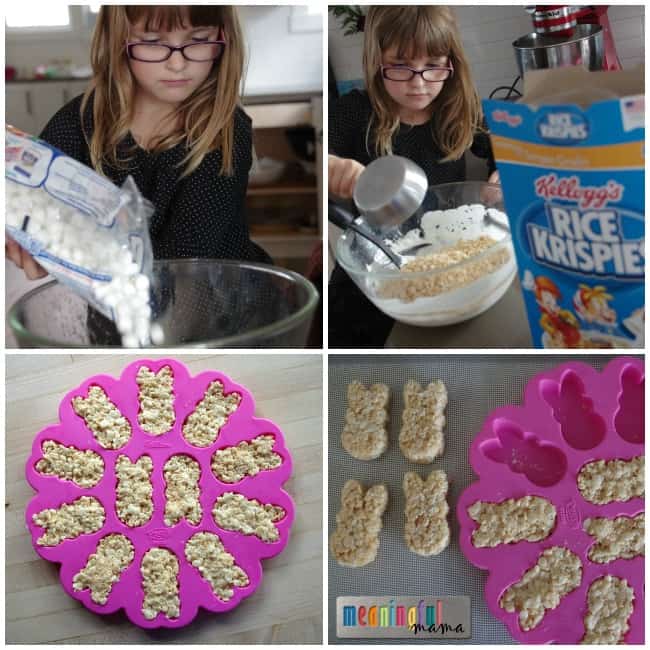
- Make Rice Krispies Treats® according to the recipe. Get your kids to help! It’s simple, and you are creating great memories being in the kitchen with them. Cooking or baking with kids is always an opportunity for bonding and learning.
- Rather than putting your mixture into a pan, you will want to push them down tightly into the silicone bunny mold. The mixture is very sticky, so the easiest way to do this is to add Crisco or butter to your fingers.
- Allow the Rice Krispies Treats® bunnies to cool completely. You will have extra Rice Krispies Treats®. I did something else spring themed with the extra, so stay tuned for that idea later this week.
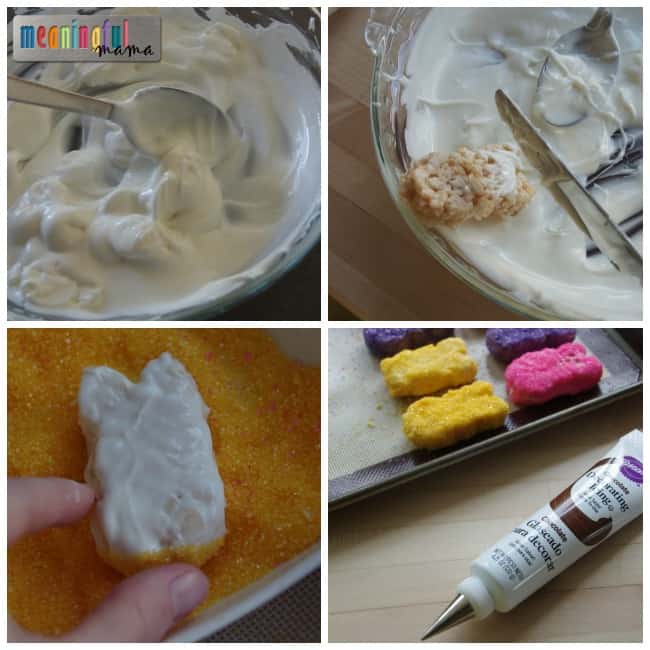
- Follow the directions on the back of the Candy Melts package to melt chocolates. I melted mine in a pie dish and in the microwave because I thought it would be easier to work in a shallow dish.
- Using a knife, spread the melted chocolate onto the shaped Rice Krispies Treats, one at a time. Cover completely.
- Pour colored sugars into shallow dishes. Immediately after spreading the chocolate, dip and roll in the colored sugars until completely covered. Kids can definitely help roll these in the sprinkles. They’ll have a blast.
- After completing all of your treats, add a dot nose and eyes with the brown icing tube, fitted with a #2 icing tip attached by a coupler.
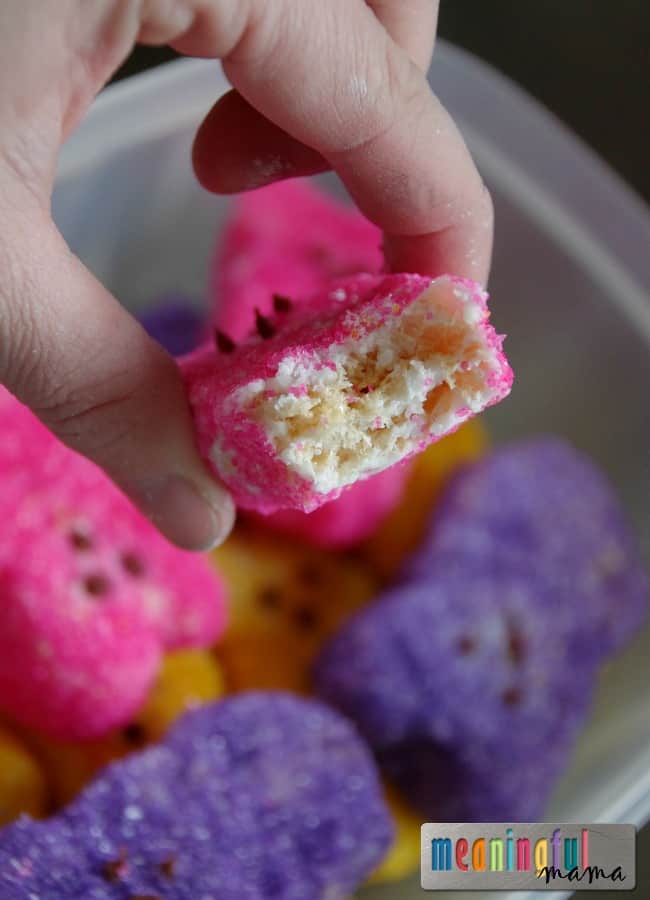
These Rice Krispies Treats® bunnies are delicious. Kids and adults will find them delightful, and they will definitely satisfy your sweet tooth. They can be easily made beforehand and then stored in an air tight container until Easter.
Please take the time to follow Rice Krispies® on Pinterest, Facebook and Twitter to be inspired by more great ideas!
Want Another Great Idea?
Jamie at Totally the Bomb created these fun Pop Rock Rice Krispies Treats Easter Eggs.
Kellogg Company sponsored this blog post. The opinions and text are all mine.




[…] Peep-shaped Rice Krispie Treats from Significant […]