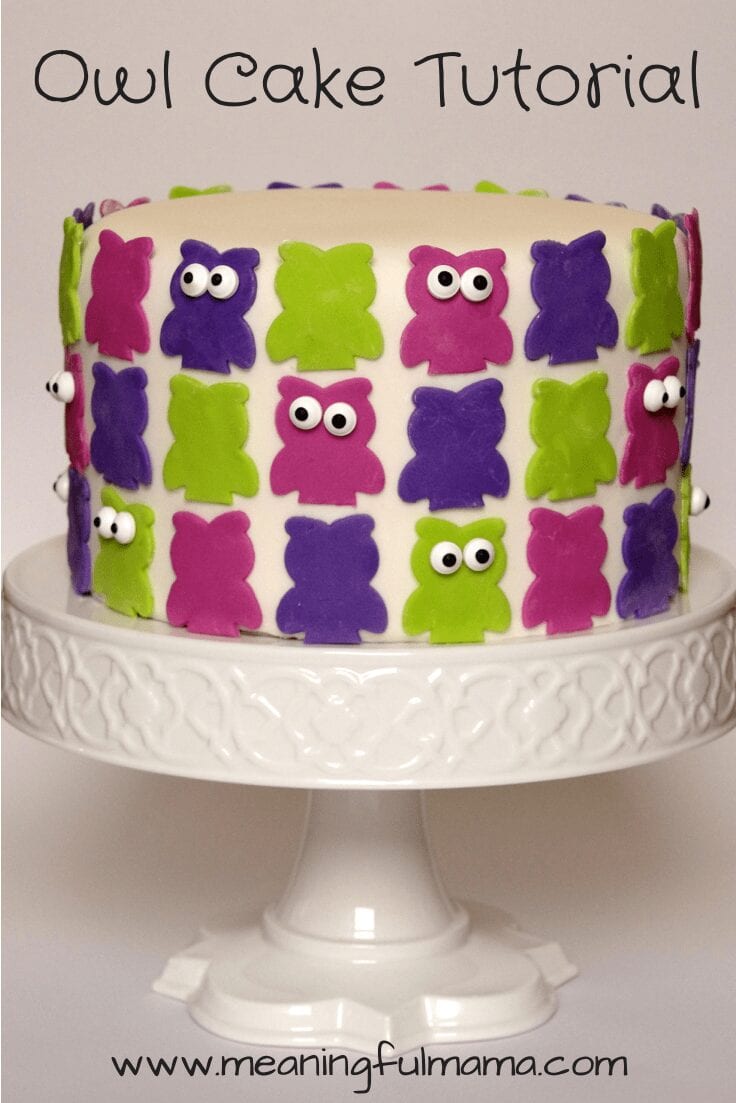
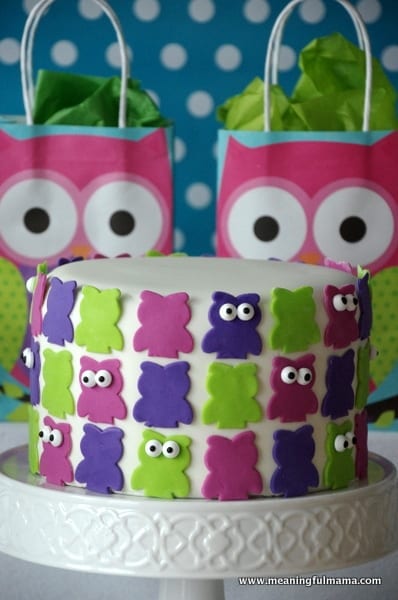
Owl Cake Tutorial
This owl cake tutorial should give you the tools to make this cake for your own owl birthday party celebration. You can visit my cakes tab to see more cakes I’ve done in the past. It’s just a hobby, but it is a fun one. I think you’ll be encouraged by this tutorial. Covering a cake with fondant can be tricky, but I hope you’ll visit my Making Cakes 101 and Making Cakes 201 tutorials to learn about the basics. I have found that any cake decorated with a repeat cookie cutter pattern is a great beginning cake for those wanting to attempt fondant. It is easy to cover fondant mistakes. It is also a wonderful option for when you have kids helping, as you will soon discover.
Materials Needed
* Affiliate Links Added for your Convenience
~ 8″ or 10″ Cakes (your choice). I love my White Velvet Cake recipe. You will need 3 layers. I did 2x the recipe.
~ 4 lbs White Fondant (there will be left overs). I like Duff Brand.
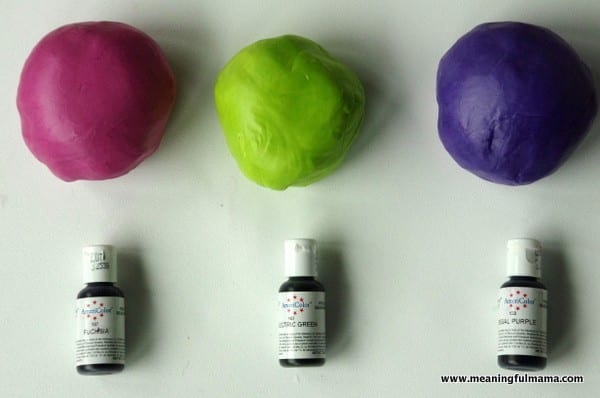
~ Americolor Gel Coloring in fuchsia, electric green and regal purple
~ Lindy’s Funky Owl Cutter (1.6″ tall)
~ Rolling Pin (I like this little Wilton one that helps get consistent width)
~ Larger Fondant Roller
~ Corn Starch for rolling out fondant
Written Instructions
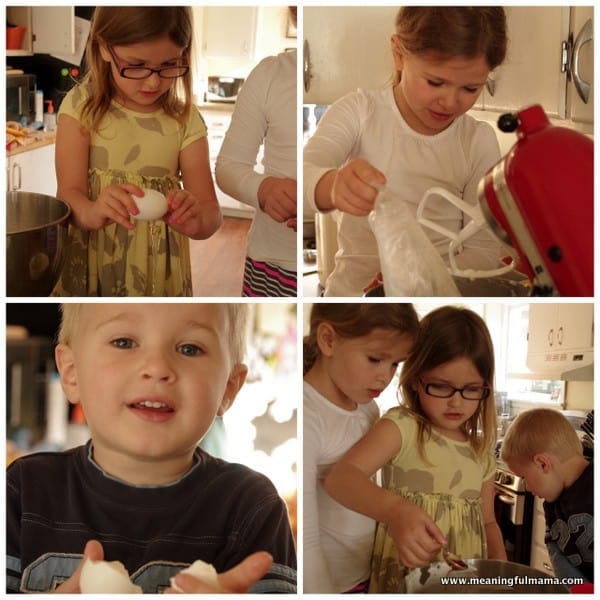
1. Bake your cake. This is a great time for the kids to help. Remember to visit some of the links in my opening paragraph and materials list to discover my tricks and recipes for making a great cake.
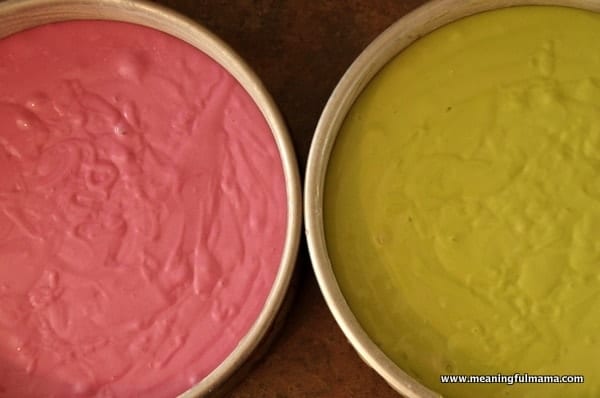
2. Divide the batter equally into 3 bowls. Mix different color food coloring (fuchsia, purple, and electric green) into each batter bowl. Bake in three separate pans according to baking instructions.
3. I freeze my cakes. On decorating day, remove cakes from the freezer. You can frost them frozen. Make frosting and do a crumb coat on the cakes. Let the crumb coat seal in the crumbs in the refrigerator and then do a final frosting layer.
4. Cover cake in white fondant. I believe I used about 2 lbs with left over fondant.
5. Color three balls of fondant with your fuchsia, purple and electric green coloring. I probably did 1/2 lb. each and had leftovers.
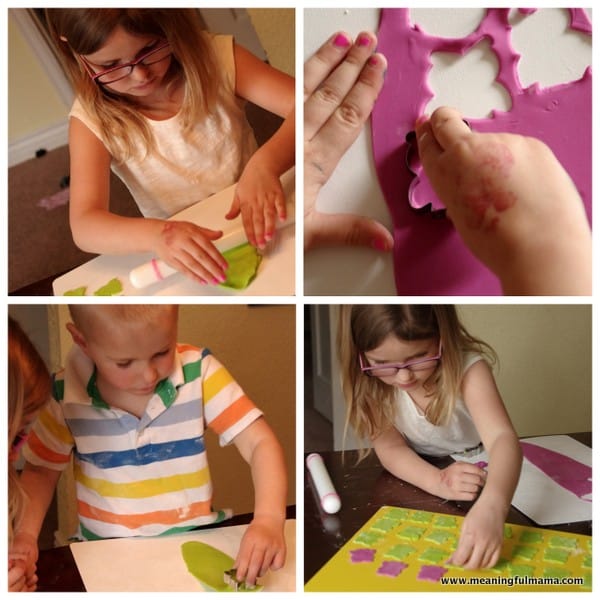
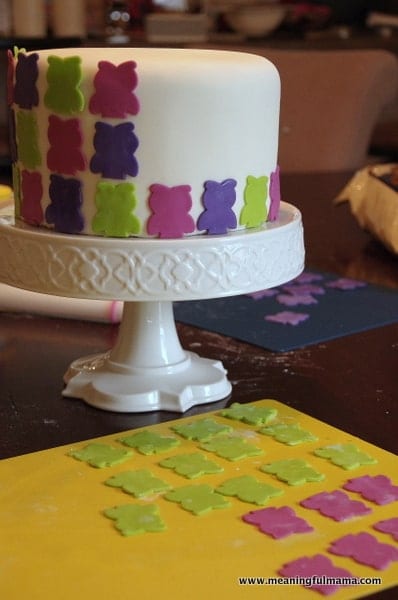
6. Roll out colored fondant to 1/16 inch thickness. Using the cookie cutter, cut out a bunch of owl shapes.
7. Put the owls in repeating pattern all the way around the cake. Work up the cake from bottom to top, making sure to keep everything in line.
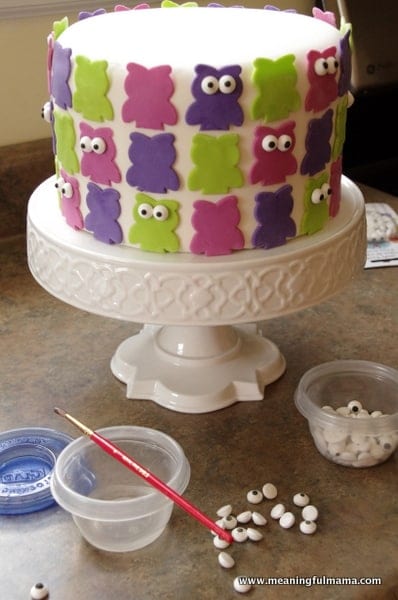
8. Attach eye balls to owls randomly to the cake. Use the buttercream frosting to adhere the eyes or use this edible glue recipe. Warning: candy eyes do bleed in the refrigerator, so I would not put this cake in the refrigerator after eyes have been attached.
9. Enjoy!
Visual Tutorial

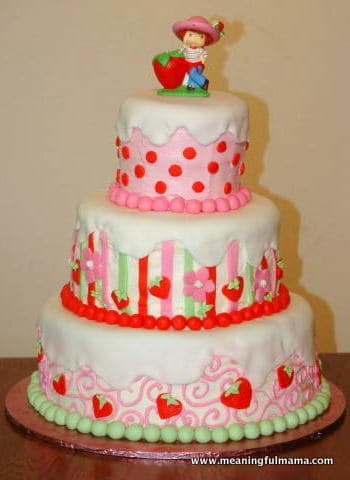
More Great Cake Designs
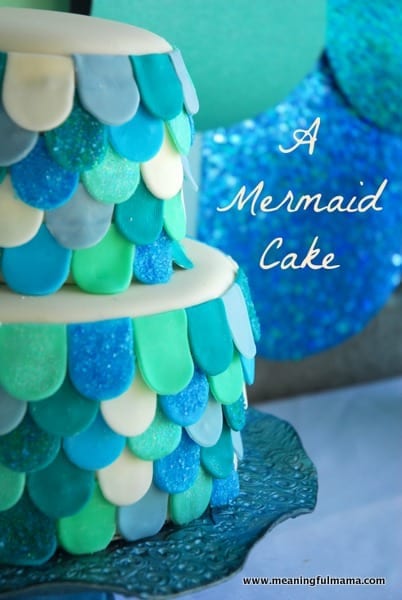 Mermaid Cake
 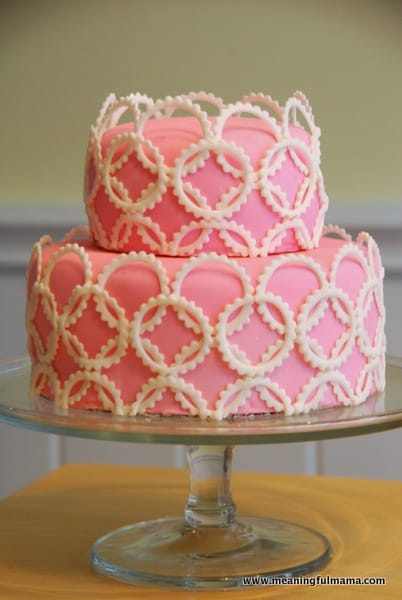 Pink Geometric Cake