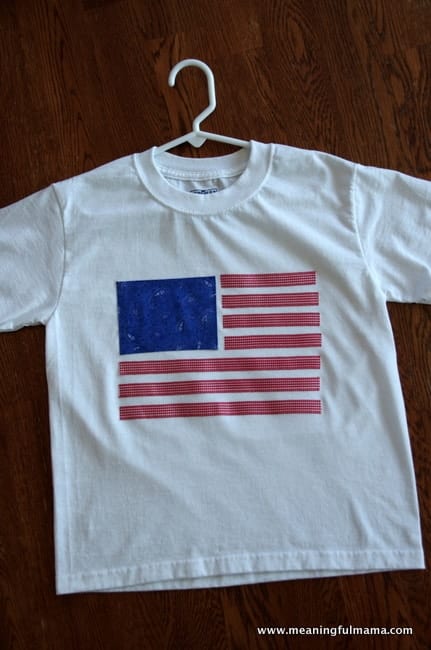
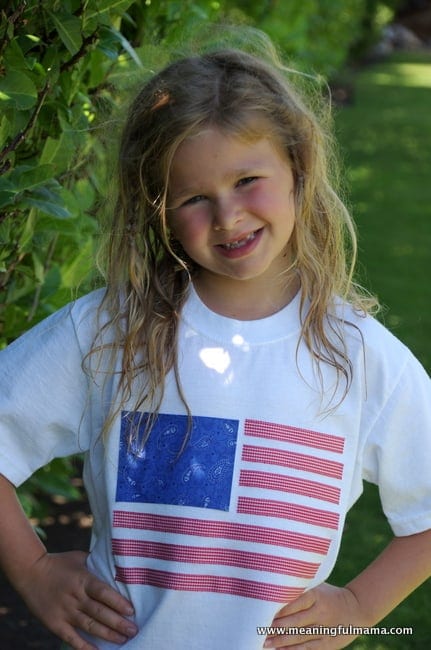
DIY No-Sew Fourth of July Shirt
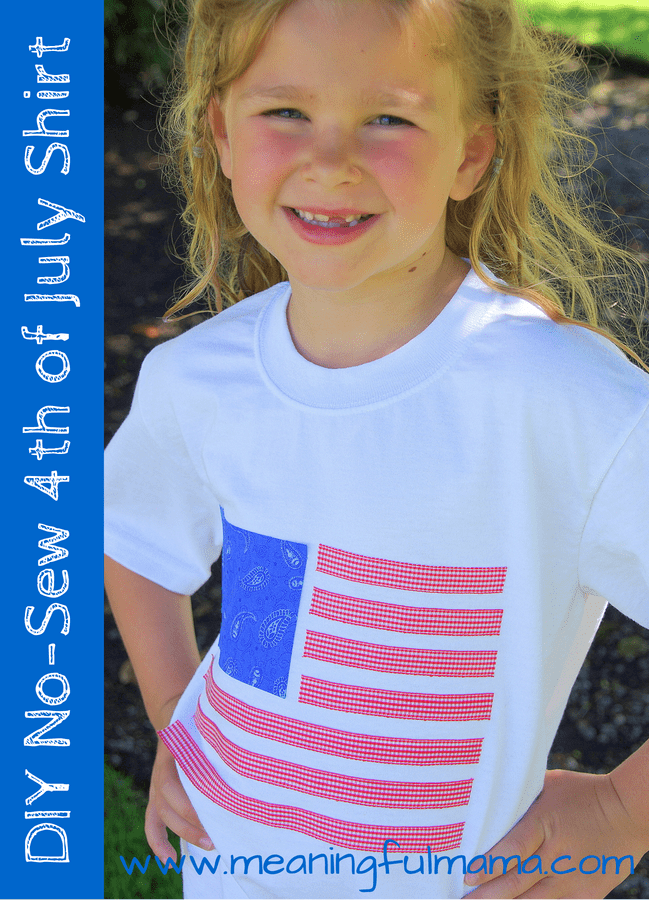
This DIY no-sew Fourth of July shirt took about 30 minutes to make. If you are a last minute person, like I apparently am on this project, and are in the search of a super cute shirt idea for the 4th of July, maybe this is your answer. There’s a funny story about this shirt. I imagined the idea and bought all of the materials last year. I ran out of time to do the project and stuck the supplies in the back of my craft closet. Guess what I uncovered last week…ta da! All the materials to make this shirt. I knew it would be an easy project, and I had a little extra time today while my kids were playing with some friends in our yard, so I put it together for this years’ Independence Day celebration.
Materials Needed
* Affiliate Links Added for your Convenience.
~ Red Patterned Ribbon (mine was 5/8″)
~ Small Piece of Blue Fabric (I used a piece of fabric quarters…I believe they’re used for quilting)
~ White T-Shirt
~ Heat’n Bond Hem Iron-On Adhesive-3/8″
~ Iron
Written Instructions
* Note: I made this on a size small shirt made for a 6-8 year old. It was a simple, white JerZees T-Shirt. Measurements of ribbon and fabric may vary depending on the size of shirt used.
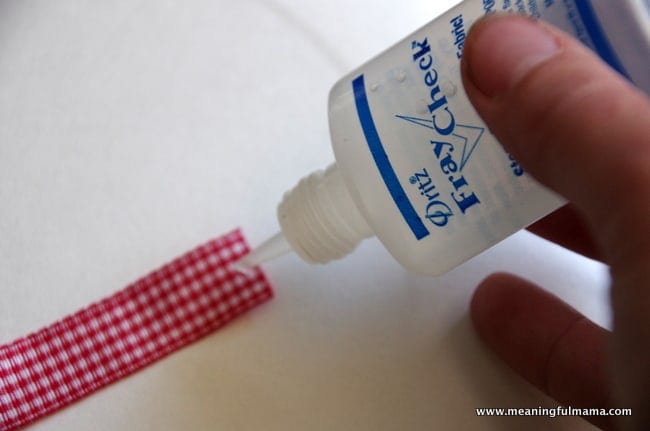
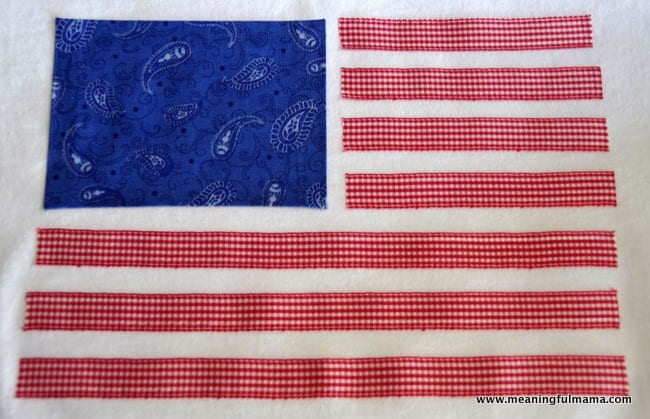
1. Cut ribbon to varying lengths for the flag stripes. I cut 4 short ones that were 4 3/8″ and 3 long ones that were 9″. Add a small line of fray check to the end to prevent the ribbon from fraying,
2. Cut a rectangle out of the blue material. The rectangle will end up being 4 1/2″ x 3 3/8″ for this exact flag, but you want to allow for a seam allowance. Therefore, I cut my rectangle 5 1/4″ by 4 1/8″.
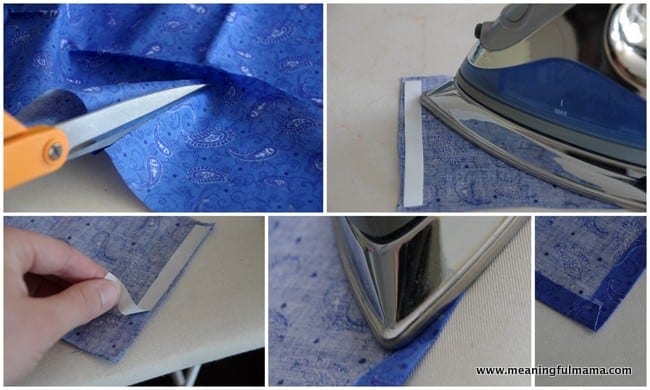
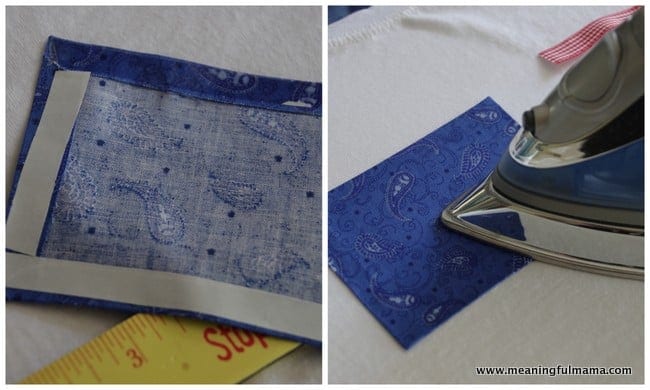
3. Read package directions for using the Heat n’ Bond iron on strips. You will lay down the strip onto one edge of your blue fabric, paper side up. Iron it for 2 seconds. Peel off the paper strip. Fold over your hem. Iron the hem into place. Repeat this process for all sides. I trimmed off the corners at an angle.
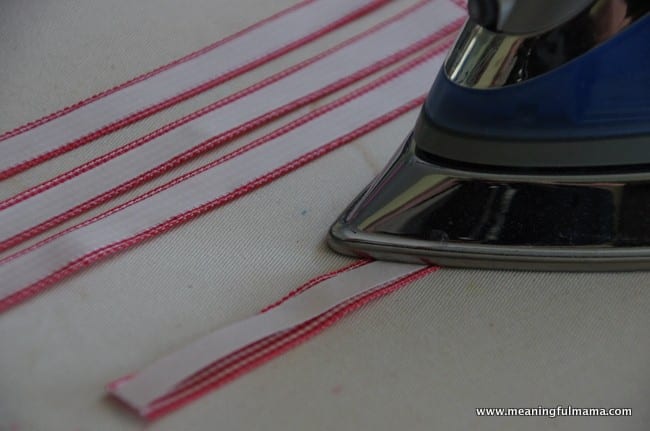
4. Use the Heat n’ Bond strips on all of the ribbons as well once the fray check is dry. Lay down the Heat n’ Bond strip along the entire length of your cut ribbon, paper side up. Iron on the paper for 2 seconds. Prepare all of your ribbons in this way.
5. The next step is to adhere your pieces to the white shirt. The top of my flag began about 3 3/4″ from the top of the collar. The flag was centered with edges of the flag starting about 4″ from both sides of the shirt. I ironed down the blue rectangle first. Iron on Heat n’ Bond strips all along the edges of the rectangle, paper side up. Remove all the paper strips. Find your placement on the shirt and iron the blue rectangle into place. I added a little extra Head n’ Bond strip adhesive in the corners.
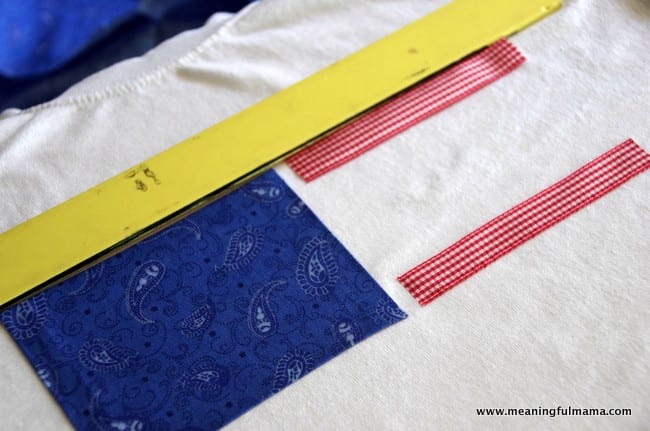
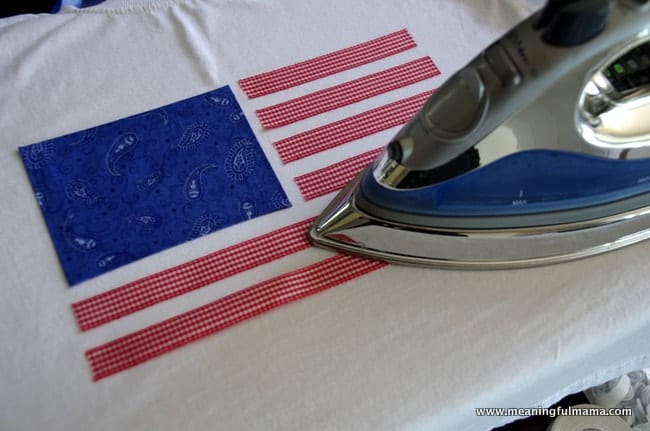
6. Use a straight edge to line up the placement of your red ribbon. I had about a 3/8″ gap between each red stripe. I eye balled it. Remove the paper backing of the Head n’ Bond strips. I ironed the top and bottom short stripes first, making sure to line those up with the top and bottom of my rectangle. I then centered the other two short stripes in between. Next, I ironed the 3 long strips below.
This was really a quick and fun project. Now my daughter has custom made shirt for her upcoming 4th of July party where we will be celebrating her 7th birthday!
Inspired? You might also enjoy the ruffled layered skirt I made for my daughter’s rainbow birthday party.

