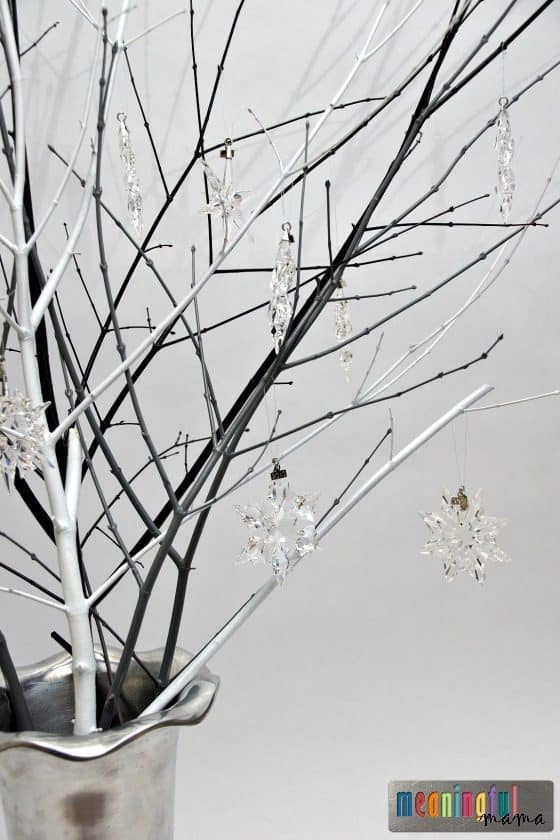
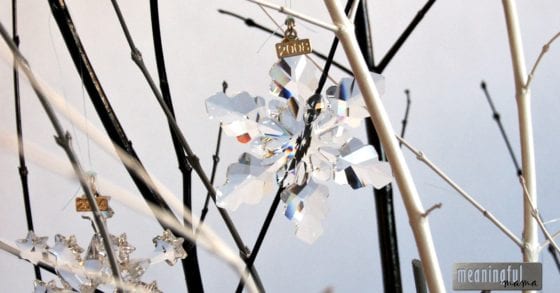
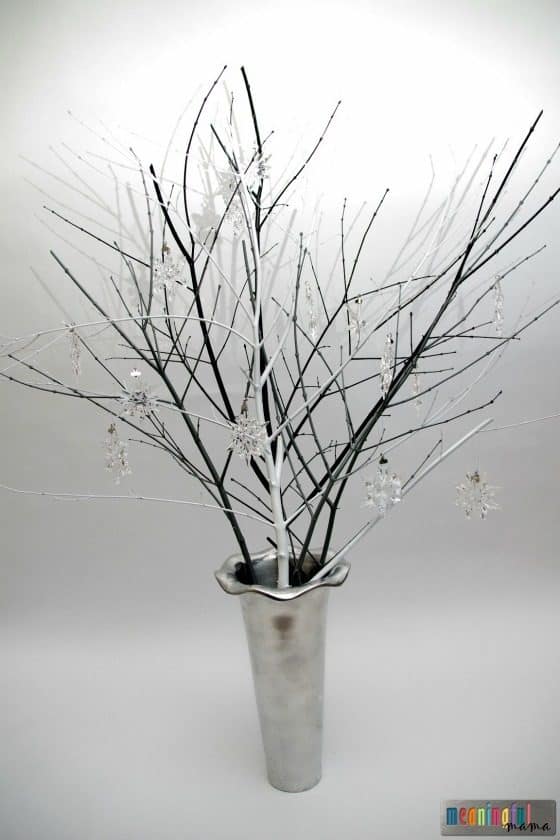
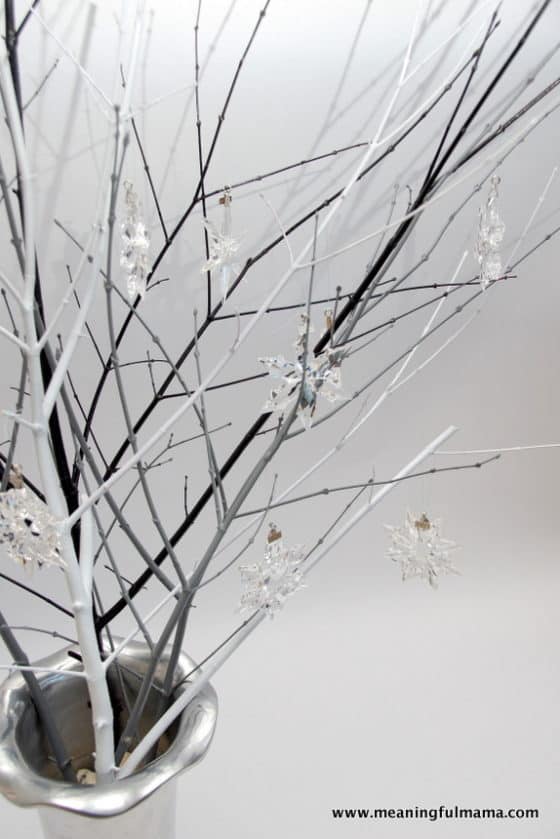
As I searched the web for options to display my Swarovski crystal snowflakes, I came up short. I decided to create my own DIY Swarovski Crystal Snowflake Display Tree, and I’m delighted with how it has turned out. I wanted a more modern look that complimented both our home and the decorations we already had for this Christmas season.
* Affiliate links provided for your convenience. Anything you purchase through these links helps to support Meaningful Mama and the free resources I provide. Thank you for choosing to support us.
We receive a new Swarovski crystal snowflake each year from my husband’s company. For those of you not familiar, Swarovski comes out with a new snowflake design each year. We have been collecting them for 15 years now. While I have hung them on the Christmas tree in the past, I wanted to find a more special way to highlight these gorgeous creations. We have also hung them from the chandelier, but we have since remodeled. This was no longer an option.
I had considered buying a pre-made ornament display tree. Here’s another great option
if you want to go this route. I was very tempted by this industrial Christmas display tree
because of the style of our home. All that said, I tend to be a bit thriftier, and I assumed there was a less expensive option that I would still would love. I was right.
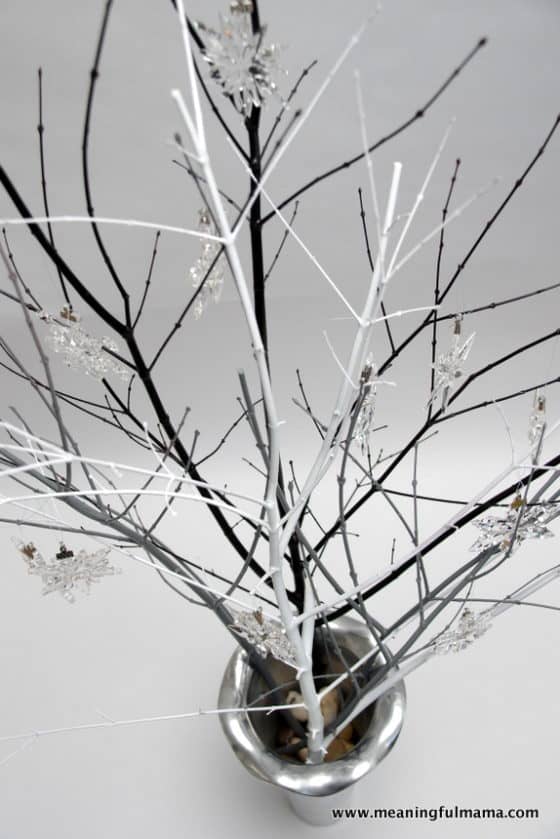
I happened to have a tall silver vase (I couldn’t find my exact one online, but I linked to something of similar height and diameter) in my cupboard, and I thought this would pair perfectly with not only my other silver Christmas decorations but also with a more natural element. The sticks from my yard were free, and I decided to spray paint them black, gray, and white to create a more modern display for my snowflakes.
DIY Swarovski Crystal Snowflake Display Tree – Materials Needed
- Black Matte Spray Paint with Primer
- Gray Matte Spray Paint with Primer
- White Matte Spray Paint with Primer
- Branches (My particular branches came from a lace leaf maple.)
- Decorative Rocks
How to Make DIY Swarovski Crystal Snowflake Display Tree
- Cut sticks or branches from your yard. Trim them to the desired height.
- Set them in the vase to decide which branches you want in the front, middle and back. I did white in the front, gray in the middle and black in the back to create a feeling of depth.
- Spray pray the sticks according to directions on container. You want to keep the spray paint can moving as you spray. Spraying in thin layers is better than trying to heavily do the first coat. Spray paint dries quickly, so this process doesn’t take forever. Make sure to cover your space to protect the surrounding. We have a large deconstructed box we have kept for spray painting projects.
- Allow to dry and then set in vase in the order desired.
- Add rocks into the bottom of your vase to create stability.
- Hang ornaments for display.
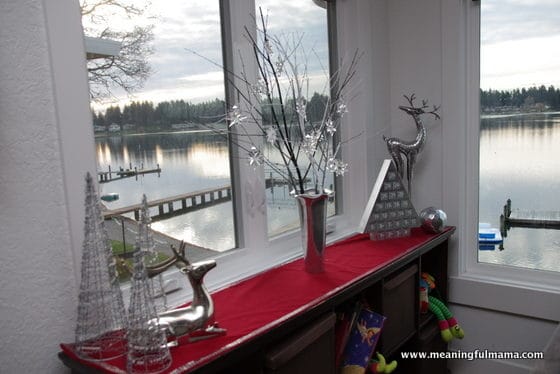
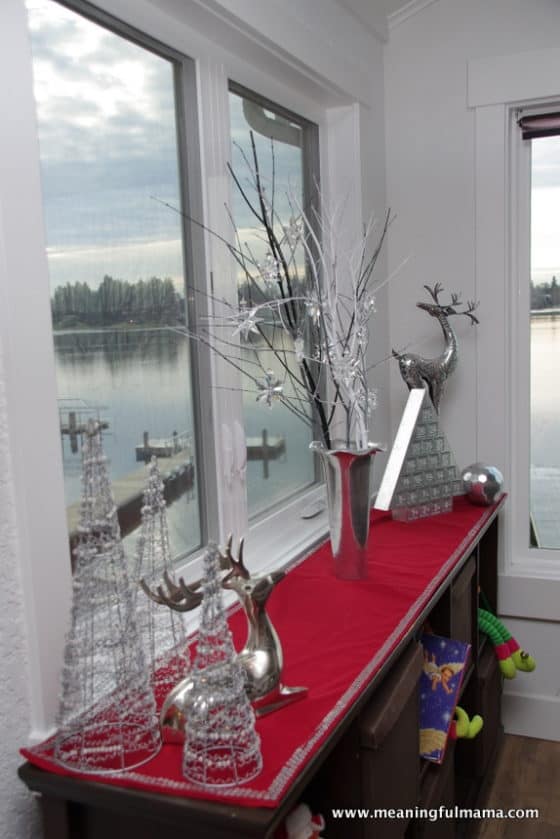
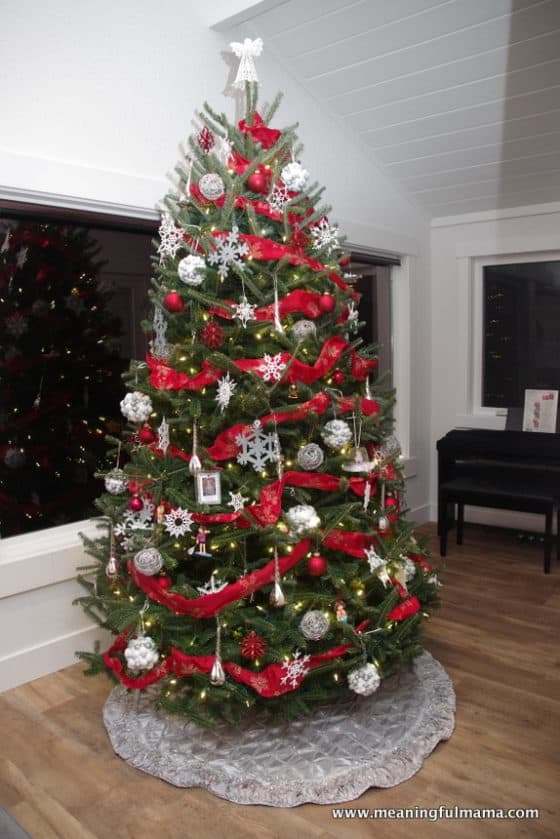
Here’s what the DIY Swarovski Crystal Snowflake Display Tree Look Like in my Home & More Christmas Decor
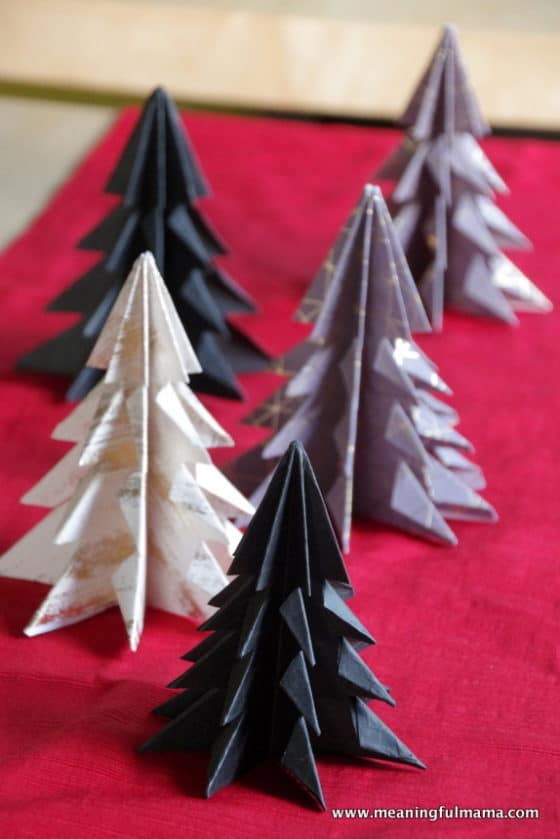
I’m in the middle of creating these origami Christmas trees from a tutorial I found at Bird’s Party.

