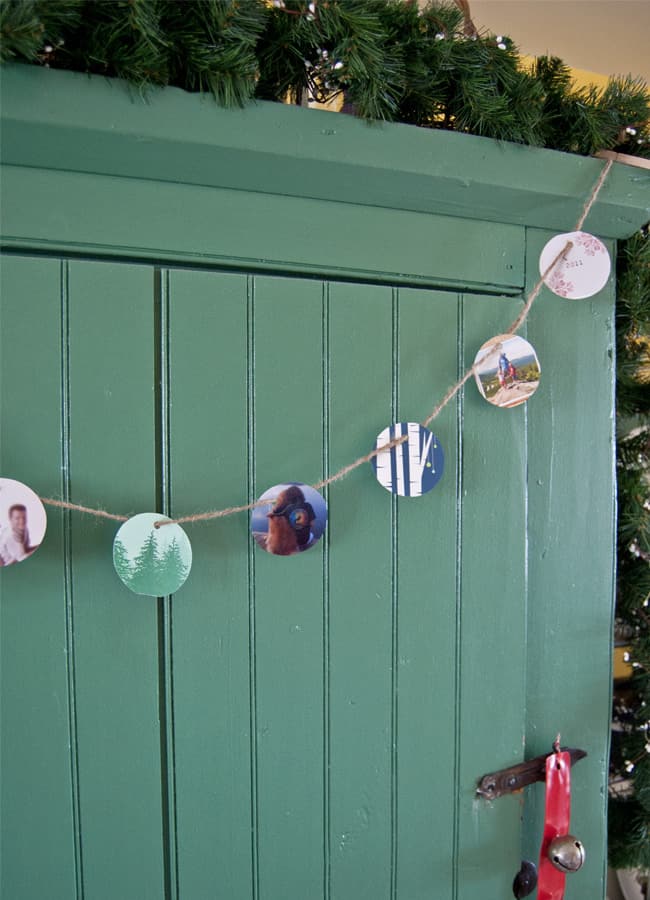
Get ready to make a fabulous contribution to this season’s decoration. This Kid-Friendly Photo Garland DIY tutorial will help you get ready to deck the halls in a new and meaningful way.
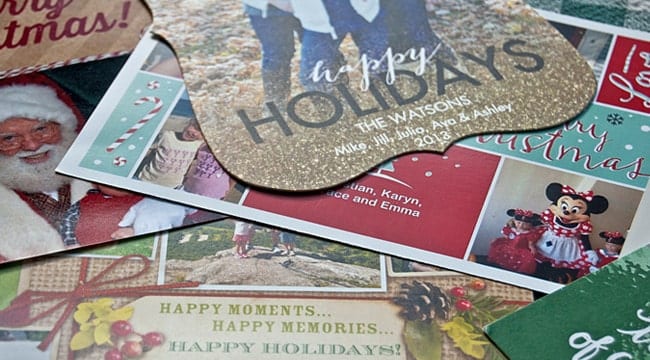
Every December, our mailbox fills with beautiful holiday cards from friends and family across the globe. Unwilling to throw away these mementos, I save them in a desk drawer after the holidays are over, thinking that someday I’ll figure out something creative to do with them. Yet each year my stack grows bigger without any projects coming to mind.
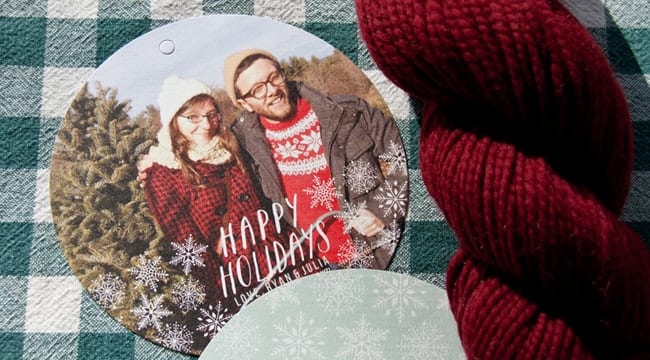
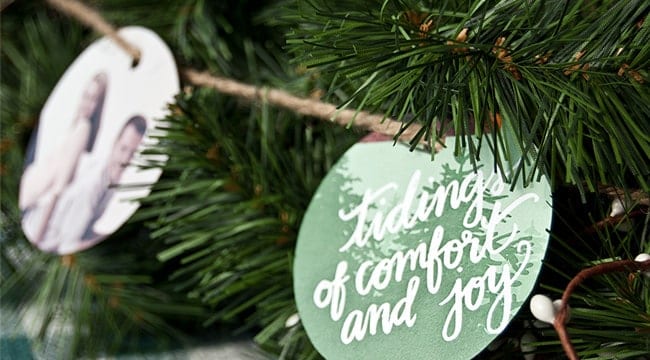
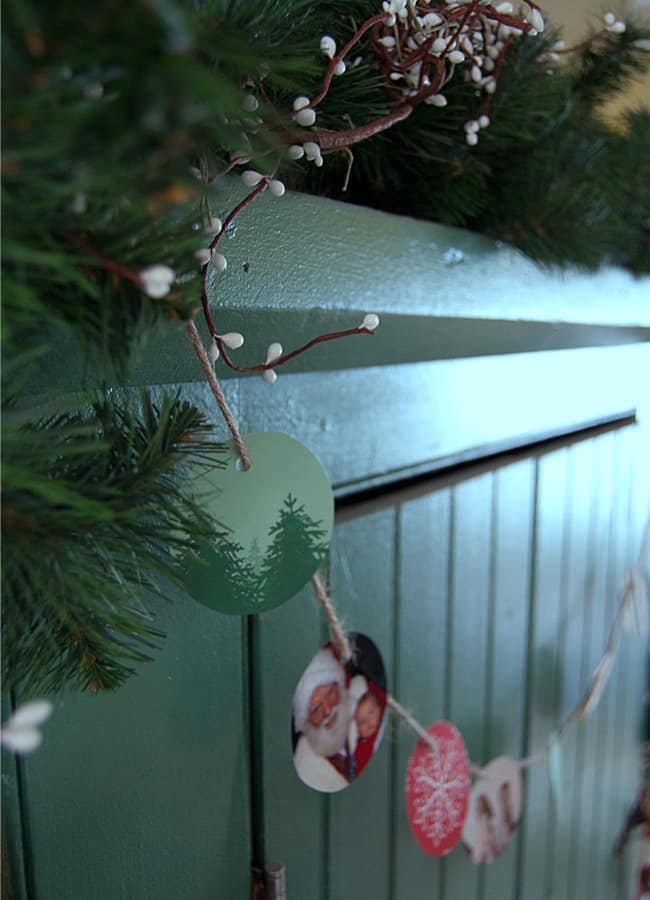
Finally, inspiration struck! I was browsing the Tiny Prints website for holiday photo cards that my husband and I could send out, when I stumbled across some cards that are circular and hole-punched so they can be hung on the recipient’s tree as an ornament. Why had I never thought of this before? It would be so easy, I realized, to turn all of the cards I’ve gotten over the past several years into one long photo garland to adorn my tree.
So I set to work gathering my supplies, put on a Christmas movie and went to town transforming lots of holiday memories into something that can be displayed year after year. One thing that I love about this project is that it’s simple enough for kids to do, too — no need to wait until bedtime before you pull out your supplies!
Here’s what you’ll need:
- Lots of holiday cards
- Scissors
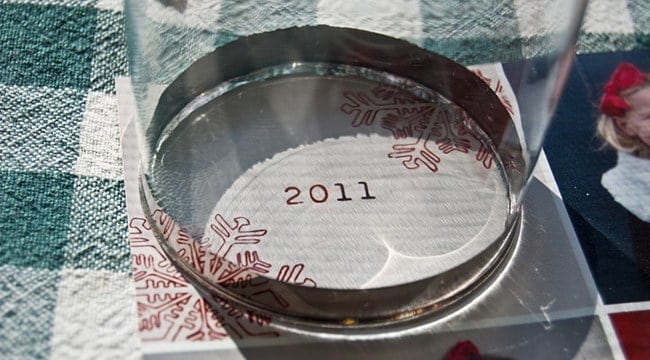
- A drinking glass to trace (A clear glass works best so you can easily center the image)
- A pencil
- Some yarn, twine or fancy ribbon
- A hole-punch
- Hot glue to keep the photos in place (optional — you could also tie knots)
- Some little hands for helping
- Lots of holiday cheer
Depending on their age and dexterity, your kids may be able to work on this garland by themselves, or they may need your help with tracing, cutting and using hot glue. You know your kids best, so you be the judge! I can imagine this project being a great snow day activity, can’t you?
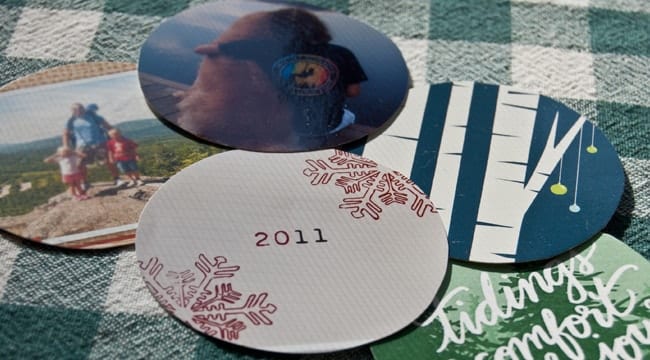
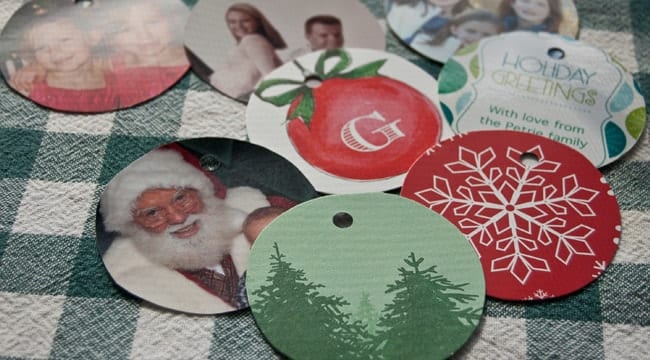
Step 1: Lay out all of your cards and trace circles around faces, years or patterns that you like. If you have a circular paper cutter, feel free to skip this step and use that instead. I prefer tracing, because it helps kids develop their dexterity and crafting skills.
Step 2: Cut out your circles. Take a moment to go over scissor safety with your little ones, if necessary, and keep in mind that if you aren’t using a paper cutter, the circles may not be perfect. I’m a huge fan of handmade projects, so I never mind a little variation here and there.
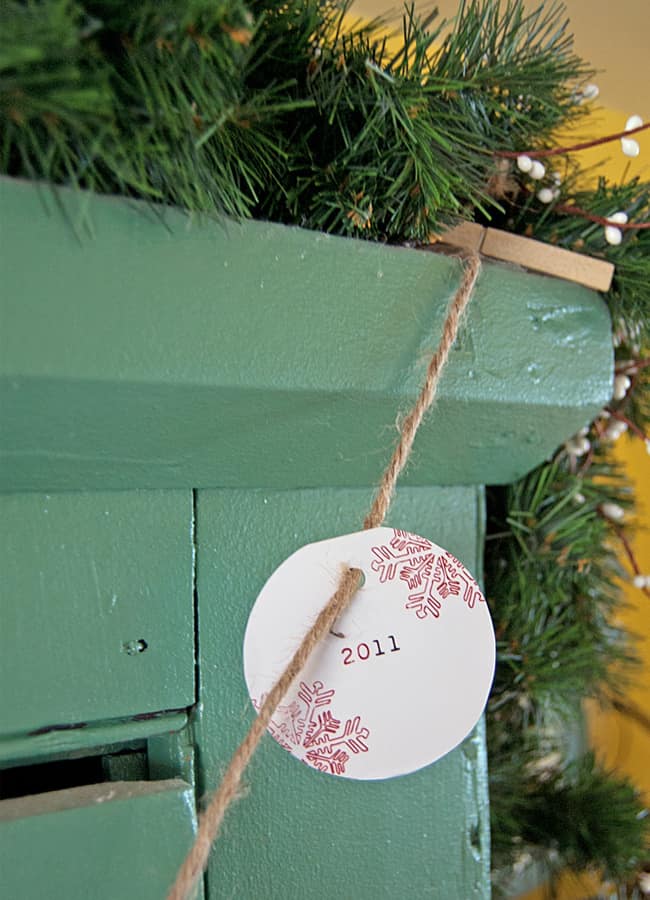
Step 3: Hole-punch the top center of each circle to prepare them for being hung!
Step 4: String your circles onto yarn or ribbon in the order you like. I started with the oldest images first, including a circle that said the year, then proceeded with the next year and the next so I could see families grow right before my eyes! You will probably want to evenly space your photos out and secure them in place with a little dot of hot glue on the back of the circle. Another option, if your kids aren’t quite ready for hot glue yet, is to tie a knot in the string on both sides of the punched hole to keep the photo from shifting around.
Once you’ve added all of your circles, you’re done! Feel free to add new circles every year as holiday cards flood in. If you don’t get a lot of photo cards, you can also make circles from nice wrapping paper affixed to card stock (for sturdiness).
Have fun with this project and enjoy the family time! Years fly by before we realize it (as your photo garland will prove), so making time for little moments together like these spent crafting will really bring your family closer together. Happy holidays!
Today I was able to welcome a guest blogger to Meaningful Mama. Here is more about the author:
Julia Marchand is a Home Décor and DIY blogger at TinyPrints who is excited to be an expecting first time mommy. Julia is a self-proclaimed vintage-loving gal, who spends her time sewing, crafting and reading in her New England home state, New Hampshire. Find out what Julia’s making next on her personal blog or follow her on Twitter.



What a great idea! My kids will love this.
Thanks so much. I’m excited to do it this year too!
Hi, Jodi!
Thank you so much for letting me be a part of your beautiful blog! It has been an honor.
Wishing you all the best this holiday season,
Julia
Thank you so much for writing this great article, Julia. What a fun idea that I think we will do this year. I love it!