This Bible Valentine’s Day craft is perfect for kids because it focuses on the Biblical scripture about loving one another. On Valentine’s Day, we can do more than just focus on romantic love. We can teach our kids about agape love – the unconditional and highest form of love that we get from God and are supposed to share with others.
If you want another Valentine’s Day activity that focuses on Biblical love, you should check out these DIY Valentine’s Day Bible Verse Scratch tickets.
Bible Valentine’s Day Craft
Sunday school teachers, parents, and Christian teachers can all benefit from this heart Valentine’s Day craft.
I recognize that some people will be drawn to this craft who are not Christians. I would love you to consider the love of Christ, but if you want to do this craft with your kids or do it in a school setting, simply use the heart printable as a template and cut the hearts without the scripture on it.
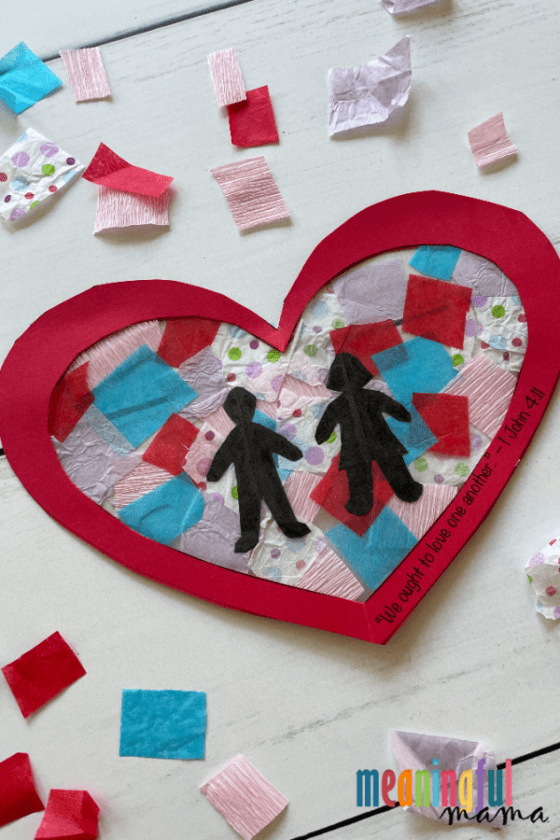
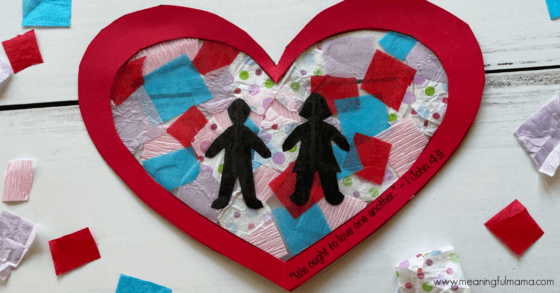
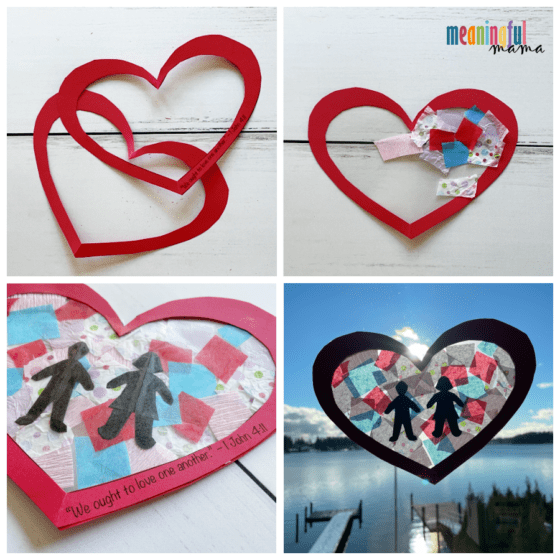
1 John 4:11 says, “We ought to love one another.” This is a simple verse for kids of all ages to memorize. These Biblical truths are important to nest in our children’s hearts.
Here are a few more verses on the same topic:
“Love one another with brotherly affection. Outdo one another in showing honor.” – Romans 12:10
When Jesus was asked what the greatest two commandments were, he responded, “‘Love the Lord your God with all your heart and with all your soul and with all your mind.’ This is the first and greatest commandment. And the second is like it: ‘Love your neighbor as yourself.’” – Matthew 22:37-39
“A new command I give you: Love one another. As I have loved you, so you must love one another.” – John 13:34
The Bible is full of verses that teach us about God’s love for us us and our call to love one another. Valentine’s Day is a great time to teach our kids about the concept of love. In fact, you could participate in my character building series by doing a weeks worth of lessons on love – found here.
If you are unfamiliar with my character building series, learn more about it here.
Let’s move on to today’s Valentine’s Day craft that teaches kids about loving one another.
Note: This craft was originally designed for an AWANA Cubbies Bear Hug #15 when I designed AWANA crafts for my church. However, I believe the program is no longer the same format, so the Bear Hug won’t line up. I am updating my older content with newer pictures and clearer instructions, so this craft idea was originally published in 2012, but is now being updated in 2022.
Materials Needed for Bible Valentine’s Day Craft
For your convenience, I have added Amazon affiliate links. Everything you purchase goes to support the free resources I provide at Meaningful Mama. Thank you for your support.
- Tissue Paper – I chose Valentine’s Day color tissue paper in pink, purple, red, turquoise and polka dot, but any color will do. You can even buy tissue paper already cut in small squares.
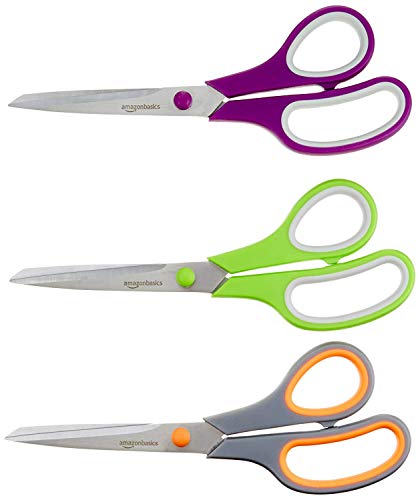
- Scissors
- Heart Outline Printable (Free Download)
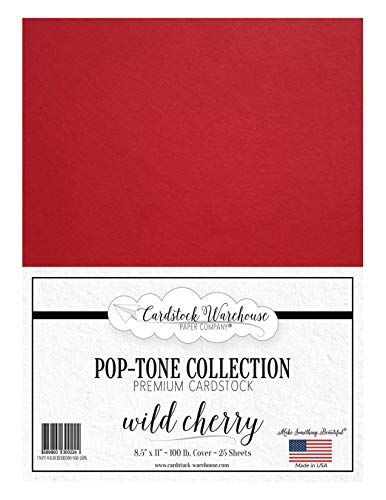
- 2 Sheets Red Stock Paper Heart
- Sillohette of Boy and Girl Printable (Free Download)
- Black Stock Paper of Construction Paper for Boy and Girl Sillohette
- Transparent Contact Paper
- Pencil
- Glue Stick
Here are the Items You Need from Amazon
Supla 160 Sheets 8 Valentine’s Day Multicolor Tissue Paper Bulk Wrapping Tissue Paper 20 x 27Outuxed 4800pcs 1inch Tissue Paper Squares, 30 Assorted Colors for Arts Craft DIY Scrapbooking Scrunch Art
Amazon Basics Multipurpose, Comfort Grip, Titanium Fused, Stainless Steel Office Scissors – Pack of 3
Wild Cherry Red Cardstock Paper – 8.5 X 11 Inch 100 Lb. Heavyweight Cover -25 Sheets From Cardstock Warehouse
Premium Black 8×10 Cardstock – Thick Heavyweight 80lb Cover – 20 Sheets
Con-Tact Brand Clear Adhesive Protective Liner to Cover Books and Documents, 13.5-Inches x 5-Feet (05F-C7R100-12)
Elmer’s CraftBond Extra Strength Glue Sticks, 0.21 Ounces, 4 Count
TICONDEROGA Pencils, Wood-Cased, Pre-Sharpened, #2 HB Soft, Yellow, 18 Count (X13818)


How to Make This Heart Valentine’s Day Craft for Kids
This heart Valentine’s Day craft is great for kids of all ages, but how much they do depends on age and ability level. Older kids will be able to do the entire craft on their own with your instruction or by watching the video tutorial. Younger kids will need to have adults cut out the hearts and the people that go inside it. Some children may be able to cut the hearts but not the people. Adjust the preparation based on the skill level of the children in your care.
I have received a few heart touching letters about how care givers do my crafts with their elderly or disabled people in their care. I love learning about that use.
Here are the written instructions for this stained glass heart craft, but I will include a video tutorial below to help all my visual learners understand the process.
- Cut tissue paper into small squares.
- Print out the heart outline on red card stock. Kids could also choose any color of heart they’d like.
- Stack this printed heart outline paper on top of another piece of same colored stock paper.
- Cut out the outside of the heart. Then, fold the heart in half to cut out the inside. Do not discard the inner heart.
- Print out the boy and girl sillohette on white paper. This printable was made so that if you are in a classroom or Sunday School class with a lot of kids and are doing the prep work, you can fold the paper like a paper doll and cut out many at one time.
- Stack the white paper on top of the black paper, and fold the paper on the dotted line. Fold like an accordian if cutting more.
- Cut out the boy and girl sillhoutte.
- Take the inner heart and trace around it onto the contact paper, leaving about a 1/4″- 1/2″ reveal. Cut out the contact paper heart. Make two of these.
- Peal away the paper portion of the contact paper, leaving the sticky part face up on a flat surface. Place the heart outline with no writing on top of the contact paper, lining it so the sticky edge is on the heart outline.
- Take the tissue paper pieces and fill in the heart completely.
- Glue the sillohette boy and girl to the center of the heart.
- Peel off the back of the other contact paper heart and stick to the top of the exposed tissue paper.
- Put glue on the back of the heart with the Bible verse and press down exactly over the heart to sandwich the contact paper.
- Trim off any excess.
- These can be hung in the window to create the stained glass effect.

Video Tutorial for Stained Glass Heart Craft
History of Valentine’s Day
For those who want to teach more about Valentine’s Day to the kids in your care, I want to share some answers to the questions you might have.
When did Valentine’s Day start?
The first Valentine’s Day began in 496 AD.
How did Valentine’s Day get its name?
Tradition holds that Valentine’s Day got it’s name from St. Valentine.
According to Wikipedia, “There are a number of martyrdom stories associated with various Valentines connected to February 14, including an account of the imprisonment of Saint Valentine of Rome for ministering to Christians persecuted under the Roman Empire in the third century. According to an early tradition, Saint Valentine restored sight to the blind daughter of his jailer. Numerous later additions…have better related it to the theme of love: an 18th-century embellishment to the legend claims he wrote the jailer’s daughter a letter signed ‘Your Valentine’ as a farewell before his execution another addition posits that Saint Valentine performed weddings for Christian soldiers who were forbidden to marry.
Further, “The Feast of Saint Valentine was established by Pope Gelasius I in AD 496 to be celebrated on February 14 in honor of Saint Valentine of Rome, who died on that date in AD 269. The day became associated with romantic love in the 14th and 15th centuries when notions of courtly love flourished, apparently by association with the “lovebirds” of early spring.”
The History Channel does seem to indicate there were a couple main options for this figure, but it is hard to nail down a neat and tidy, definitive story.
Where did Valentine’s Day Originate from?
According to the History Channel there may have may have been a pagan festivals and beliefs that the Christians wanted to squelch out and move to a more Christian center. Lupercalia was a pagan fertility festival celebrated in February. Cupid has its roots in Greek mythology.
Reading more in depth about these pagan rituals and festivals can be unsettling to a Christian, which is why some may choose not to participate in a holiday like Valentine’s Day.
That said, I choose to put trust in Romans 14, which gives us some freedom to choose what to eat and drink or what holidays to observe. It seems to be there was squabble over certain foods and festivals, and Paul addresses it. You can read some commentary on that here. I tend to lean into personal convictions for holiday celebrations. I let the Christian traditions have victory over the pagan.
Want More Valentine’s Day Activities for Kids?
All of my Valentine’s Day ideas can be found under my Valentine’s Day tab. All of my tabs provide photos of the activities to make it easier to visually navigate. That said, I will highlight a few here.
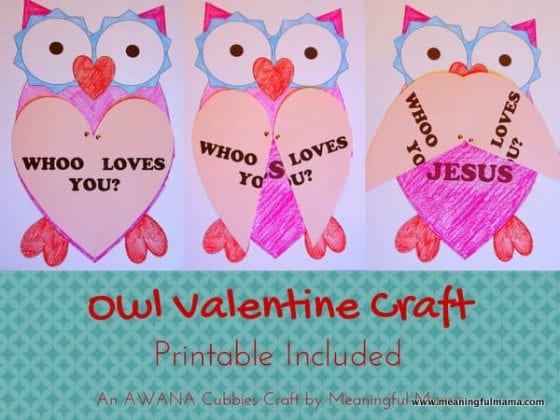
Owl Valentine Craft – This is an older post that I need to update, but it still provides a cute Christ-centered Valentine’s Day craft to do with kids.

Hidden Message Valentine Day Hearts