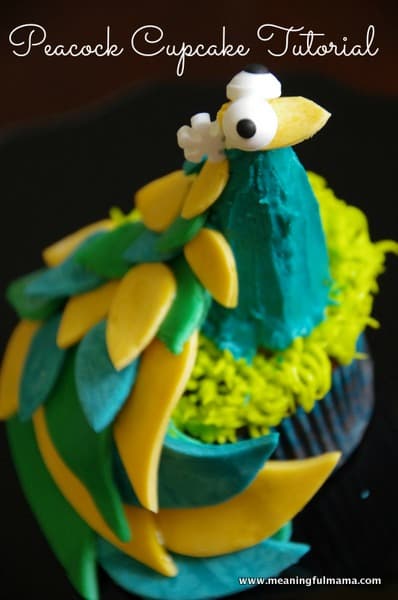
 I am very excited to bring you this peacock cupcake tutorial. I have been painting a collection of murals in the children’s area of my church. I recently painted a peacock and have been been kind of hooked on the idea of peacocks ever since. They are such a gorgeous creation. The absolutely beautiful feather plume can’t help but inspire. As I was working with cupcakes the other day, the thought of doing a peacock came into my mind, and I couldn’t leave it alone. I simply had to try and design a cupcake that embodied this beautiful creature. I used my favorite chocolate cake recipe for this cupcake.
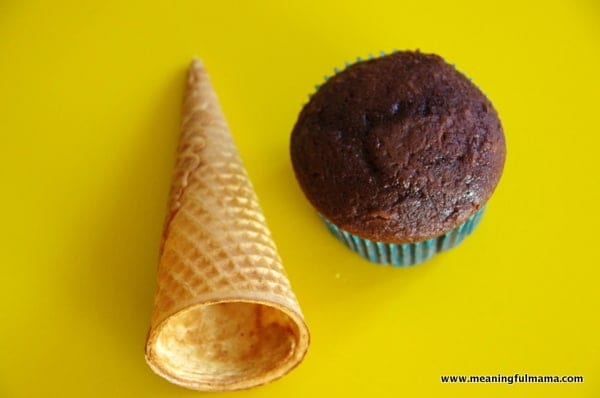 The first thing to consider is the structure of the peacock. I decided that an ice cream cone would be the perfect edible shape to create the body of this bird.
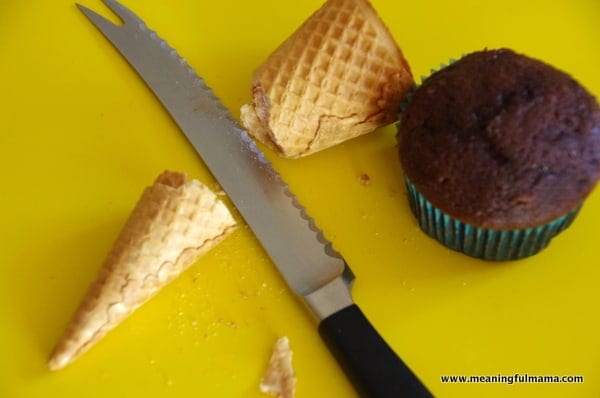 I cut the cone about in half. I used a serrated knife and made sure to cut carefully so as to not break the cone in places where I didn’t want it broken.
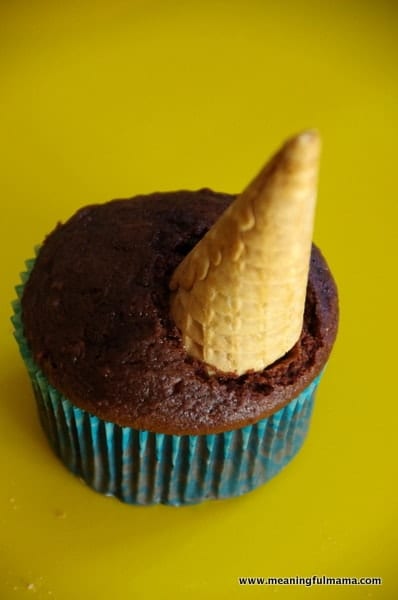 I then just stuck the ice cream cone into the cupcake. It went in just fine and stayed in nicely.
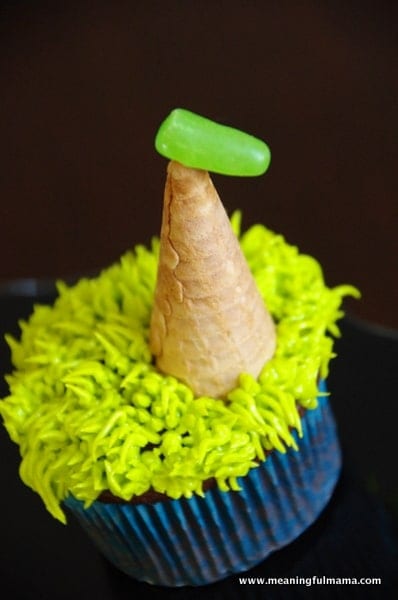 The next thing I did was add the lime green grass. I used my favorite buttercream recipe and used the grass tip #233. On a side note, I more recently tried to use store frosting for something, and it was a nightmare to work with. I would always recommend making your own. I would also recommend sifting all the ingredients, as piping tips can become clogged by unsifted ingredients.
 The next thing I did was add turquoise frosting to the ice cream cone with a knife. I do need to say that I wish I had done this prior to adding the grass. It worked just fine this way, but I think it would have been easier if I had reverses the order. Please ignore the Mike & Ike head. That was my original thought for a head design, but I didn’t like the look. It looked like some sort of weird lizard, dinosaur or dragon create with the Mike & Ike head. I had made it completely with the eyes and everything and then decapitated it later.
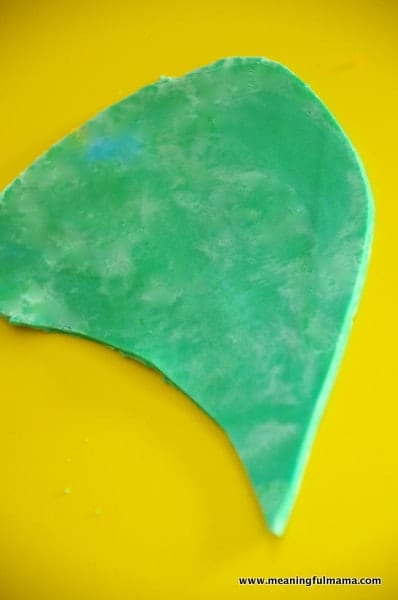
I then hand cut out a large tear drop shape. I just eye balled this. Better to cut it bigger rather than smaller and trim down.
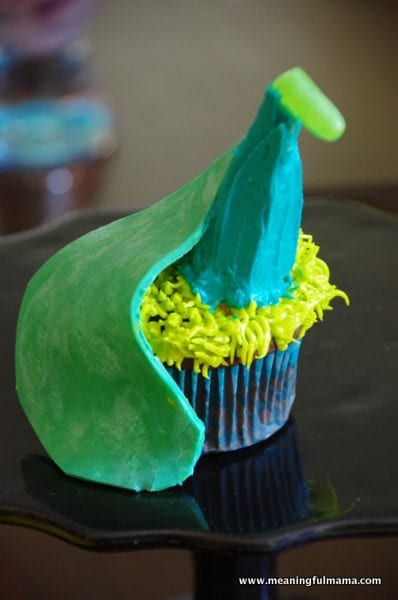 This piece won’t be seen. Just lay it draping down the back of the cone and cupcake. I just knew I needed it to be able to layer the feather pieces on top of it.
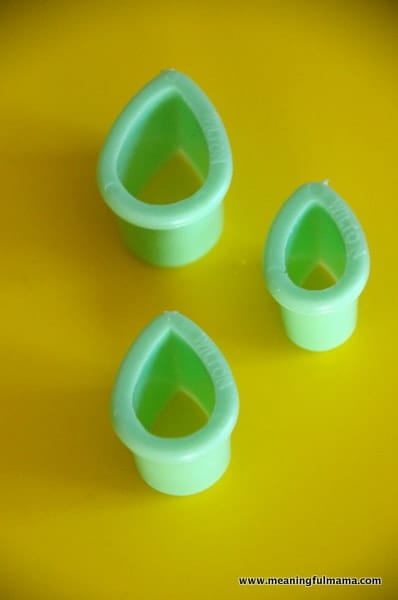 To make the feather pieces, I used these pedals from my gum paste flower kit – Fox Run Brands 67036 32-Piece Fondant Tool Set
![]() . This has been a great set of cutters to have around for a variety of flower creations in both gum paste and fondant. It makes cake design easy and I have used the flowers to create my spring flower cake as well as my brown and white whimsical wedding cake.
. This has been a great set of cutters to have around for a variety of flower creations in both gum paste and fondant. It makes cake design easy and I have used the flowers to create my spring flower cake as well as my brown and white whimsical wedding cake.

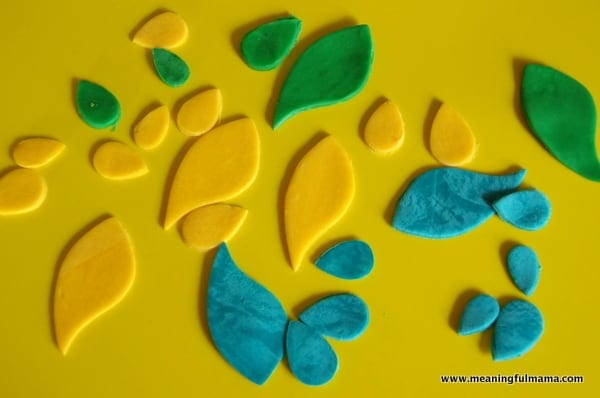 You will want to cut out a variety of feathers in a few bright colors. I chose turquoise, yellow and green. I have a confession. You will notice the cracked and marbled look of the turquoise. This was a test cupcake for me. I might make them for a party or event in the future. However, since this wasn’t being fed to the public, I used some older fondant that doesn’t behave properly. I love to use Duff Fondant
![]() because of the ease of use and taste.
because of the ease of use and taste.
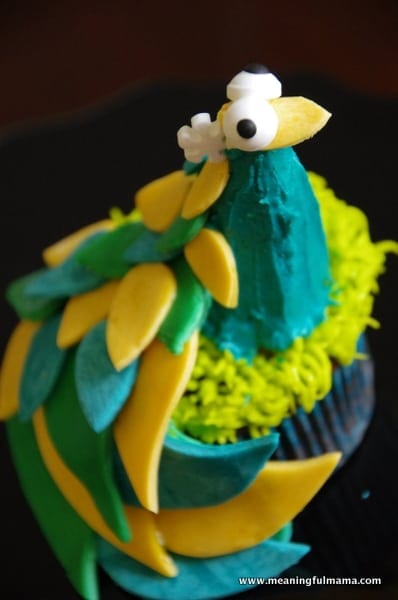
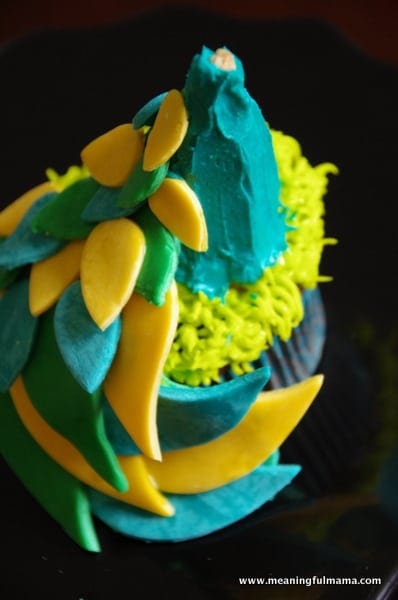 I decapitated the Mike & Ike head at this point to seek out a different option. I used a little brush of water to stick the feathers to the under layer. I built up the plume from the bottom to the top. The larger feathers go on the bottom and gradually get smaller as they twist upward on the cupcake and cone.
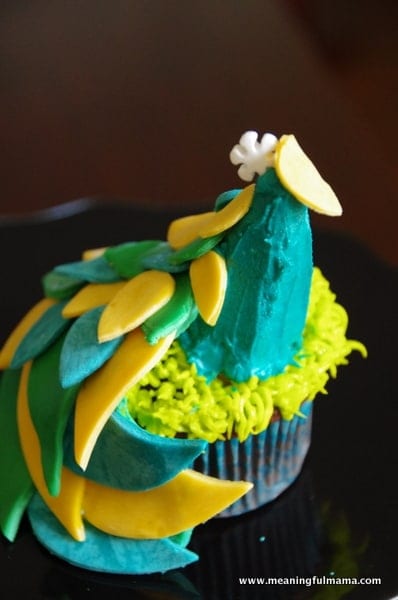 After removing the Mike & Ike head, I decided to use one of the small yellow pedal cut outs for the head. I rounded it slightly and stuck it on the end of my cone. I think it was helpful to have my cone not super pointy at the top. I had some Snowflake Sprinkles
![]() on hand, and I used those as the feathers that come out of the head of the peacocks.
on hand, and I used those as the feathers that come out of the head of the peacocks.
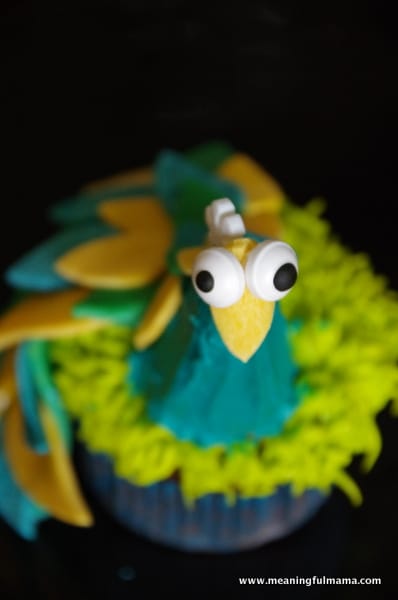 I love this little guy, and I need to make these in the future. I hope you also enjoy this peacock cupcake.


I saw your teaser photo on Google+ and guessed that it was a bird. I had to come see if I was right, but never in a million years would I have guessed you turned it into a gorgeous peacock! That’s almost too pretty to eat! Amazing job!
Thank you so much! I’m glad my teaser worked to bring you over. You were right! It is a bird. Thank you for your kind words.
I am starting a online website directory and was wondering if I can submit your site?
I’m hoping to grow my directory little by little by hand so that it
maintains good quality. I will make sure and put your blog in the proper category and I’ll additionally
use, “Peacock Cupcake Tutorial” as your anchor text.
Please let me know if this is okay with you by mailing me.
Cheers
I’m curious about this. Do you have a link to your current directory so I can see it and understand the format. Thanks!