This Easter egg craft for kids is a great way to reuse old plastic Easter eggs. This is a possible alternative to Easter egg dying, also, because you can use your creations by filling them with candy and hiding them in the yard. See the end of this post for a video tutorial.
Want more Easter craft ideas? I think you will enjoy this Easter bunny made from Q-Tips.

Easter Egg Craft for Kids
Yes, I know Easter isn’t about bunnies and chicks. We definitely teach our children about the real meaning of Easter. It’s really right there with Christmas in importance. We celebrate that Jesus died on the cross to save us from our sins.
It’s a big deal that He rose three days later because that is the proof we base our faith on and the hope we have in Him.
I do Christ-centered Easter activities that demonstrate these important truths. However, today we celebrated spring and new life with a cute Easter craft.
These bunnies and chicks are made out of plastic eggs and decorated with craft eyes, markers, foam pieces, and pipe cleaners. They sit in little cut-up egg carton pieces. They can be put into Easter baskets, used as decorations, or would be really cute for name placeholders at your Easter table. You can fill them with candy for an extra treat.
This Easter egg craft for kids is just a fun activity that will engage your children in creative expression. It works on fine motor skills as well. A bonus: It’s an inexpensive Easter craft with things you might just have on hand.

Materials Needed to Make This Easter Egg Craft Featuring Bunnies and Chicks
Note: The following contains Amazon affiliate links. Anything you purchase through these links goes to support the free resources I provide at Meaningful Mama. Thanks for your support.
- Paper Egg Carton
- Acrylic Paints
- Paint Brushes
- Plastic Eggs
- Pipe Cleaners
- Sharpie
- Craft Foam
- Self-Sticking Craft Eyes
- Glue Dots
How to Make Plastic Egg Bunnies and Chicks
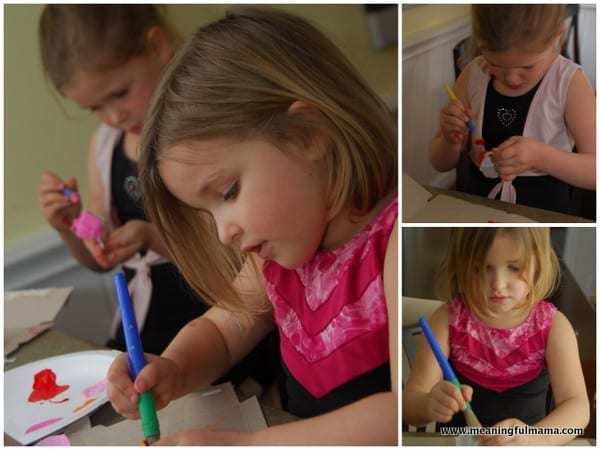
The first step is to cut up the egg carton into individual cups. The kids can paint these inside and out. We used bright spring colors so that the craft would remain very colorful and fun. Make these ahead of time so they have a bit of time to dry.
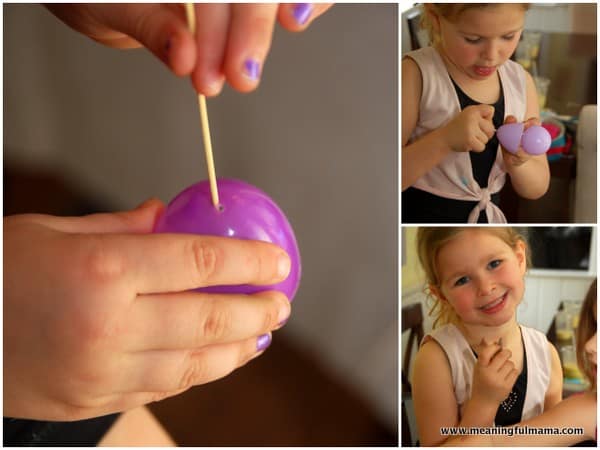
The top of the egg has a natural hole. I discovered this when we did our egg pops last year. There’s a good visual on how to poke this hole out and then make it bigger with a piping tip or some other tool on that post.
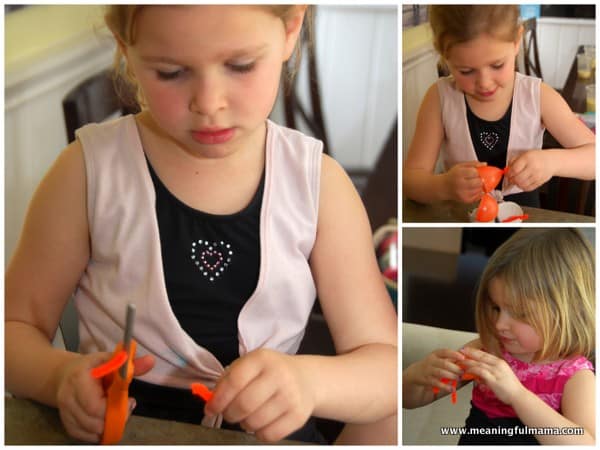
To make the chick hair, cut the pipe cleaner into thirds. Twist the bottom together. You will insert the twisted part into the hole on top of your egg. Once through the hole, you can bunch it into a knot to keep it in place.
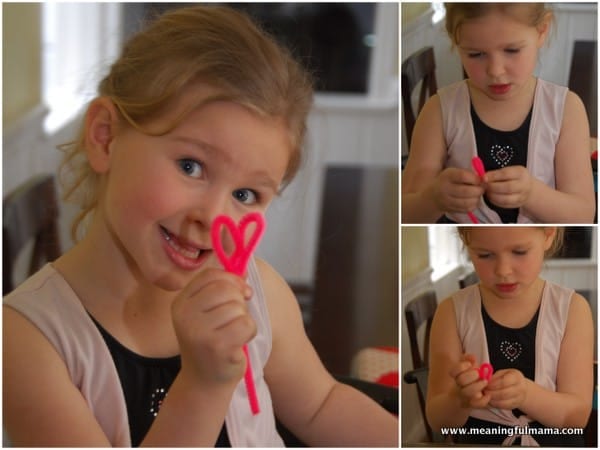
To make the bunny ears, you will take a pipe cleaner and make two loops. twist those at the base.
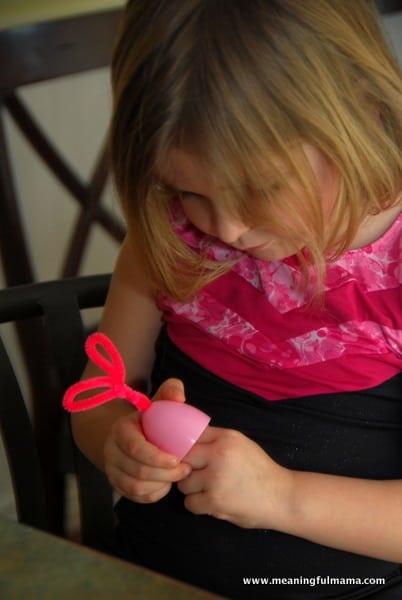
You will take your bunny ears or chick hair and thread it through the plastic egg. Then, pull the pipe cleaner through until the ears or hair poke out like you want. Bunch it in a knot within the egg to keep it in place.
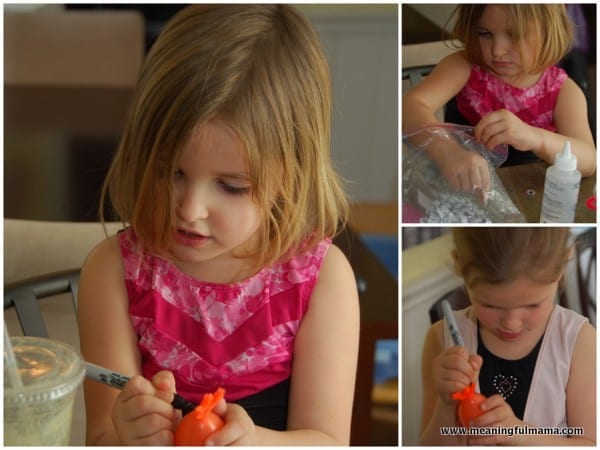
Add eyes with a Sharpie or use self-adhesive craft eyes. Alternatively, glue dots and normal craft eyes work well.

The final touch is adding a little foam or felt nose. Cut out a triangle and glue it in place with the tacky glue or glue dots.
You now have some cute little eggs to delight your kids and gifts on Easter.

Video Tutorial for this Plastic Easter Egg Craft for Kids
Want More Easter Crafts?
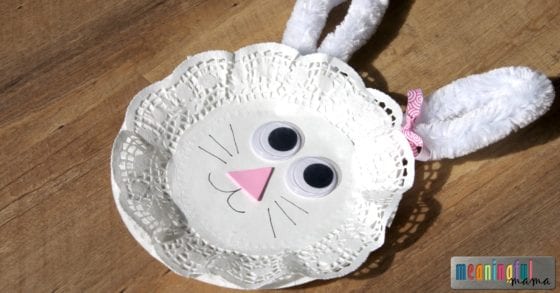
Easter Bunny Paper Plate Doily

Note: This post was originally written in 2013. It has been updated in 2025 with a video tutorial, updated formating, and a couple new pictures.


Those are just the sweetest easter eggs! They are sure to bring a smile to anyone’s face.
such a great project, they are so adorable!
Thank you so much! I might have to do them with the kids again this year.