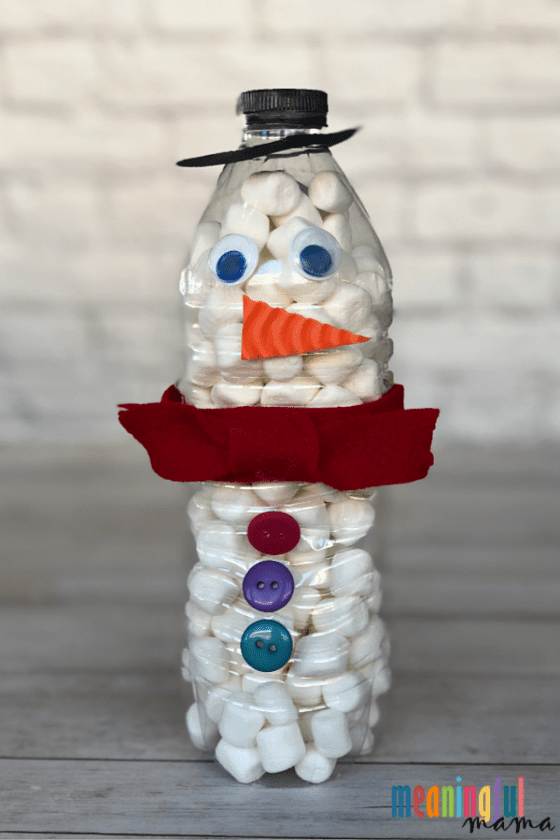
This snowman marshmallow dispenser craft is such a fun craft to do with kids of all ages.
Toddlers will enjoy sticking on the buttons and dropping in the marshmallows. Preschoolers will also engage with this cute winter craft. My older kids (age 8, 9 and 11) just re-did this craft and loved it.
You can’t really go wrong with marshmallows and children.
Note: This craft was one of the first ones I did on my blog. I started blogging January 1st of 2012, and this was written on the 18th of that year. I updated the post in November of 2018 with a few new pictures, better formatting and a video tutorial.
Snowman Marshmallow Dispenser Craft
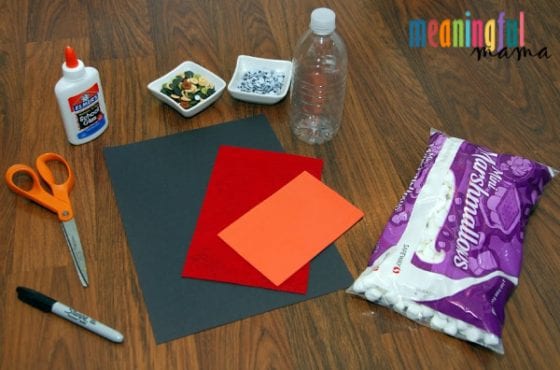
Materials Needed to make Snowman Marshmallow Dispenser Craft
- empty water bottle, label removed
- mini-marshmallows
- black construction paper
or black card stock
- black Sharpie
- craft eyes
- craft buttons
- orange foam
or orange stock paper
- colored felt
- glue
or glue dots
– Fabric glue
would work well for the felt.
- scissors
- pencil
How to Make Snowman Marshmallow Dispenser Craft
- You can put the marshmallows in the water bottle at the beginning or the end of this craft activity. Make sure the label is removed and the water bottle is completely dry.
- Have kids color the plastic lid black with a Sharpie.
- Trace a circle onto a black piece of paper. I used a small bowl that was 2.5″ in diameter.
- In the center of that circle, trace the lid of the water bottle.
- Cut out the outer circle. Fold the circle in half and cut out the inner circle .
- Using glue dots (easy and attaches quickly – my personal preference) or white glue, attach the craft google eyes to the water bottle.
- Cut out the orange foam into the shape of a carrot (triangle). Attach to the bottle using glue dots or glue.
- Cut felt into a strip long enough to wrap around the bottle.
- Using glue or glue dots, wrap the felt around the bottle attach with some form of glue. After re-doing this craft, I realize the that craft glue would work the best. White glue tends to absorb into the fabric. It eventually works, but it takes more glue and you need to hold it for quite some time. The glue dots only worked OK.
- Make another strip of felt and tie it in a knot. Fringe the end with scissors. Attach this to the center of the original felt piece using fabric glue.
- Using glue dots or glue, adhere three buttons underneath the felt scarf.
- Add your black paper donut shape over the lid of the water bottle.
- Enjoy your marshmallow dispenser with hot chocolate.
Note: As parents we all can recognize an open bag of marshmallows quickly attracts moisture. Therefore, it doesn’t take too long for marshmallows to become sticky. You will want to use the marshmallows quickly. With little kids around, that should not be too hard.
Visual Tutorial Teaching how to Make a Snowman Marshmallow Dispenser Craft
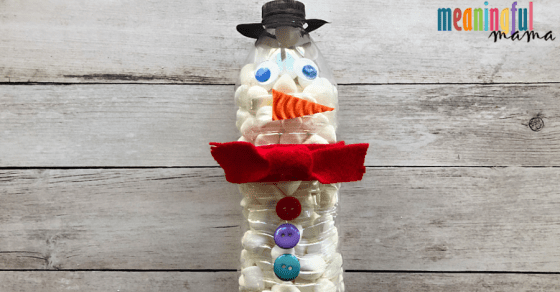
To make this marshmallow dispenser you first fill up an empty water bottle with mini-marshmallows.
Next we cut a donut shape out of the black paper and colored the lid of the bottle with a black Sharpie. The donut we slid onto the open bottle and put the lid on top.
Next, cut out the red felt into a strip. My strip wasn’t long enough to go around and tie in a knot, so I did two strips…one to just glue around the water bottle and the other I just tied in a knot, cut frays in the end and glued on top of the longer strip.
If you don’t have the felt, buttons or eyes, improvise. You could use a leftover Christmas ribbon, paper, beads, or whatever you have on hand.
When the hot chocolate comes out, so will their little snowman. Just open the lid, dump the marshmallows and enjoy.
Video Tutorial Teaching How to Make a Snowman Marshmallow Dispenser Craft
My daughter helped me put together this video tutorial for your convenience. Sometimes it is so much easier to watch it happen before you execute it yourself. My daughter basically filmed this by herself. 🙂
Want More Snowman Crafts for Kids?
20 Easy Snowman Crafts for Kids – I recently compiled 20 easy snowman crafts for kids from across the web. If you have children or work in a classroom, this is a fabulous resource.
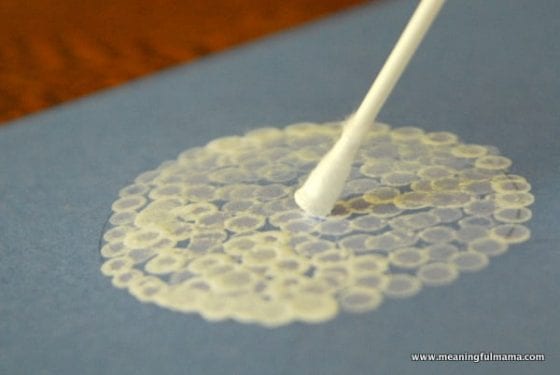
Snowman Pointillism Craft for Kids – Come on over to see how we created super cute snowmen using a Q-tip and paint. These we did in my child’s kindergarten class, and they turned out great.
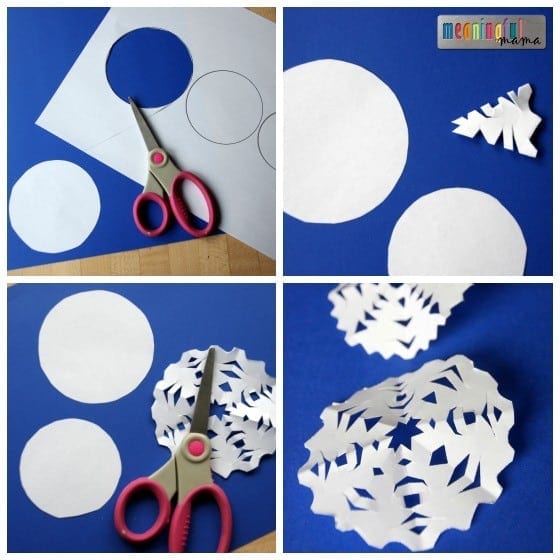
Snowflake Snowman Craft – Did you ever consider making snowmen from snowflakes? Come see how in this fun craft creates an adorable piece of art.





Very cool :))))
Thanks, we had fun.
I love this idea! I am new to your blog, but it looks very nice, I’ll have to take a look around some more 🙂 You should link this activity to my Thinky Linky Thursday party tomorrow!
Lori @ Cachey Mama’s Classroom
Glad you like the idea. Thanks for the heads up on your link party. I’ll join tomorrow. I’m also working on adding a tab back to my link parties, so I’ll include you when that’s completed. Can’t wait to check out your site too. 🙂
This is absolutely adorable! We are going to make this Saturday! My four girls can do this when cold and rainy. Thanks for sharing.
Thanks, Bridget. We used it when drinking hot chocolate today. The girls love it.
This is a great idea. I have water bottles on hand to make snowmen for our next girl scout meeting where the girls glue white tissue paper to the outside, but I think they will like this better. I’d love for you to link up to my new Thematic Thursday meme. The theme this week is Winter and this would be a perfect addition. I’m a new follower now!
So cool, Diana. If you’re willing, I’d love some pictures to feature on my “Share it Sunday.” Glad you’ll be able to use this.
This is such a CLEVER idea! I’ve never seen anything like it & I LOVE it! I shared it with my facebook readers here: https://www.facebook.com/pages/Living-Life-Intentionally/261252997248957 – Thanks for linking up to TGIF! Have a GREAT week,
Beth =-)
These are so cool. A wonderful lady at church surprised us with these cuties and accompanying cocoa. They were a big hit.
I love that. Thank you so much for sharing your experience. Merry Christmas!