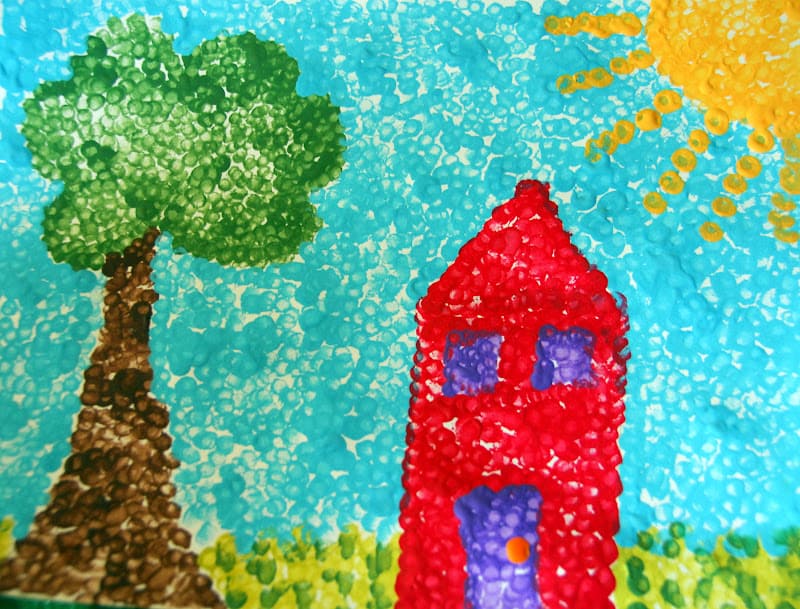
When I was in college, I took an art education class. It was such a fun class, and it really taught me about teaching art to kids. I was told to try and teach art history within your art projects. This activity stems from that class. It is a fun lesson on pointillism. Pointillism is an art form made up of tiny dots.

I have a wonderful book made up of artwork by MC Escher. I love his art. He does a lot of pointillism. I let me kids look at his work and explore the concept. You can just do a Google image search for “pointillism” to expose your kids to this art form.

The materials are few. I used paper plates for easy clean up. Beyond that, craft paint and q-tips as our paint brushes.

The technique is simple. Little dots make up the artwork. I had them pencil outline their drawing and fill in with the paint. You can show your kids how you use more paint and more dots spaced closer together to get a darker shade, and fewer dots spaced a bit will make it lighter to create shadows and highlights. That concept was a little advanced for my kids, but it’s good to introduce anyway.
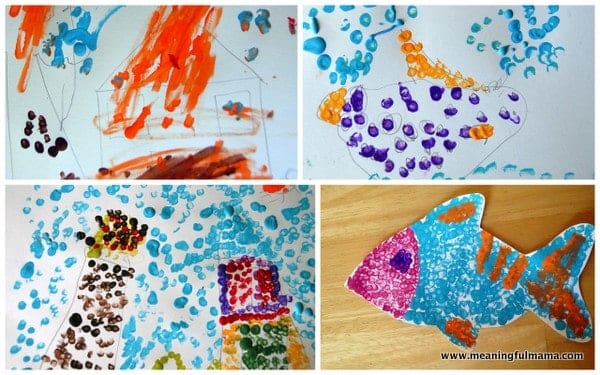
Here are the results. Kenzie had asked me to draw the scene for her (upper left corner), but she still struggled a bit. I also came up with the idea to do pre-cut out shapes to just fill in (fish – bottom right corner). Abby designed the other two on her own. The bottom left was her copy of my tree, house and sun. The upper right was her ocean scene.


Love this. Just posted our own first paint project yesterday, and we had a little pointillism going on as well…though, much less intentional as they are 20-months. My mother (an art major in college) used to teach an after-school art program, and I always remember learning about Seurat, “The Dot.” Thought it was a catchy little trick. I’ll keep this idea in mind as our little hands get more skilled and can move on to q-tips. Thanks for sharing. 🙂
That’s beautiful!! I think my daughter should be able to do it,have to try before school starts:)
A great way to explore pointillism for little ones!
Nice!
I did this as a lesson with my 2nd graders one year. We cut out tree trunks, glued them on a white background, and they used q-tips to paint the various fall colored leaves. I HAD to hang them on my huge bulletin board because every single one turned out so pretty. Love this!
Love this project and cannot wait to teach my little one. Question: What type of paper did you use?
I hope you have a lot of fun. I used card stock for this project. Lighter weight paper tends to pucker and bubble up a bit. Hope that helps.
I plan to have a ball with this..but I promise to let the little one help also (LOL) and many thanks for such a quick response.