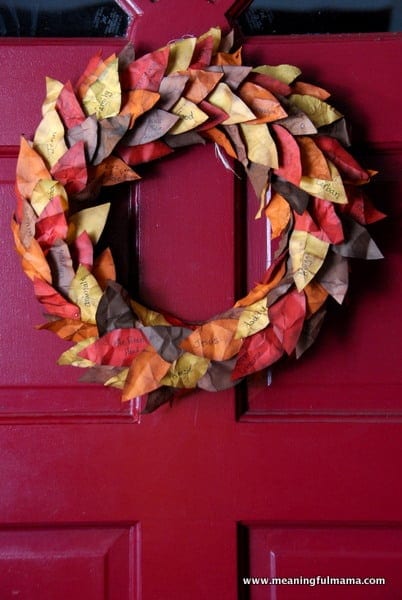
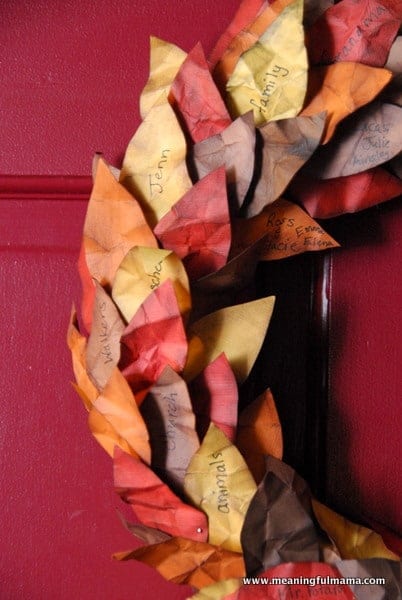
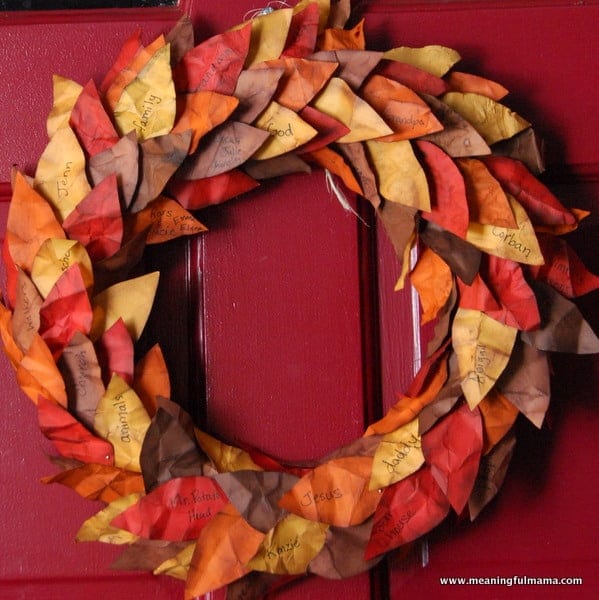
This wreath is so much easier to make than you might imagine. I love crafts that kids can do but look gorgeous. This is one of those. I was inspired by a wreath giveaway at Craft n’ Coffee. I love this new addition to our front door. Many of the leaves highlight the things the girls said they were thankful for, and what a wonderful greeting every time we walk up to the house. I am participating today in Google Hangout on air show that features crafts you can have the kids do on Thanksgiving day while you are busy in the kitchen. This is the one I chose to show. Although it looks complicated, if you have a slightly older child involved in the operation, I know kids would be able to create this beautiful wreath that will become a keepsake for your family. The kids can interview everyone so that each person can contribute one or two items they are thankful for to add to the wreath. You can do this wreath leading up to Thanksgiving as well.
You will need a 12 inch foam wreath and card stock of fall colors. I ended up needing one scrapbook size sheet of 5 different colors. You will also need stick pins, a small foam paint brush and a brown stamp pad.
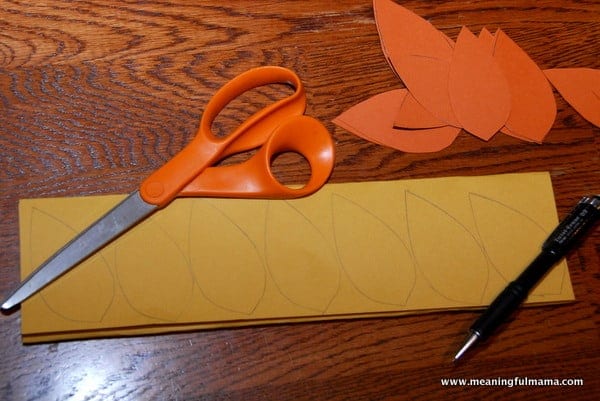
I made a simple leaf template. My leaves were about 3″ in length and 1.5′ in width. I folded my paper into quarters and traced the leaf. Then, I cut them all out. I found it easier to do this prep before I started working with the kids. If you have older kids, they could definitely do this step.
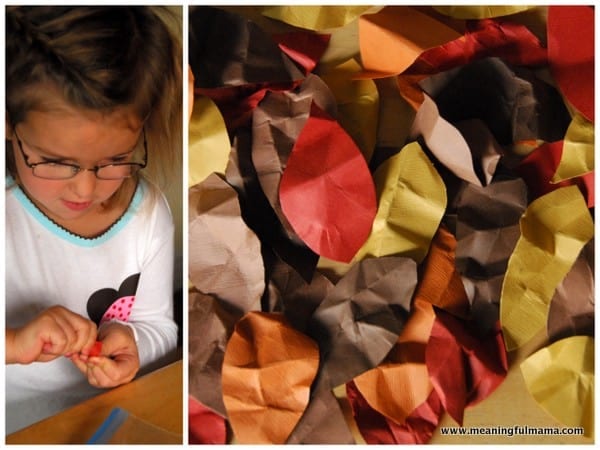
Next is the fun part for the kids – crumpling up all the leaves. It’s as easy as that. Let them squish them up as small as possible and then open them back up.
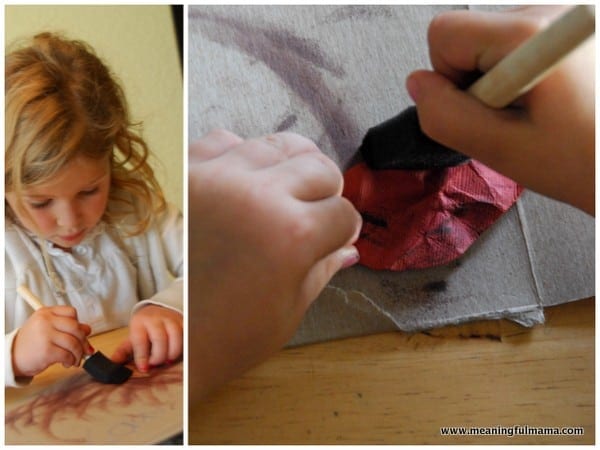
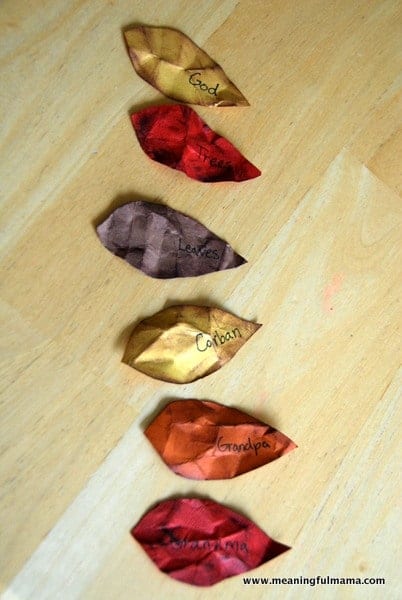
Time for the antiquing. Does that word intimidate you a bit? Don’t worry, my 3 and 5 year old could do it, and I attached a YouTube video to show you how easy it is to create. All you do is take a sponge brush and put a bit of ink from an ink pad. Start going around the edges and then do a little in the center. The ink will naturally adhere to the creases to give the aged look. I encourage you to start with a little ink and then add more as needed. It is easy to add more and impossible to take away. It goes really quickly and is easy for crafters of all ages and levels.
The next part is my favorite. They get to tell you all of the things they are thankful for, and you can have them write them on leaves or you can do it.
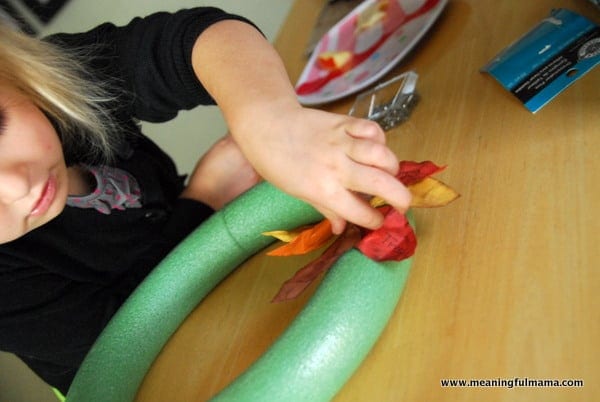
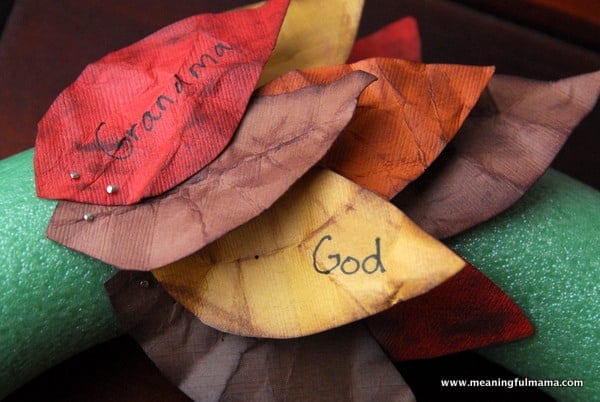
The next thing is the opportunity to pin them all in. The kids can help with this part too. For Kenzie, it was quite a lesson in hand-eye coordination. She learned a new skill and had perseverance while doing it. I recommend two pins per leaf so they don’t swivel. I also recommend older kid or adults supervision for this part.
Keep layering in the leaves all around the wreath until the circle is complete. This is not one of those crafts you’ll just want to throw away in the end. Tuck it away to hang on the door or mantel for next year.




Your wreath is beautiful! So glad you were inspired by Crafts ‘n Coffee. Thank you for the link back. Sharon
So pleased to find a craft that can actually be done *on* Thanksgiving…..we’ll be hosting a large gathering of expats that are fairly un-connected…… this will truly entwine them all, and provide me with a keepsake memory for the future. Thanks for sharing!
I’m so glad you’ll be doing this craft. It is such a keepsake, and we still have ours. It’s so great that you have a plan to bring people together as you gather. Blessings on this activity and your celebration!
I LOVE this idea. I hope I can get my family to play along!
I’m so glad you like this idea. It’s such a fun way to focus on Thankfulness, and it turns out so pretty. I hope you get them to play along too. 😉
[…] Thanksgiving wreath is adorable and is perfect to make your home look warm and inviting this Thanksgiving. It is a very […]