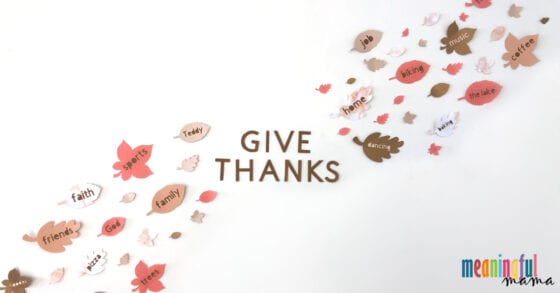
These DIY thankfulness wall decorations were made with a Cricut. Using free resources on Cricut, I was able to create a beautiful leaf display that focuses on gratitude for the Thanksgiving season.
If you are looking for more DIY Thanksgiving projects that focus on thankfulness, you might also love my DIY vellum luminaries.
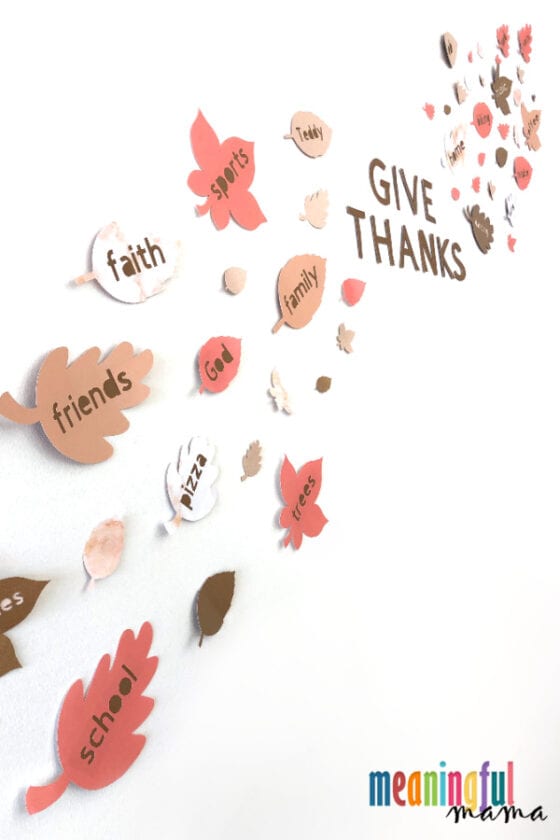
DIY Thankfulness Wall Decorations Made with Cricut
Focusing on thankfulness can transform your life. This isn’t always natural for me, so I’m really focusing on changing my heart in this area.
This year has been hard for most. With a pandemic reshaping our world, political strife, kids distance learning, and other conflicts, we are all figuring out how to respond.
For me personally, I’m dealing with some health things that contribute to the challenges – just thyroid and hormone issues combined with a weird gene mutations, but they do impact daily living.
With everything going on, I must focus on thankfulness. I recently wrote about how parenting is refining. Learning to choose joy is one of the ways God is refining me. I have found that joy is directly correlated with thankfulness.
This DIY thankfulness wall art that was made with the Cricut is one way I’m combating the anxiety and depression that could come with the times.
Character Building Series
This project is also a part of my character building education series. Here is a great intro to the series. In essence, my character building series focuses on 52 different character traits, one for each week of the year.
Each week has over seven different lessons, crafts and activities so you could be working on character with your kids every single day of the year.
This project is obviously a focus on thankfulness. I have 14 other lessons about gratitude here.
This DIY thankfulness wall art was not made all by myself. I asked my kids to tell me the things they were thankful for, and I added those to our leaves that would be cut by the Cricut. All of our ideas combined, made the gratitude wall display you see here.
This was a real family project. In fact, my daughter loved it so much that she made her own for her room.
This DIY Thanksgiving wall will help us celebrate all season long.
Materials Needed to Make DIY Thankfulness Wall Decorations
Amazon Affiliate Links Provided for Your Convenience – Anything you purchase through these links helps support the work I do here at Meaningful Mama.
- Cricut Maker
- Stock Paper of Varying Colors – I’ve linked to the closest 12 x 12 scrapbook paper I could find on Amazon. I did my shopping at Michael’s. I also supplemented with other colors. Along with the neutrals, I added some coral and some metallics. I linked to the closest I could find with online shopping, but it might be best to go in store to buy individual sheets.
- Tape
- Scotch Mounting Squares – I wanted the leaves to mount off the wall a bit to provide movement. These seemed to be the right answer for providing that spacing while not ruining the walls.
- Scissors
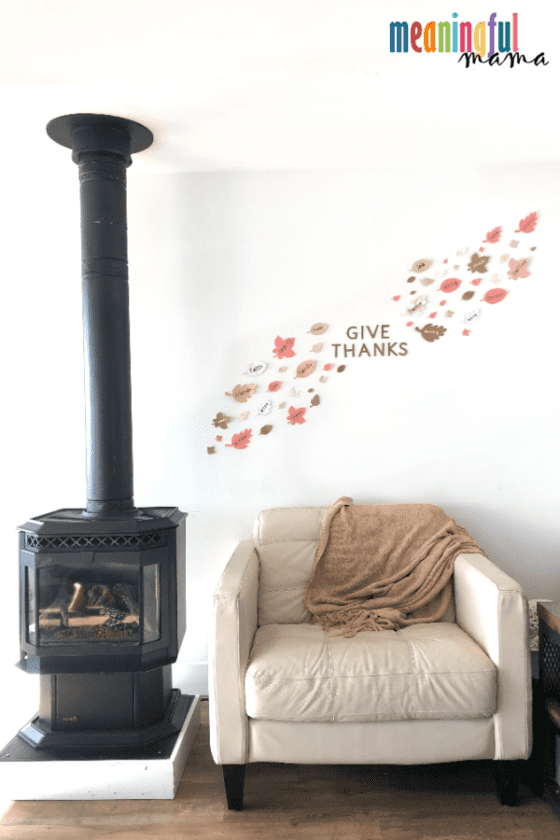
How to Make a DIY Thankfulness Wall Using a Cricut Maker
This was my very first Cricut project, so my instructions might be very elementary. I was learning throughout the whole process.
In the Cricut app, I first went to images and typed in leaf. Below you will see the three leaves I chose.
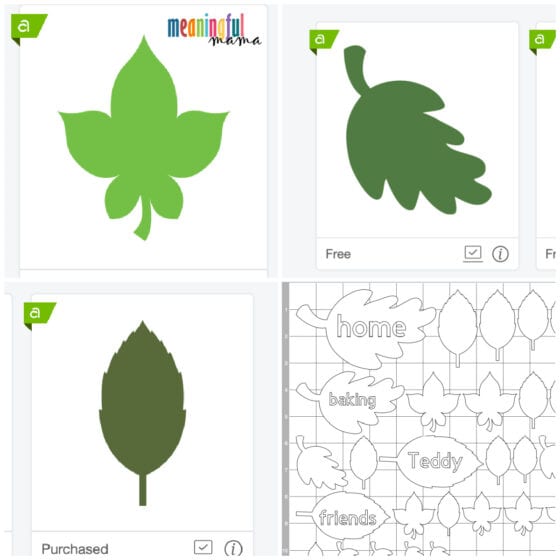
- Select a leaf and put it into your design space.
- Highlight the leaf and turn the color to white.
- Set the leaf to be horizontal on the page
- Copy and paste this leaf.
- Adjust the sizes of the leaf. I varied my leaves to range between 1″-6″.
- To add words, select text and use Cricut Sans font.
- Move your words into the larger leaves and center.
- Now select the leaf and the font together and choose slice. This slices out the word.
- Click on the word and delete the part that has been sliced out. For some reason, mine seemed to have a filled in bold version and a hollowed out version. Delete both of those.
- Repeat with as many words as you want.
- Next make the words “Give Thanks” for the center of your thankfulness leaf wall art. My letters were 2.25″ tall.
- Once complete, simply “make it.” Use varying paper colors for your project. I chose to use a coral, brown, copper, champagne, putty/pinkish and a marble of those colors.
- Once cut, I carefully removed them from the tacky Cricut board.
- My final step was to cut contrasting colors for the back of my leaves where the words were. Tape those in place. I was originally just going to leave the spaces blank, but with my white walls, the words didn’t stand out. Therefore, I used a brown for the contrasting lighter colored paper and a pale pink for the darker colored paper.
- After finishing, use the Scotch mounting squares to attach to the wall. I cut mine into smaller pieces so I didn’t have to use too many.
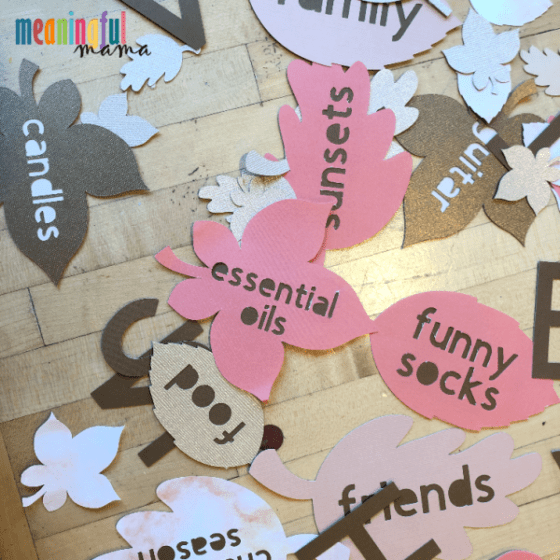
Above is a set I made for one of my youth group girls. As you can see, I left the little circles out of the o’s and d’s and e’s, but you can save them and glue them down if desired. I just liked this look.
For my friend, I just asked her for things she was thankful for, and it became a gift for her to enjoy this season. You can make these for the people in your life too.
This wall is now on display as a daily reminder of how incredibly blessed we are in this life. Yes, life brings struggles and hardships, but the more we can look around to find all the good, the more content we will be.
Perhaps this will inspire your own fall project. I’d love to see your results, so send a picture or share on my Facebook page.
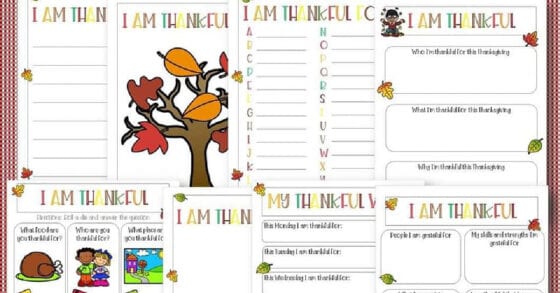
Want More Thankfulness Ideas?


I would love to make this but I don’t have a Cricket. Is there some way I could get the pattern for the leaves to make one by cutting them out? You see I am 70 years old and can’t do the crafts I used to do so I make paper crafts as decorations and gifts for my family. I am a disabled veteran as is my husband and I can’t afford the Cricket. My husband’s Social Security and $800 VA pension only go so far. After paying bills and buying groceries we don’t have a lot left and that goes into doing repairs on the Money black hole we bought in 1999.
Thank you for any help you can give me.
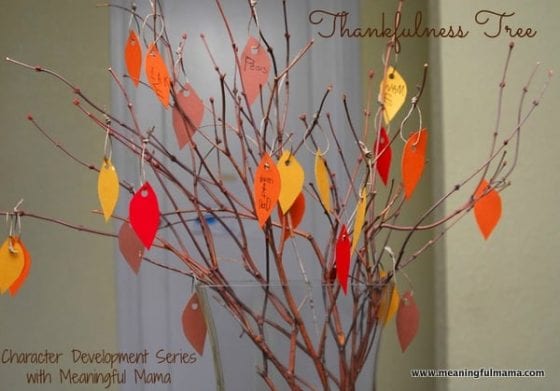
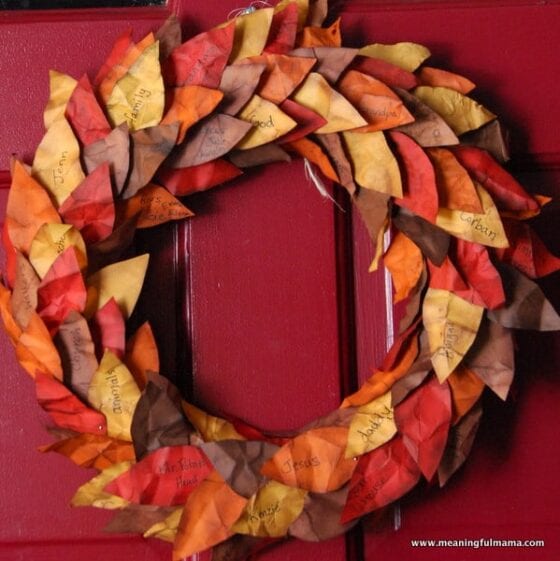
Sorry I didn’t see this until now. I definitely think you do something like this without a Cricket. Glad you are celebrating thankfulness. This is another simplified version of cutting out leaves: https://meaningfulmama.com/thankfulness-tree.html – I think you could find a simple template like the ones found here: https://onelittleproject.com/leaf-template/ – Cut them by hand and then write what you are thankful for on each leaf. Hope that helps. blessings.