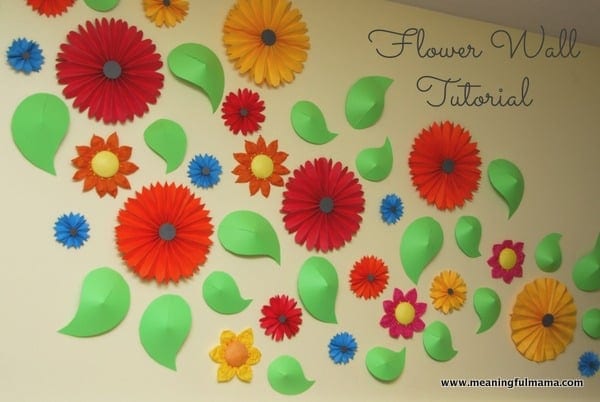

1. First, you take a piece of square paper. I used scrapbook size paper for the big ones. You fold this paper along back and forth like an accordion. Two pieces of accordion folded paper make up one pinwheel. I’m not very type A when it comes to my folds, and it always works out just fine. Martha Stewart, I believe, sells some sort of device to fold these perfectly. I think it is completely unnecessary.
2. The second step is to cut the ends to your desired shape. You can see that I rounded these ones off at the two tips. However, with others I kept them straight and others I cut a V point on the end.
3. The next step is to fold your accordion paper in half at the center. You will glue the place they meet with a hot glue gun or use double sided tape. The picture above shows two pieces of paper where the center has been glued together.
4. The final step in making the complete circle is to hot glue or use double stick tape to stick the two halves of the pinwheel together. You see the gaps in step 3 above? The adhesive goes on one of those sides and you stretch them until they meet.
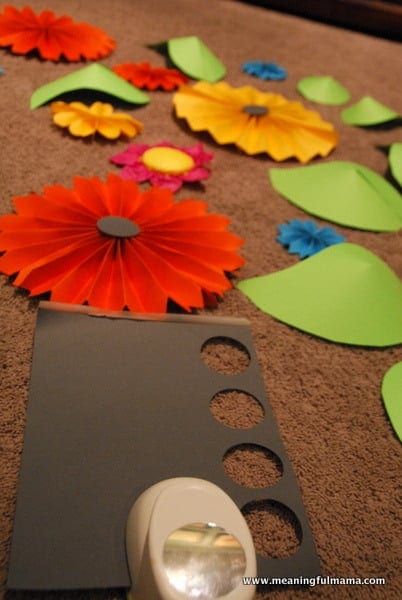

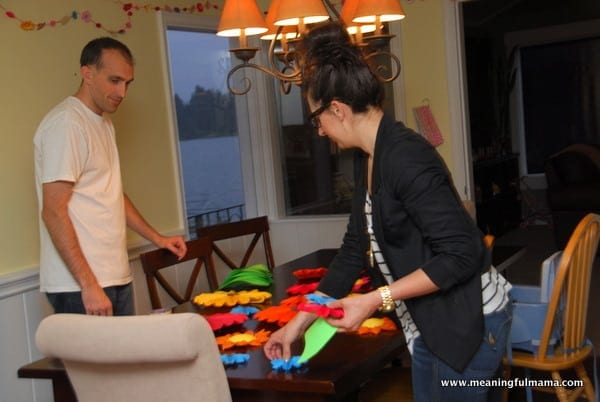
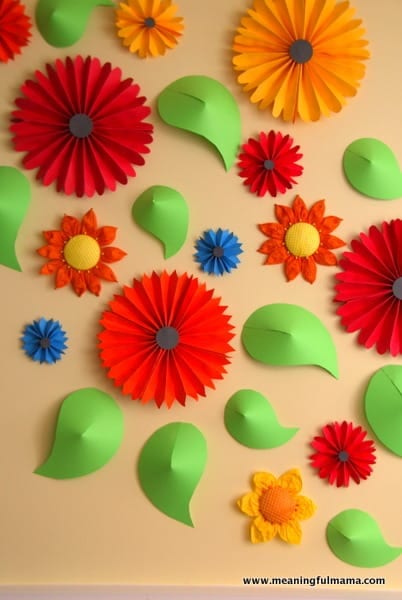
I kept it up for a few days because I kinda fell in love with it and didn’t want to take it down. I would have probably kept it up for longer except that the tape started to lose it stick and the pieces kept falling down. It took a couple of days before that began to happen though.



Well done! And what a sweet idea! 🙂
Thanks so much, Lindsay.
Just wanted to stop by your blog and welcome you to Collective Bias. Loved finding this tutorial. You make it seem easy. Off to pin it now!
Thank you so much, Wendy. I need to really sit down and figure out Collective Bias better. Thanks so much for stopping by to welcome me. It’s going to be fun to make connections with you!
Love your wall decorations, perfect for spring! My favorite part is the unconventional leaves, which add more texture to the composition 🙂
Thank you so much! It was a lot of fun to do. I appreciate you commenting and stopping by here!
I love love this!! i HOPE YOU STOP BY TO LINK- http://atozebracelebrations.com/2013/04/link-party-14.html
Nancy
I got so busy yesterday. I just linked up my spring party! Thanks for stopping by!
Jodi, I love this! It looks awesome; I wouldn’t want to take it down after the party! 🙂 Have a great weekend!
Mackenzie 🙂
Thanks! I did keep the garland and hung it in the girls room. I loved the wall too, but the tape started to lose its stick after a couple days. It’s the only reason it was removed. 🙂