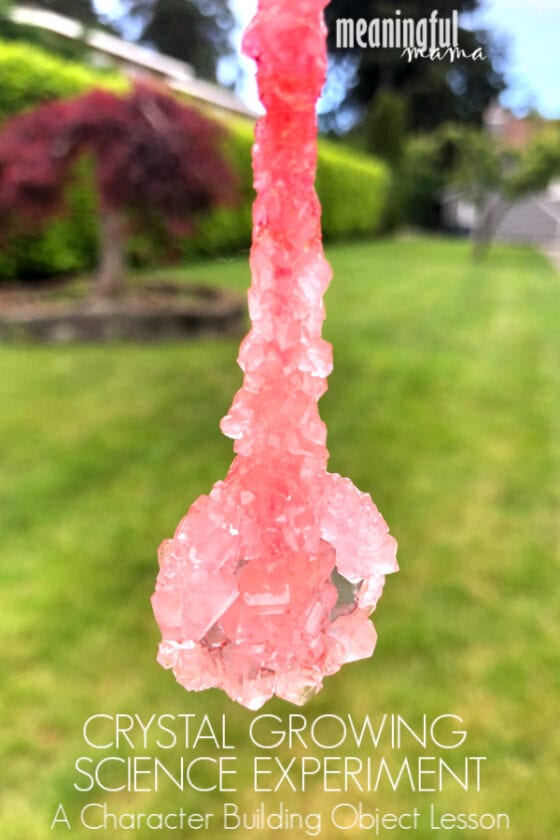
Growing salt, sugar and Borax crystals is a lesson in patience. As we continue in my character building education series, this is one more lesson to supplement the concept of patience with kids or even adults.
We live in a world where much comes instantaneously. Patience has become a skill we need to be more intentional about teaching. The lesson today will show the benefits of learning patience.
Character Building Education Series
This series focuses on 52 important traits to teach kids. While this series is aimed at kids, I’m finding that I also need to continue working on and growing in these traits – especially patience.
Why 52 traits? There is one character quality for every single week of the year. I have at least 7 lessons for each trait, so you could be working on character with your kids 365 of the year.
Here are all the lessons for our week on patience. Start with my first patience lesson if you haven’t already.
After the introduction lessons, you are ready to dive into this science experiment: Growing salt, sugar and Borax crystals is a lesson in patience.
Growing Salt, Sugar and Borax Crystals is a Lesson in Patience
Are you ready to dive into a great science experiment that becomes a lesson in patience? Kids will have fun with this hands-on science experiment. It gives a platform to continue talking about character building.
Subject: Patience
Objective: Kids will learn the benefits of being patient. They will discover that good things come to those who wait.
PATIENCE VERSE
“And we urge you, brothers, warn those who are idle, encourage the timid, help the weak, be patient with everyone.” 1 Thessalonians 5:14 NIV
Continue working on this Bible verse daily during our week on patience.
Note: This experiment went a little sideways with our attempt at sugar crystals. I am going to include a recipe and modified attempts for sugar crystals after my salt crystal and Borax crystal recipes.
However, after multiple attempts of sugar crystal growing, our patience really was tested, and we were never successful. We looked at popular recipes and tried to do 4 cups, 3 cups, 2 cups and 1 cup of sugar. Further, we tried an attempt with straining it through a coffee filter and covering it with a coffee filter as one post noted.
One of our results ended with no growth. The other ones were massive clumping and solidifying almost immediately (picture below). I’m not sure if we just never thoroughly enough dissolved the sugar, but we did dissolve it just like I do when I make my own Starbuck’s vanilla sugar – where it looks pretty clear.
In the end, I suppose it truly fit the lesson in being a test of patience, but my true hope was that the sugar crystals would grow the slowest out of the three so that we could say that the best things that come in life take patience. The plan was to then eat and enjoy the fruits of our patience.
In the end, I had to dismiss that analogy because the science we did didn’t support it. That said, I encourage you to experiment also. Let me know if you experience more success than we did, and what the magic formula was to achieving the goal.
This still became a lesson in patience because the salt crystals, especially, took a lot of time to develop to their ending size.
Materials Needed for Growing Salt Crystals
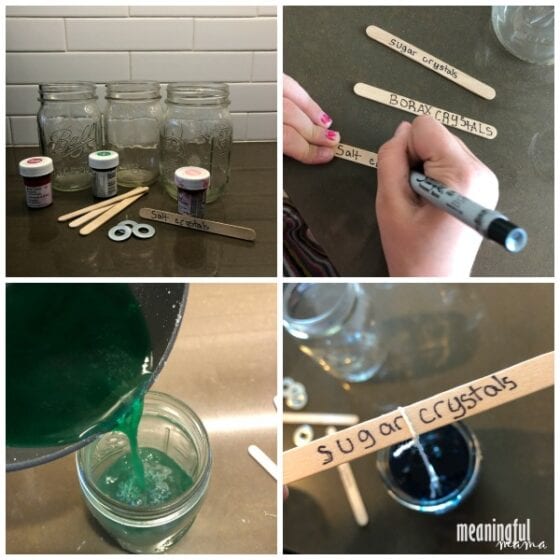
- 1 cup water
- 1/2 cup (maybe more) table salt (not iodized) – other options include Epsom Salt or Alum Salt
- mason jar
- string
- food coloring
- popsicle sticks
- sauce pan
How to Grow Salt Crystals – A Lesson in Patience
- In a saucepan, bring water to a boil.
- Add the salt and stir. Keep adding salt until no more salt will dissolve, and you start seeing crystals at the bottom of the container.
- Remove pan from the heat and add a few drops of food coloring (different colors for the different types of crystals) to the solution.
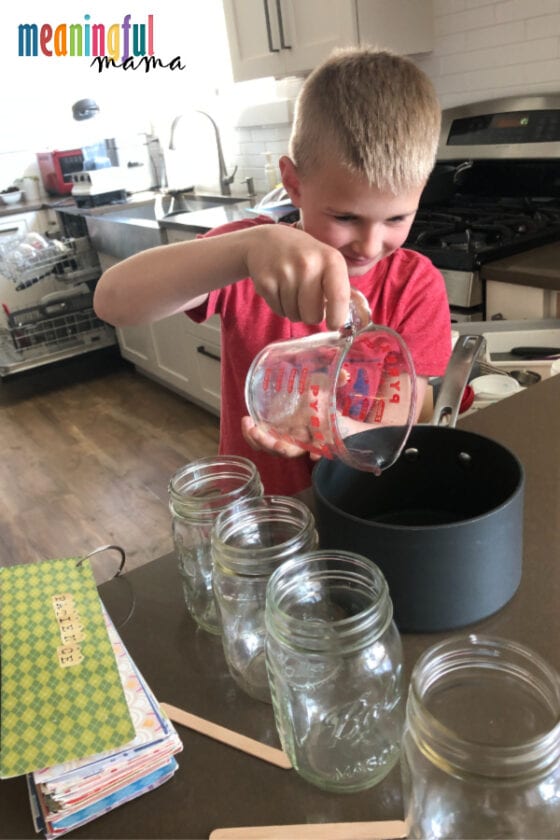
- Slowly pour the hot water into your mason jar. Parents should help with this step. Stop pouring before the salt grains fall into the jar. You don’t want the bottom salt grains to go into the jar because the crystals might grow around those grains instead of your string.
- Write “salt crystals” on your popsicle stick.
- Cut the tip (about 1/2″) off another popsicle stick.
- Measure the length of your string to be about the height of your mason jar.
- Tie one end of the string to your long popsicle stick, and the other end to the popsicle stick nub.
- Set the long stick across the top of the mason jar, so that the string dangles down into the solution.
- Check salt crystals daily to see how they are growing. Compare these to your developing sugar and Borax crystals.
Materials Needed for Growing Borax Crystals
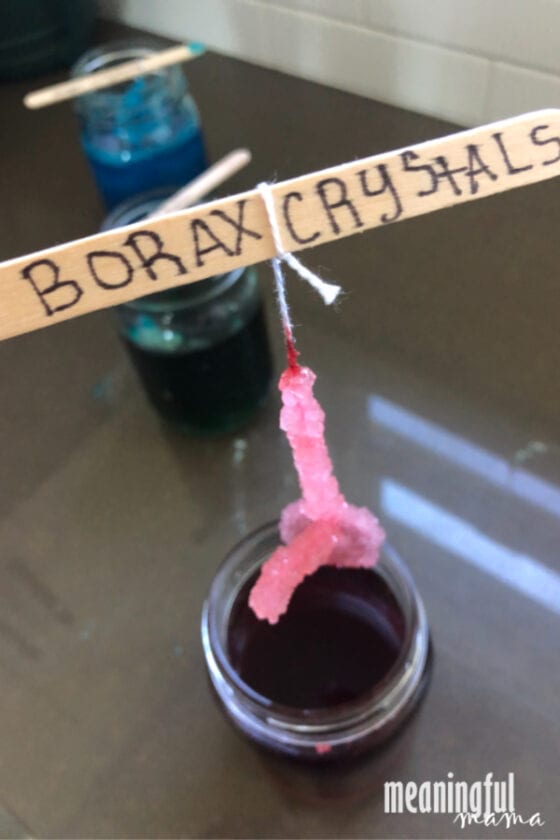
- 2 cup water
- 6 Tbsp Borax (NOTE: Borax is fun to use to create crystals, but it can be dangerous for inhalation, eye contact or indigestion. Use an exhaust fan or experiment in well ventilated area. While crystals are developing, keep out of the reach of small children.)
- mason jar
- string
- food coloring
- popsicle sticks
- sauce pan
How to Grow Borax Crystals – A Lesson in Patience
- Add water to sauce pan and boil.
- Let cool to warm.
- In a well ventilated area, stir in 3 Tbsp of Borax until dissolved.
- Add a few drops of food coloring (different than your sugar and your salt crystals) to the solution.
- Slowly pour the hot water into your mason jar. Parents should help with this step.
- Write “Borax crystals” on your popsicle stick.
- Cut the tip (about 1/2″) off another popsicle stick.
- Measure the length of your string to be about the height of your mason jar.
- Tie one end of the string to your long popsicle stick, and the other end to the popsicle stick nub.
- Set the long stick across the top of the mason jar, so that the string dangles down into the solution.
- Check Borax crystals daily to see how they are growing. Compare these to your developing sugar crystals and salt crystals.
Materials Needed for Growing Sugar Crystals (see notes above – this was a huge fail)
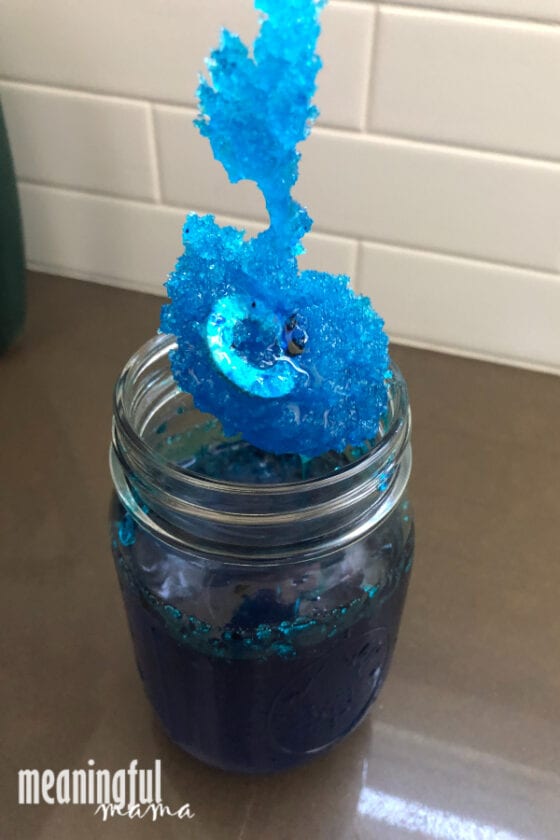
- 1 cup water
- 4 cups sugar (also attempted 3, 2, & 1 with no success – see notes above)
- mason jar
- string
- food coloring
- 2 popsicle sticks
- sauce pan
How to Grow Sugar Crystals – A Lesson in Patience
- In a saucepan, combine bring water to a boil.
- Add sugar, stirring to dissolve the sugar. Parents should help with and monitor carefully. Boiled sugar will scald terribly. Make sure not to over boil or it will begin to caramelize. Sugar should look fairly clear with a slight tint to it.
- Remove pan from the heat and add a few drops of food coloring to the solution. Optional: You could add different flavoring to the sugar solution as well if you want to eat it in the end – vanilla, root beer, lemon, etc.
- While solution is cooling, prepare your mason jars.
- Write “sugar crystals” on your popsicle stick.
- Cut the tip (about 1/2″) off another popsicle stick.
- Measure the length of your string to be about the height of your mason jar.
- Tie one end of the string to your long popsicle stick, and the other end to the popsicle stick nub.
- Fill the mason jar almost full of your solution.
- Set the long stick across the top of the mason jar, so that the string dangles down into the solution.
- Check sugar crystals daily to see how they are growing.
Character Building Lesson in Patience
So, you have now made salt and Borax crystals with your kids. Heck, you may have even attempted sugar crystals. Now what?
Observe: Each day have kids make observations. Take pictures. Make measurements. Record the daily progress.
Kids will be anxiously waiting for their crystals to grow. I recommend having a daily check-in time where no one can check them until that time. That adds another layer of patience to practice.
Ask:
- What does it mean to have patience?
- How does growing crystals demonstrate a lesson in patience?
- Which crystals took the most patience to watch grow?
- WAs it hard for you to wait each day hoping the crystals are growing? Why or why not?
- What is the benefit of having patience?
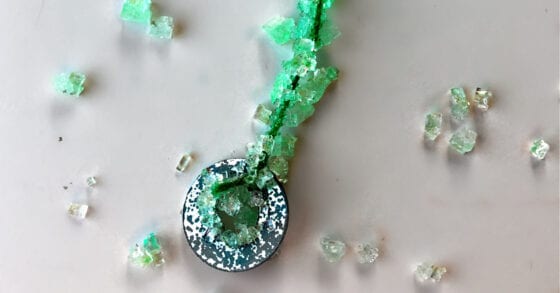
Results:
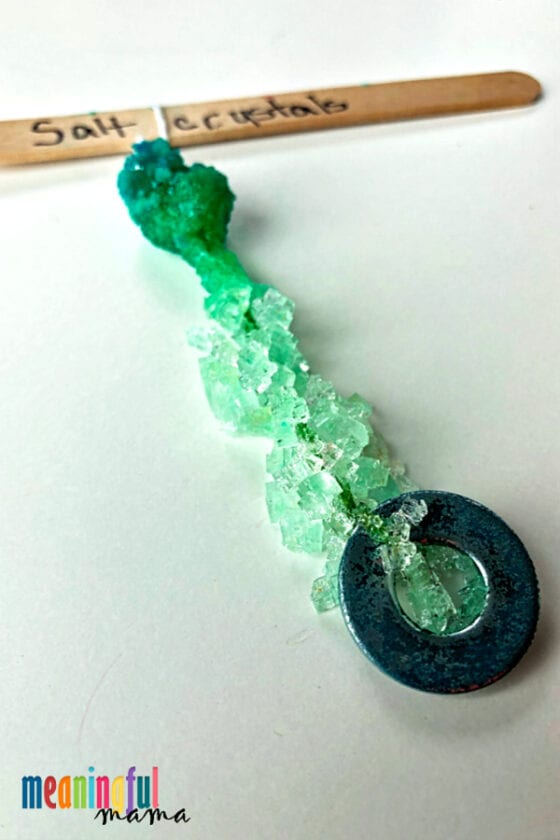
For us, the sugar crystals just clumped up within an hour. By the end of the day the solution was solidified. Fail! The Borax crystals formed quickly, within a few days. The salt crystals, while they showed daily progress, took the most patience to see them reach their full potential. They were pictured after a few weeks.
Want More Lessons in Patience?


