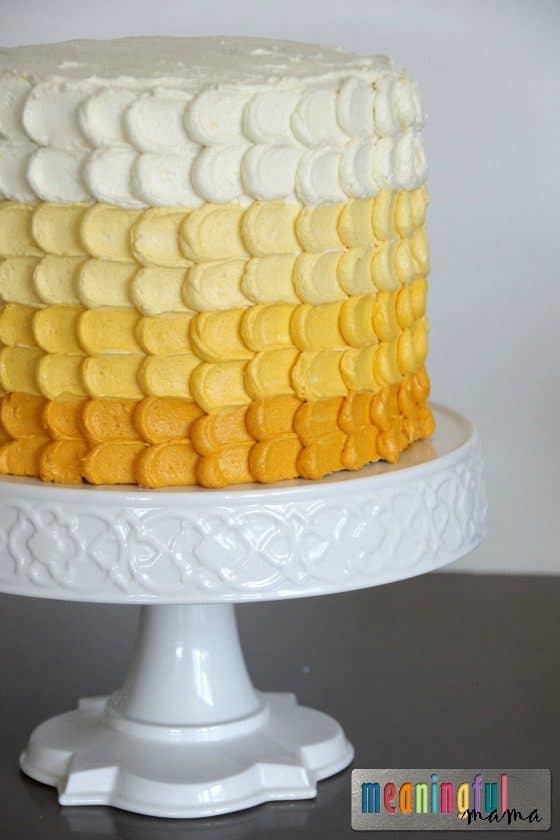
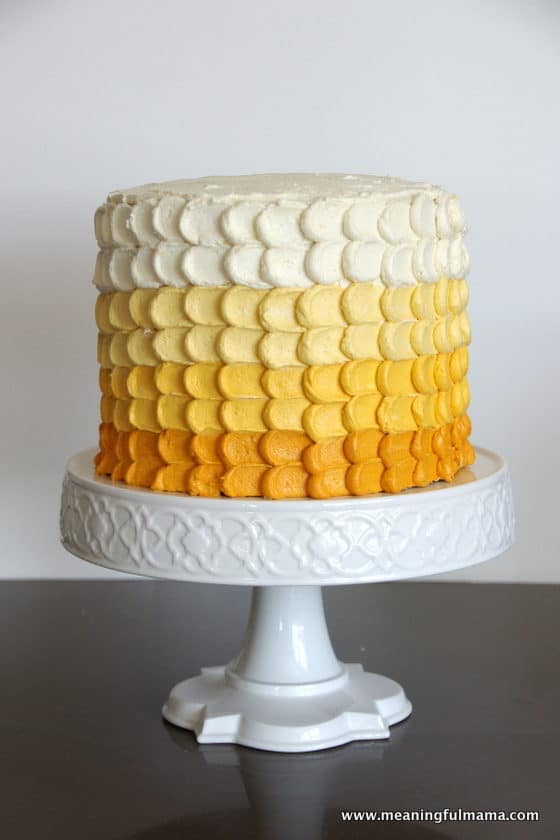
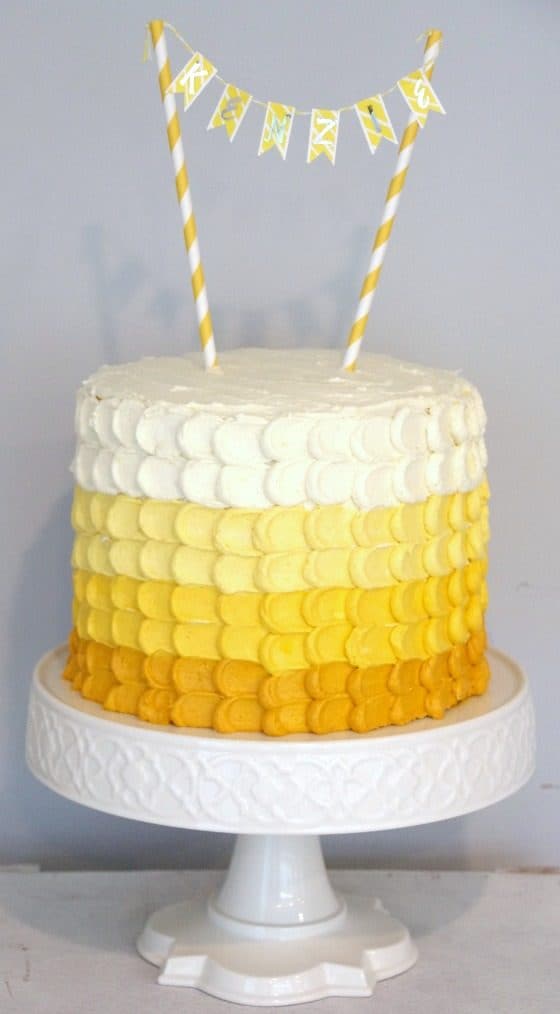
If you are looking for a fairly simple and yet impressive cake design, I encourage you to try the ombre petal buttercream piping technique. My tutorial today should make it super easy to re-create this design. This is the technique I used to create the birthday cake for my daughter’s sunshine party. The cake underneath was my super moist lemon chiffon sponge cake, which I think you’ll love. I do have one confession to make, however. This ombre petal buttercream cake design was plan B. You’ll enjoy seeing my disastrous plan A.
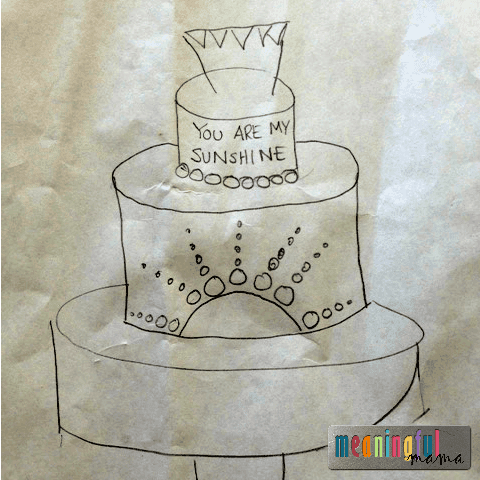
My plan A involved a cute 2 tier cake with a sunshine design that matched the sun graphic I created for my daughter’s birthday. I am going to attach the design below. The ironic part of this story is that I had a friend over who was really excited to learn about how to fondant cakes. She was able to learn what NOT to do that day.
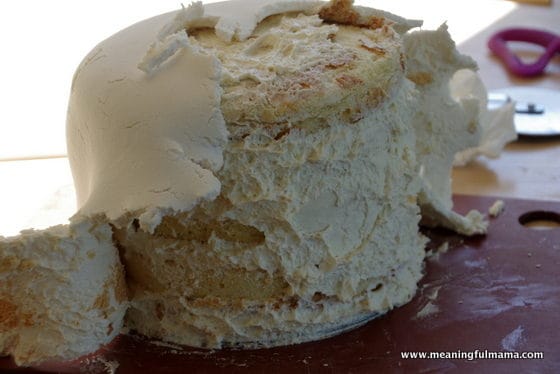
With my friend, I started to teach her how to fondant a cake, and it turned into a cake decorating nightmare. What went wrong? I believe the big error here was mixing two different brands of fondant and using fondant that was not fresh enough. The result was fondant that began to crack and tear. I sat and stared at if for a while trying to decide if I was going to make it work or make a new plan. I finally ripped the fondant off and settled on plan B. Plan B leads me to my Ombre Petal Buttercream Piping Technique tutorial.
Now that I have admitted my cake disaster, let’s talk about turning things around. It’s not about the catastrophe. It’s about the recovery. That’s what we get to celebrate today.
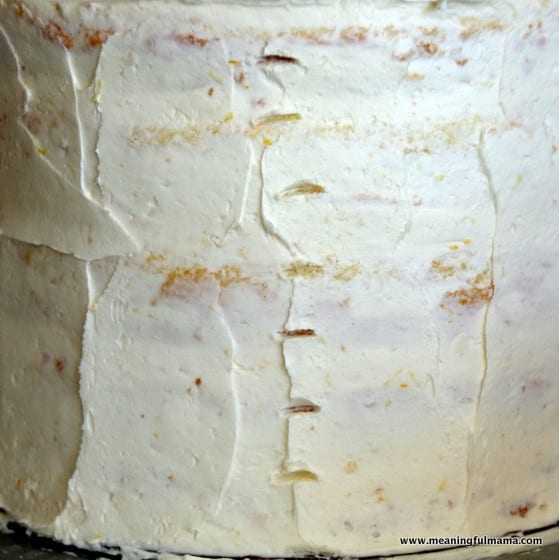
Once I pulled off the fondant, I applied a new crumb coat of buttercream (lemon buttercream recipe coming soon). If you need to know how to do a crumb coat or some of the basics of cake making, please visit my cake making 101 post. Cake making 201 will lead you to my advice for working with fondant. I hope my own mistakes today don’t discredit this post.
Ombre Petal Buttercream Piping Technique
* Affiliate links provided for your convenience. Anything you purchase through these links helps to support Meaningful Mama and the free resources I provide. Thank you for choosing to support us.
Once my cake had a new crumb coat, I was able to work on the ombre petal buttercream piping technique.
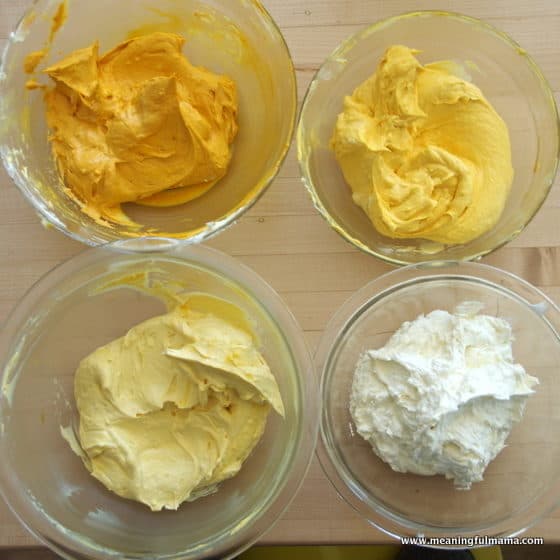
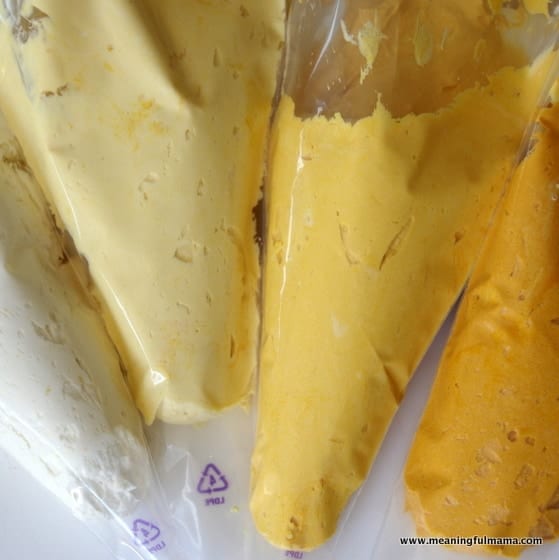
- Mix up your buttercream frosting with the colors you want. I chose a buttercup yellow gel
color. In retrospect, I wish I had chosen the lemon yellow gel
as I think it would have matched the other decor better, but this worked. I simply added more of the gel for the deeper color.
2. Add the frosting to four different disposable piping bags. Cut the tip off so that the opening is about 3/4 inch wide.
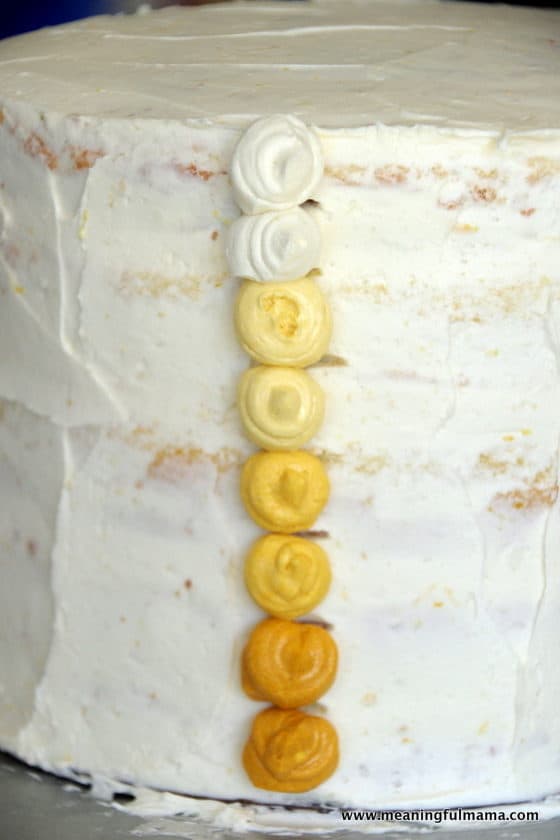
3. Using a ruler, mark even spacing up the cake. Looking at the picture above, it doesn’t look very even, but I’m convinced that is the angle of the photo. You’ll want to take the height of your cake and divide it by the number of colors or rows you want. My design had 8 rows – 2 rows of each color.
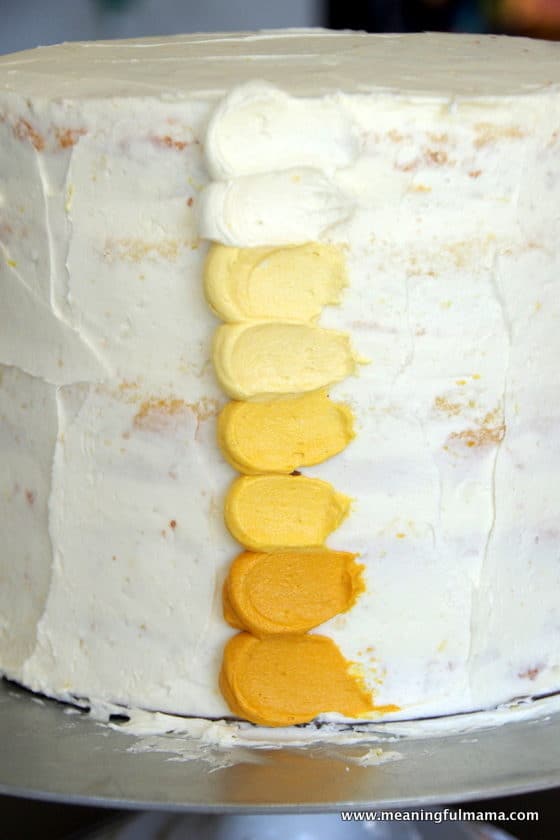
4. Next squeeze the piping bag with buttercream dots all down the cake in between your markings. I liked working from top to bottom.
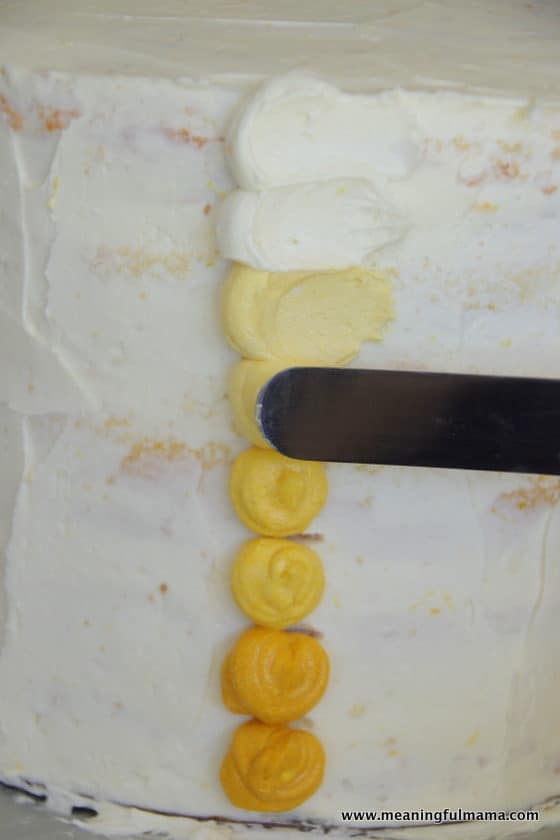
5. Press down gently with a frosting spatula and pull the frosting to the right. Wipe your spatula clean between colors.
6. Work all the way down until you are done with first column.
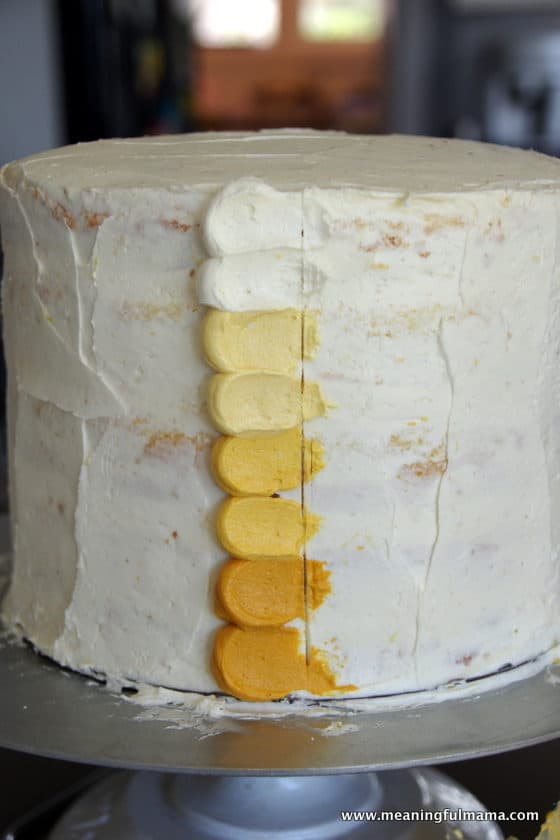
7. Using a straight edge, like the side of your spatula or a ruler, mark a straight vertical line done the right edge of your first pedal. This becomes a guideline for keeping your lines straight as you work around the cake.
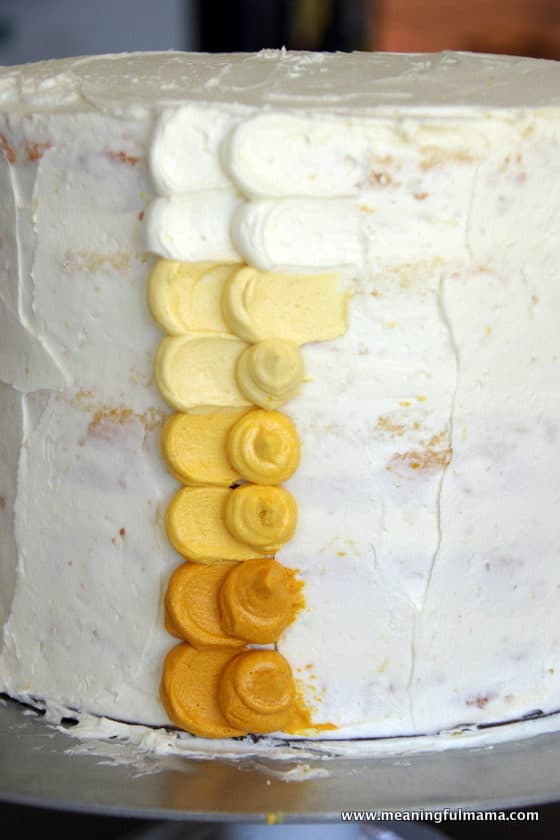
8. Put new buttercream dots along your line and use the spatula to press and pull the pedals to the right, just as you did on the first column.
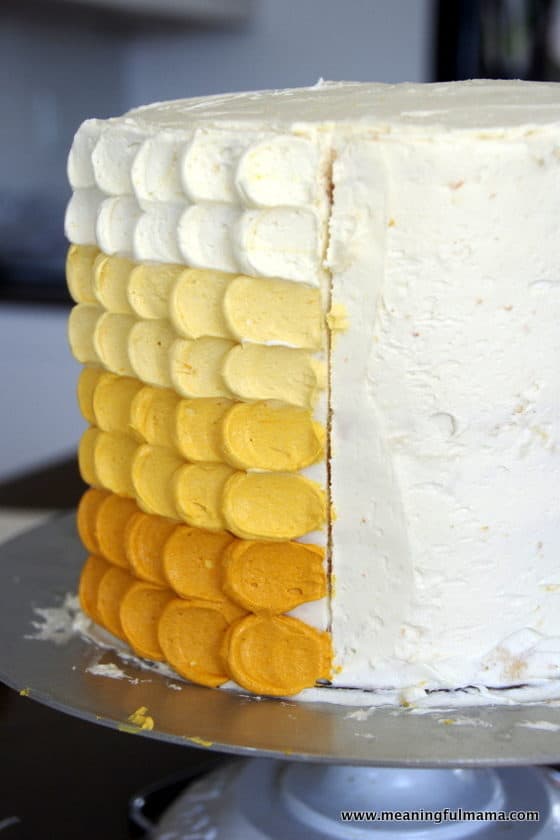
9. Continue working around the cake until you have completed the entire cake. The last row is a little tricky, but just do the best you can to try and tuck the frosting underneath the first column. This will become the back of your cake.
This ombre petal buttercream piping technique for cakes can be used for a variety of occasions. Match the color of your own celebration, whether it be a birthday party, baby shower, wedding shower or even a wedding cake. Beginning cake decorators can quickly master this cake design and impress their guests.
I hope you enjoy making your own ombre cake as you celebrate with friends and family.



So beautiful! Do you remember the color gels you had? I want these exact colors!
Thanks so much. I used a buttercup yellow gel from Wilton. I just added more or less to get the different saturations of color. I hope that helps!
Hi there. How large is this cake in inches and layers? Thanks
Oh my goodness. I am so sorry it has taken me so long to get back to you. I am so sorry!! It might be useless information now, but I’ll do my best to estimate the height. I’m estimating, based on my spatula being 1″, that this is a 8-9″ cake. It was a while ago, but I am also estimating that this is 5 layers based on the first picture of the cake I messed up. Again, I am so sorry it took me so long to respond.
No worries not too late, thanks so much for getting back to me!
No problem!