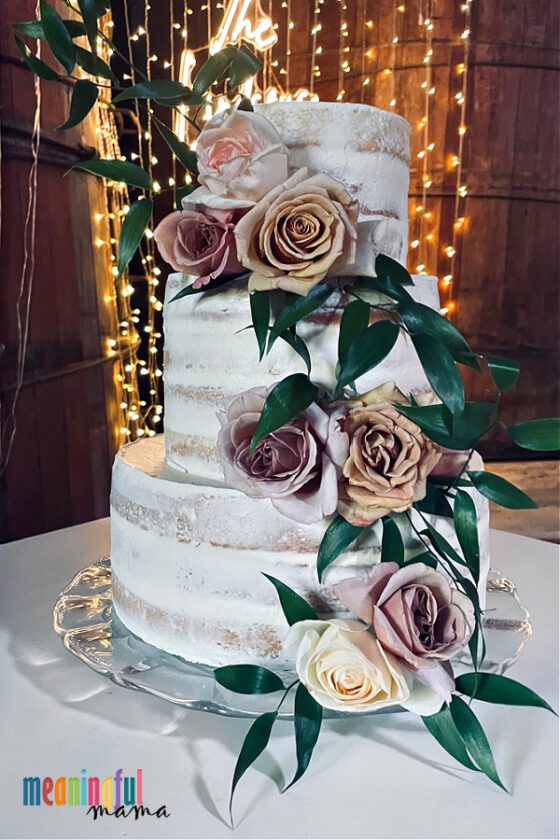
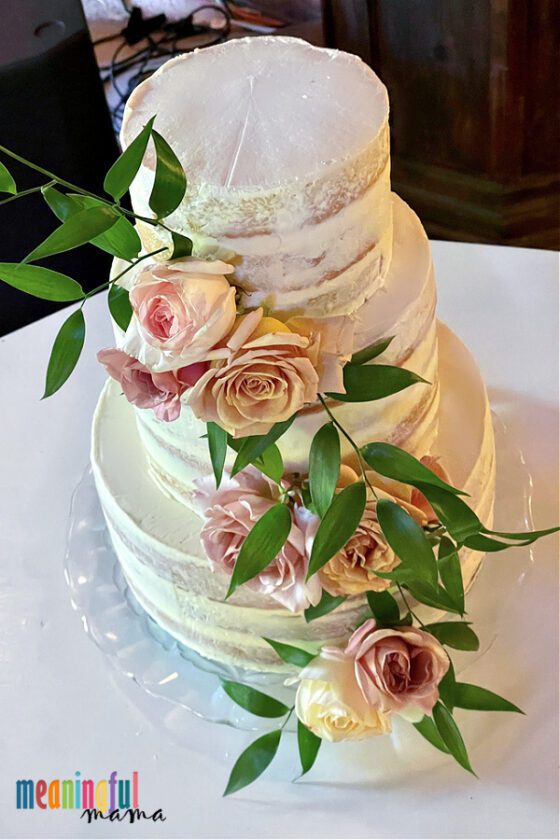
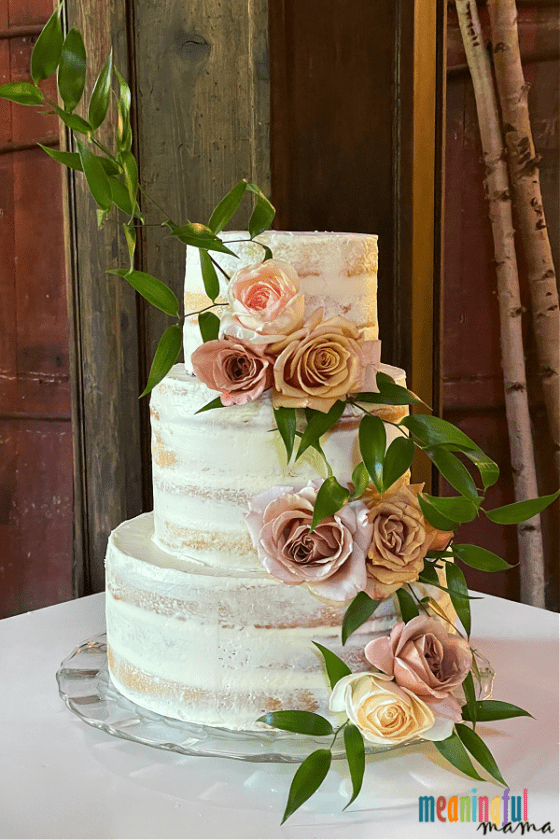
The tips I provide today will teach you how to make a naked wedding cake with fresh flowers on top. The simplicity of this cake adorned with pale-colored roses of lavender, pale rose, cream, and toffee, made for a beautiful addition to this already gorgeous barn wedding.
Want more cake decorating inspiration? Please visit my cakes tab.
How to Make a Naked Wedding Cake with Fresh Flowers
This post contained Amazon affiliate links. Anything you purchase through these links helps the free resources I provide here at Meaningful Mama. Thanks for your support.
Cakes are a hobby of mine. Weddings add a lot of pressure. People have asked me to do wedding cakes before, and I say, “I don’t do wedding cakes.” However, when your sweet niece whom you adore oh so much asks, the answer is of course yes.
So, I made a wedding cake. Because of this, I get to share with you how to make a naked wedding cake with fresh flowers.
Decorating a naked cake is one of the easier designs out there, so if you are new to cake making, this is a great option. I want to provide step-by-step instructions to make it very simple for you.
Step-by-Step Instructions for Decorating a Naked Cake
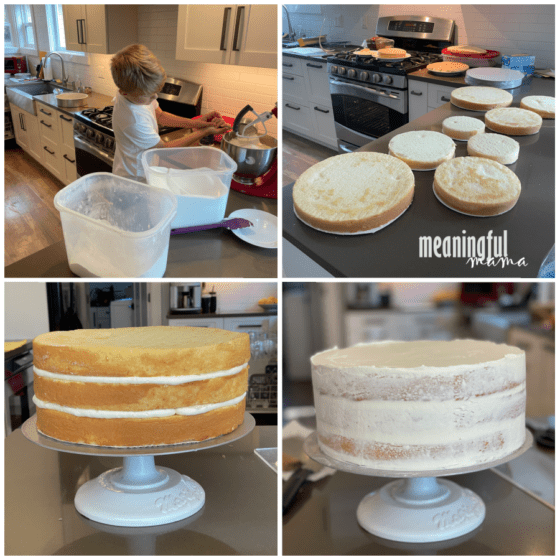
- Bake your cakes. I used my favorite white velvet cake and buttercream frosting recipes. Read my cake-making 101 post for all of my favorite cake-baking tips and tricks. Also, visit this post to see all of my favorite cake tools for making decorating and baking easier. One tip is to freeze your cake. This makes your crumb coat so much easier. For this wedding cake, I did 3 tiers with three layers each. They were 11″, 8″, and 6″ rounds. My son helped with the baking.
- Keep the bottom layer of cake on its cake round for each tier.
- Spread a layer of frosting in the center of the cakes. They wanted simple flavor combinations, so I did a lemon curd in the center, which I purchased at Trader Joe’s, and then just added the buttercream on top of that. Other cake-filling options include fresh fruit, homemade jams, pudding, salted caramel, and pastry creme. Check out this post for more great flavor combinations.
- Using a cake spatula, spread a very thin layer of buttercream on your cake. This is called a crumb coat. It seals in your crumbs and prevents a crumby look to your final product. Refrigerate for 20 minutes to seal in that crumb coat. This is best done on a cake turntable.
- Remove the cake from the refrigerator and do a final smooth and solid layer on the top.
- Finish the first tier by adding one more thin layer of frosting to the sides, allowing some of the cake to show through. Keeping your spatula warm and clean will help create smooth sides.
- Repeat for each tier.
- I leave my cake unstacked until it reaches its destination. Take cakes were carried in tall cake boxes.
- Once the cake needs to be assembled in place, I use large smoothie straws as my dowels that create stability in the cake. Insert them in the bottom and middle cake tiers and cut them to size. Read more about that here.
- Use a large, metal spatula to help pick up, center, and stack your cake.
- Add your fresh flowers and greenery to your cake. As you can see, we swooped down from left to right with 2-3 roses on each tier.
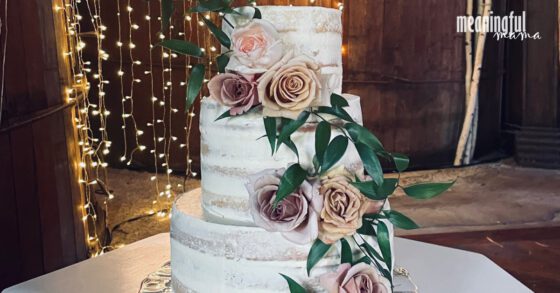
Hopefully, it is now clear how to make a naked wedding cake with fresh flowers. May you enjoy your celebrations with friends, family, and cake.
Sorry for the inconsistency in the color of the photos. I took some of these while another photographer took the others.
When did Naked Cakes Become Popular?
Naked cakes started to gain popularity around the mid-2010s. This trend emerged as a departure from more traditional, fully frosted cakes, offering a rustic and minimalist aesthetic. Naked cakes feature thinly or partially frosted layers, allowing the cake layers and fillings to be visible. This trend coincided with a broader movement toward more natural and organic styles in food presentation and design.
Can you Freeze Naked Cakes?
Yes, you can freeze a naked cake, but there are some considerations to keep in mind to maintain its quality:
- Preparation: If you plan to freeze the cake, it’s best to do so before adding any perishable fillings or decorations. This ensures that the cake layers freeze well without compromising the texture or taste of the fillings.
- Wrap properly: Once the cake has cooled completely, wrap it tightly in several layers of plastic wrap to prevent freezer burn and to preserve moisture.
- Use airtight containers: Alternatively, you can place the wrapped cake in an airtight container or a freezer-safe bag for added protection.
- Label and date: Don’t forget to label the container with the date of freezing and the type of cake, so you can easily identify it later.
- Thawing: When you’re ready to enjoy the cake, transfer it to the refrigerator and allow it to thaw overnight. Avoid thawing at room temperature to prevent condensation from forming on the cake, which could affect its texture.
- Re-decorate if necessary: Since the cake may lose some of its original decorations or toppings during freezing and thawing, you may need to touch up or re-decorate it before serving.
By following these steps, you can freeze a naked cake successfully and enjoy it at a later date while maintaining its quality.
Want More Cake Decorating Ideas?
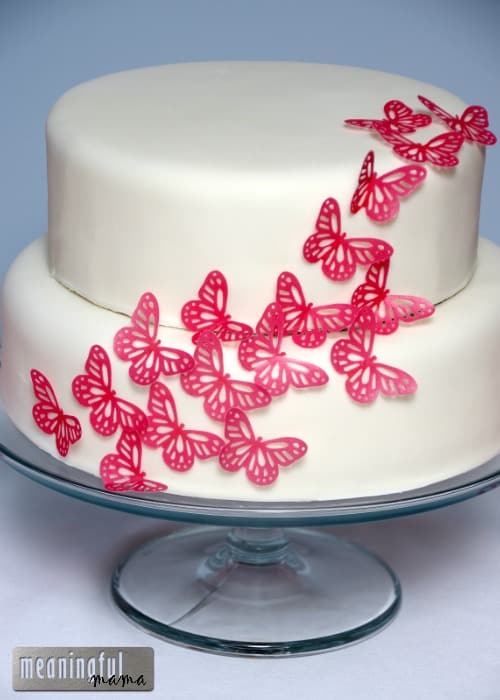
Simple Pink and White Butterfly Cake
