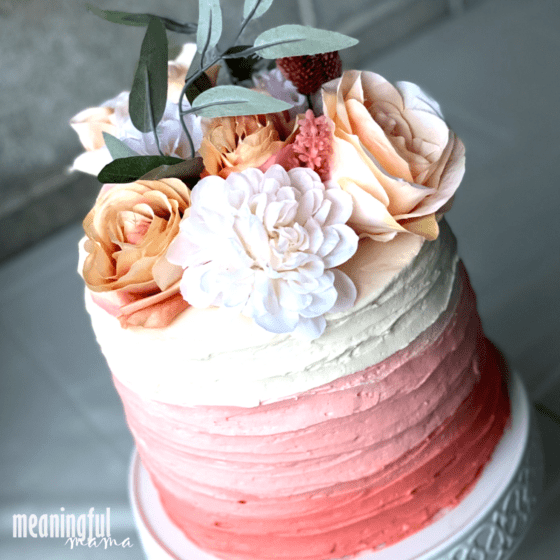
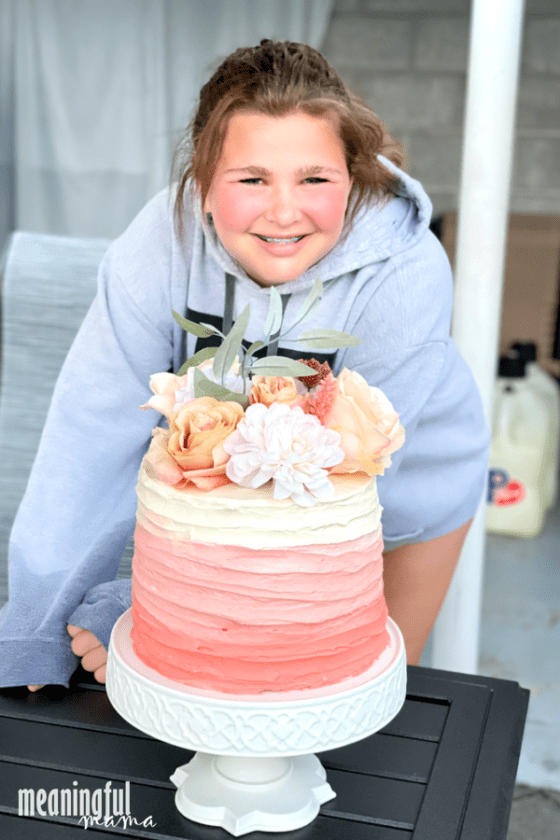
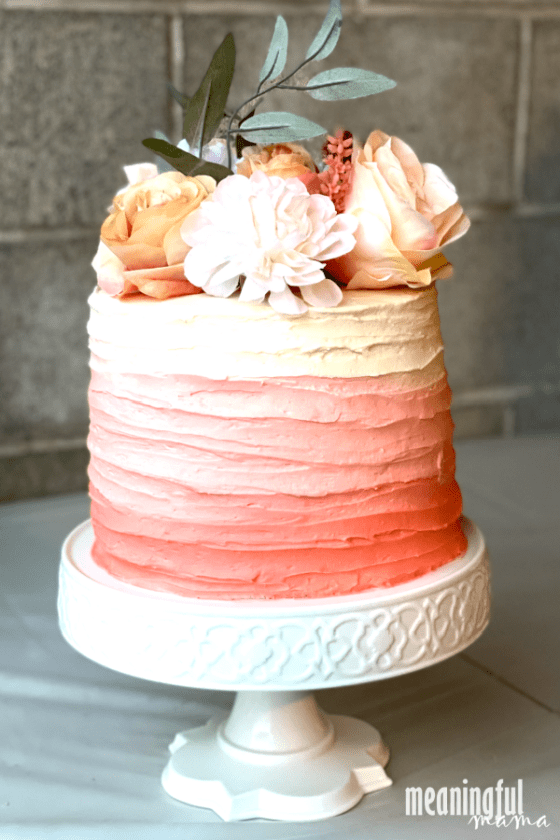
This beautiful peach ombre cake decorated with buttercream frosting is an elegant yet simple design for even the most amateur cake decorator. This birthday cake was created for my fourteen year old daughter.
She told me exactly what she wanted her cake to look like, and I was in charge of execution. Today, I get to share the process with you in case you’d like to make an ombre cake for your own celebration.
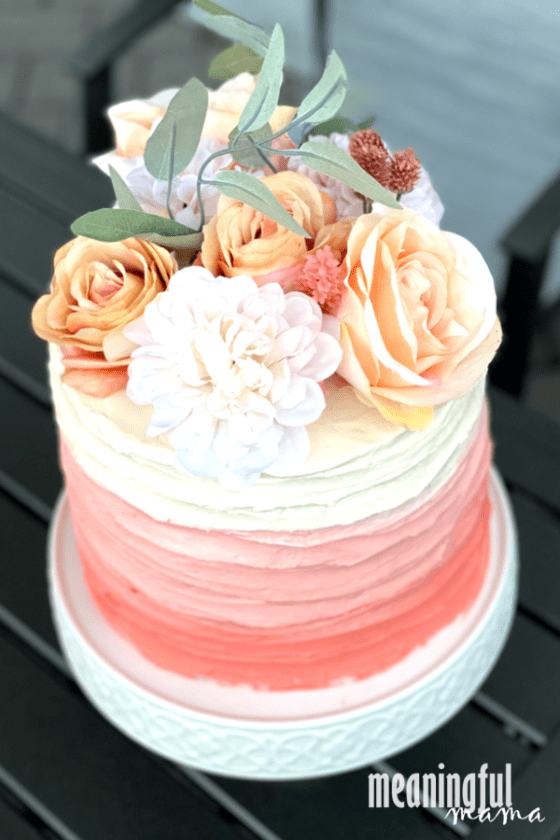
Beautiful Peach Ombre Cake
Cake decorating is a hobby of mine. If you want to see other cakes I’ve done, check out my cakes tab. While I often decorate with fondant because I like the finish, this cake required a frosted look. While getting a perfectly smooth cake finish can be challenging, the technique used for this beautiful peach ombre cake is really simple to execute.
If you are newer to cake decorating, I hope you will check out my Cake Making 101 post. This post provides all of my best tips from baking to frosting. It also links to my favorite recipes.
My Cake Making 201 post provides all of my best tips and tricks for working with fondant if you want to go that route in the future. One other helpful post if you want to get into cake decorating, is this post that provides you with a list of all of my favorite supplies and tools to have on hand.
Materials Needed to Make this Beautiful Peach Ombre Cake
This post contains Amazon affiliate links. Anything you purchase in these links goes to support the free resources I provide here at Meaningful Mama. Thank you for your support.
- Cake – I made this white velvet cake, which is my favorite white cake. I doubled the recipe to create four layers.
- Buttercream Frosting – I used my favorite buttercream frosting and made 2 times the recipe. I had some frosting left over, so I believe you could get away with 1.5x.
- Peach Food Coloring
- Spoon
- Cake Spatula
- Cake Turn Table
- 8″ cardboard cake circle
- Large Pastry Bag
- Ribbon Pastry Tip – This is a large, flat pastry tip.
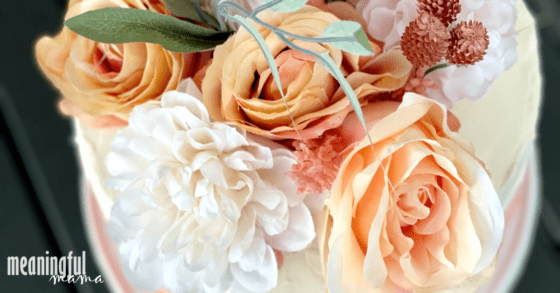
- Peach Colored Flowers – I found the bouquet of artificial flowers at Michael’s craft store. I could not find the exact bouquet on their website. These were purchased in store. Looking on Amazon, I thought this peony bouquet was a nice alternative.
Here are the items you need:
Wilton Paste Colour – Creamy PeachWilton Icing Spatula, 13-Inch, Angled Cake Spatula
Ateco Revolving Cake Decorating Stand, Aluminum Turntable and Cast Iron Base with Non-Slip Pad, 12-Inch
Wilton 8-Inch Cake Circle, 12-Pack
Wilton Featherweight Reusable Decorating Piping Bag, for Decorating Cakes and Pastries, Pipe Royal Icing and Your favorite Cake Batters, 16-Inch
Ateco # 789 – Ribbon Pastry Tip – Stainless Steel
How to Make this Beautiful Peach Ombre Cake
Confession: I got caught up in doing a TikTok live while making this cake (PSA: Please follow me on TikTok if you are not yet). Normally, I would take pictures of the process, but because of going live, I totally forgot.
No worries if you missed the live! I have done a similar ombre cake for my niece’s 16th birthday and have pictures of the process and instructions for an ombre cake, found here. As a visual person, I like to see the process. This might be how you learn also.
As stated, this was a four layer cake. Put your first layer on a cardboard cake round. Then, do your filling layer, cake, filling layer, cake, filling layer and cake. End with a thin crumb coat and stick it in the refrigerator to set. Remember to go to my Cake Making 101 post (linked above) if you need help with this process.
Color the frosting. Make three different bowls of frosting. One will have more peach gel food coloring, to get your darkest color. Remember, you can always add more food coloring, but you can’t take away, so add a bit at a time.
If you do overdo it with color, you can always mix in more frosting to tone it down.
The second bowl will contain a medium peach color for your ombre cake. The final bowl of buttercream frosting will stay white.
Frosting the Peach Ombre Cake
Put the darkest frosting into the pastry bag, fitted with the ribbon pastry tip, and pipe two rows of the dark peach color toward the base of your cake. Then, squeeze out the excess frosting back into the bowl. There is no need to clean out the pastry bag completely, as you want some transition color to the lighter.
Next, put the medium color frosting into the pastry bag and pipe out two rows of medium peach color.
At this point, you will want to clean out your piping bag so you can get that nice white color at the top. Pipe out the final bit of white frosting on the upper level of the cake and the top.
Using your spatula, smooth out the top while rotating the cake turntable.
The next step is to making the striations you see on the cake. It’s simple. You will use the back of a spoon. Press it lightly into the frosting on the bottom of the cake and just spin the cake turn table. Move your spoon slowly up the sides, overlapping slightly on each rotation.
You can wipe the spoon off every once in a while during the process so the frosting doesn’t build up on the back of the spoon. Definitely wipe the spoon before transitioning to the white.
When done, you can fuss a little to take away any bumps or inconsistencies you don’t like.
Finally, add the flowers on top. I just used a wire cutter to cut the stems off and arranged them as I saw fit.
Want More Cake Inspiration?
