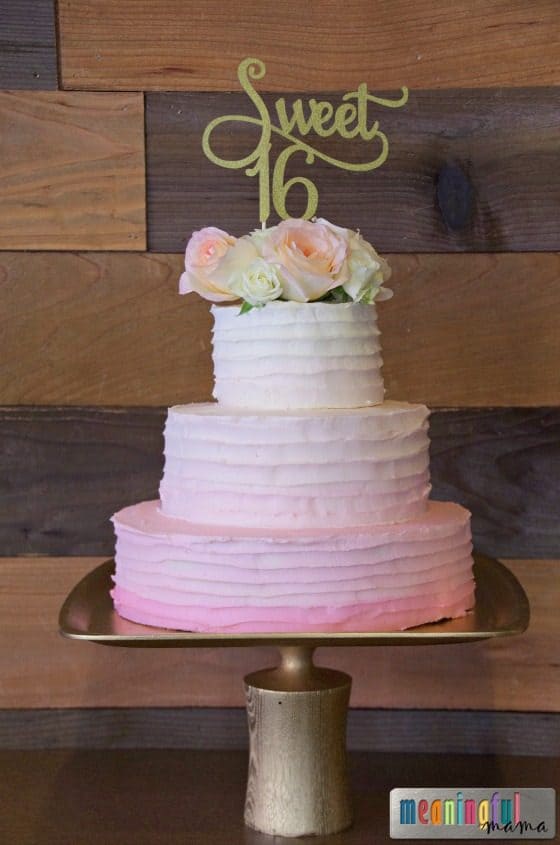
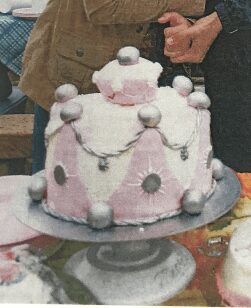
The first cake I ever made was for my niece. She was two. This sweet sixteen pink ombre cake now celebrates the young lady he has become. To be able to honor her at her birthday party through the decoration and the cake was such a privilege. Below I’ll share the first cake I made for her as well. This sweet sixteen pink ombre cake was made from her favorite mild coconut cake.
* Affiliate links provided for your convenience. Anything you purchase through these links helps to support Meaningful Mama and the free resources I provide. Thank you for choosing to support us.
While I do most of my cake designs in fondant (just see here), I decided to do a simple frosting technique to create this ombre look. I will give you a full tutorial. By the way, if you are making your own cakes, you will definitely want to try out my amazing buttercream frosting. I also think it will be really helpful for you to read my cake making 101 post to assist in the process of baking. I also have a great tip here for the best way to stack cakes.
Materials Needed to Make a Sweet Sixteen Pink Ombre Cake
- Cakes – Mine are size 11″, 8″ and 5″ rounds
- Buttercream Frosting
- Cardboard Cake Rounds 6″
(cut to size), 8″
and 12″
(cut to size)
- Smoothie Straws
for Stacking
- Sweet Sixteen Cake Topper
- Roses
- Small & Large Cake Spatula
- Large Pastry Bag
- 789 Cake Icer
- Pink Gel Food Coloring
- Ivory Gel Food Coloring
- Cake Spinning Stand
How to Make a Sweet Sixteen Pink Ombre Cake
Once you have all of your cakes made and then crumb coated (I hope you read my cake making 101 post), you will want to begin decorating from the top tier to the bottom. The reason for this is that you will want to start with the lightest color and then add small amount of pink coloring until you get to the very bottom.
I decorated each tier separately, again, starting at the top. Then, I stacked at the end. Here is another tutorial for a different kind of ombre cake you can also pursue if you are wanting a slightly different look.
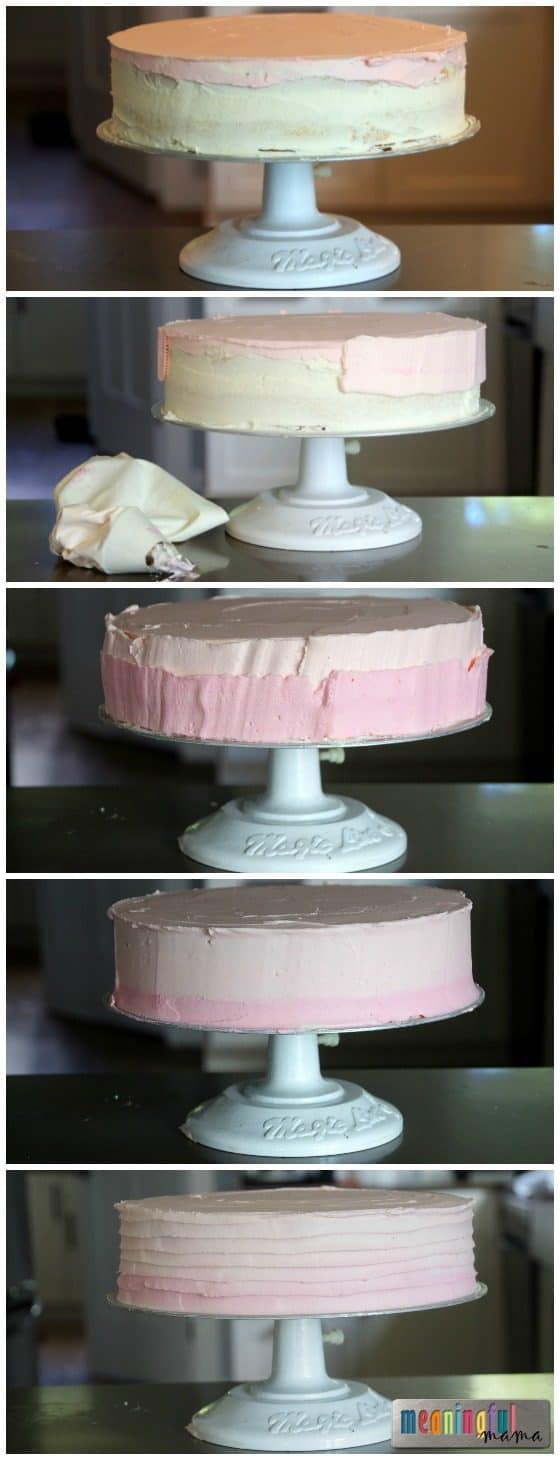
This picture tutorial shows the bottom tier, but you will do the same technique for each tier. Again, this procedure happens after the cakes have been given their crumb coat.
My tip for coloring is to add small, small amounts of the food coloring at a time. I started with just the frosting (no color added) at the top. Then I mixed the first color. You can easily add too much, so whip in just a tiny amount. You can always add more coloring if the variation is not enough. I added mostly pink but a tad bit of ivory to lessen the saturation a bit. I mixed one color at a time and used two slightly different color pinks for each tier. Here’s how to decorate:
- Using the lightest color for that tier, frost the top of the cake first and spread the frosting flat using a large cake spatula
(picture 1).
- Add the lightest color frosting to your large pastry bag fitted with the 789 cake icer. Using the lightest color, pipe the frosting around the edge of the top of the cake (picture 2).
- Empty out your bag completely, but you don’t need to wash it out.
- Add the next darker color to your pastry bag and pipe that to the bottom edge of your cake (picture 3).
- Using a large cake spatula, hold it vertical to the cake and smooth the edges while turing the cake (picture 4).
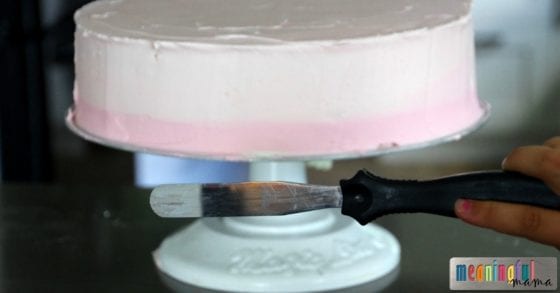
- The final step is to use the small cake spatula. Hold it horizontal to the cake, just touching the cake with the tip of the spatula. Begin turning your turn table. Once the bottom of the cake has the first indentation, gradually move the spatula to the next level with slight overlap. You will want the tip of the spatula remaining at the same distance while slowly and consistently turning the cake turn table. To create stability, I rested my elbow on the table and kept the spatula still as I turned the cake (picture 5).
There you have the tutorial. Once you are done with each layer, stack them. If there is a gap between tiers, pipe out a a little bit of frosting with the small spatula and smooth the bottom strip around the edge.
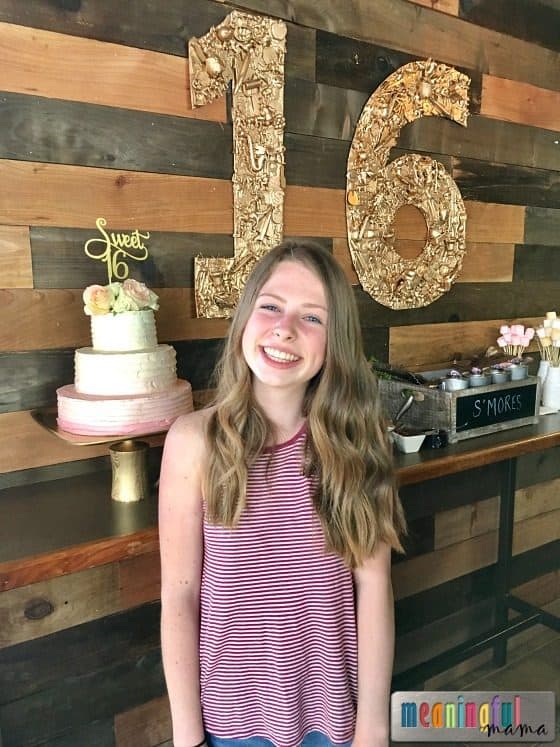
Here’s a picture of my sweet niece and her cake:
As promised, here is the first cake I made for her. It’s a screenshot of a picture of a picture, so I’m sorry for the quality.



I loved hear ideas! So did you do the base color(ivory) for the top tier? And how many times did you yiu add color? Thanks!
Hello! Thanks so much. This paragraph might help: “My tip for coloring is to add small, small amounts of the food coloring at a time. I started with just the frosting (no color added) at the top. Then I mixed the first color. You can easily add too much, so whip in just a tiny amount. You can always add more coloring if the variation is not enough. I added mostly pink but a tad bit of ivory to lessen the saturation a bit. I mixed one color at a time and used two slightly different color pinks for each tier.” Basically no color for the top of the top tier. Each tier has two different shades, adding a little bit of ivory but more pink at each level. Does that make sense? Hope that helps.