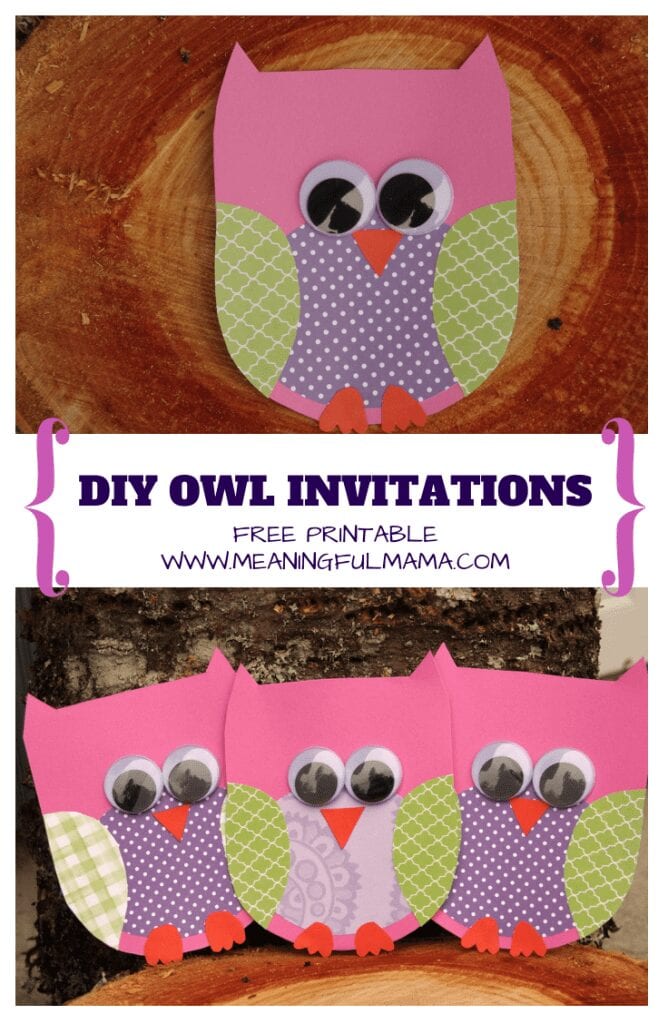
We just celebrated my daughter’s 5th birthday, and she wanted an owl party. She has wanted an owl party for months. I think she decided back in early fall, and it has been set in her mind ever since. Who am I to complain? It’s an adorable party theme in my opinion. Now that the party is complete, I can bring you all the details that made it happen. First always comes the invitations. I wanted to bring you my owl invitations template for free.
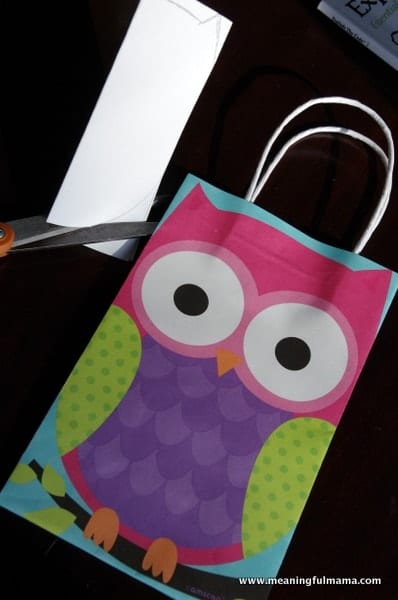
My inspiration for these cards as well as the entire came from these party bags I received from Party City. These bags were sent to me at no charge, and this post does contain affiliate links. All opinions and experiences are my own. I used the general colors, shape and ideas to inspire all of my designs for the party.
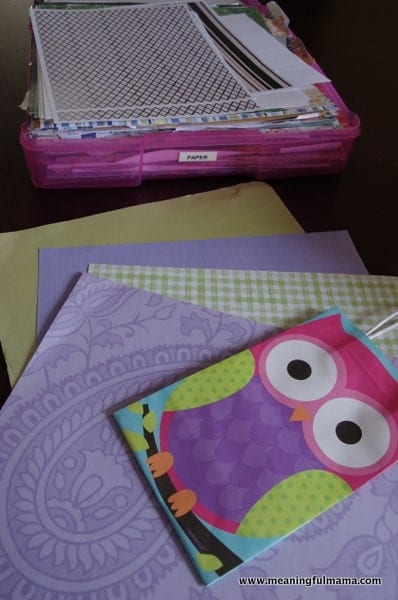
I chose scrapbook papers I had on hand to duplicate the look and feel of the owl patterns and colors.
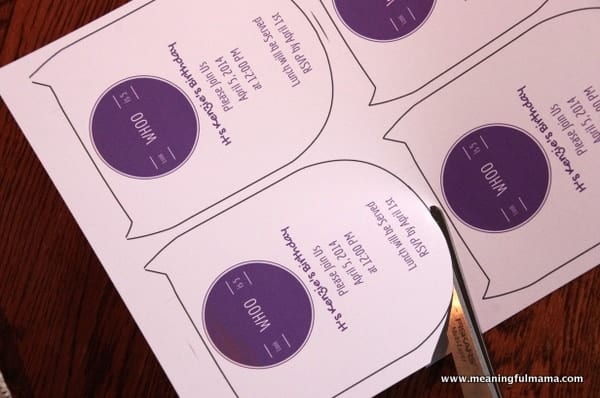
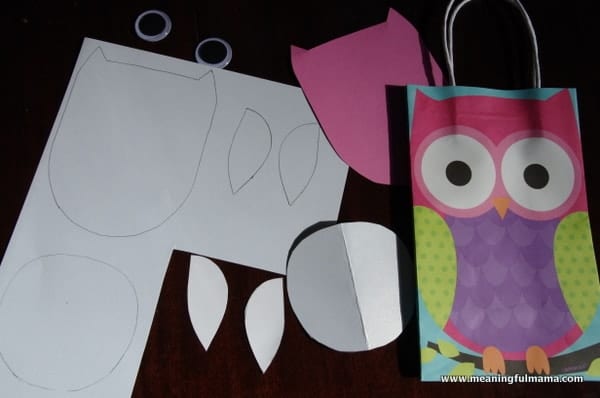
The next thing you need is the template. My husband created the fabulous printable you will need to re-create these invitations on your own. If you like this printable and the content I have made available to you FOR FREE, I’d love for you to show your appreciation by signing up to follow my blog via email (“follow by email” is found on my right sidebar). You can also follow me by clicking on the social media icons found in the upper right hand corner of my blog. I am dedicated to bringing your great, usable content that I believe you will enjoy. Thanks in advance. Once your print out this template onto stock paper, cut around each of the pieces of the template.
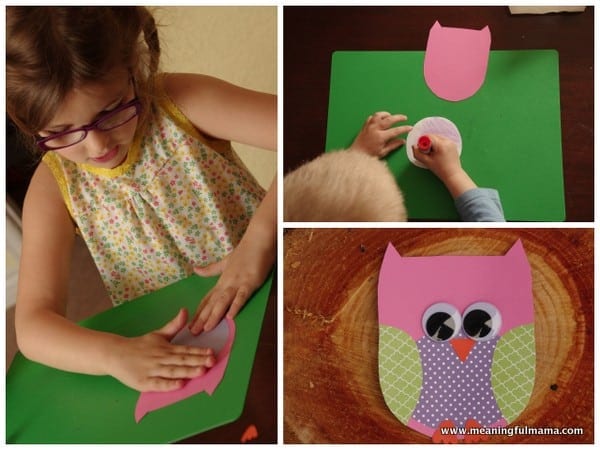
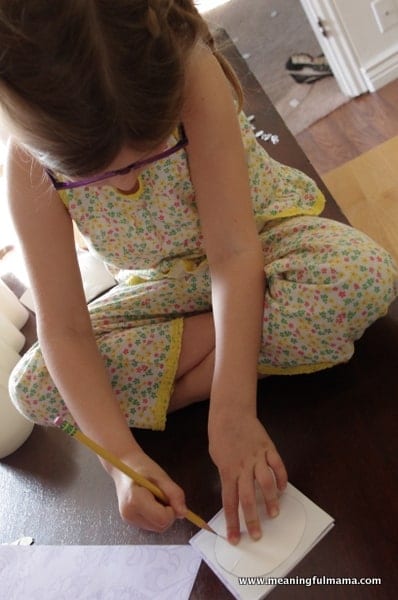
The next step is to trace around the template onto your colored scrapbook paper. I folded the paper a number of times so that I could cut out a bunch at once. I always look for areas to get my kids involved. They love to help, and it is a great time where I can both get things done and do an activity with them. I encourage you to find these times as well.
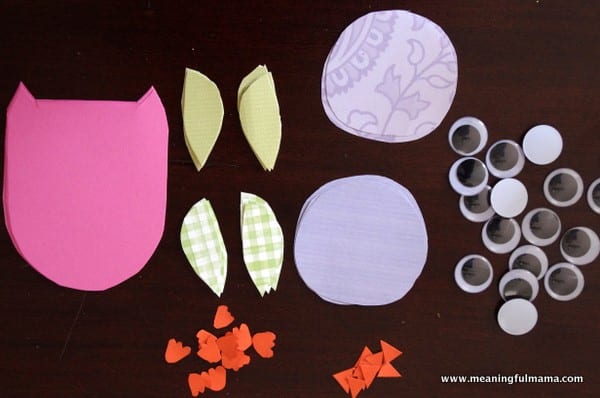
We cut out all of the different elements of the invitation and had them ready to go so we could begin assembling them. You will also need PKG (150) Large Black and White Googly Eyes. I attached these with Glue Dots Craft Sheets Value Pack.
The next step was to start to piece everything together. You can have your kids help with this part too. We used a glue stick and double stick tape to attach everything, except the eyes that we stuck on with glue dots.
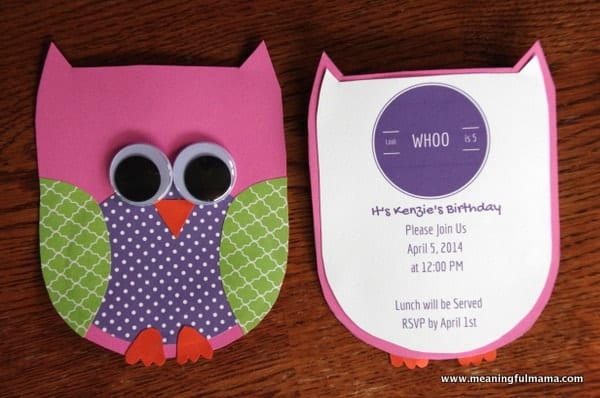
The final step was to create the back of the invitations. I took a screen shot of the pdf printable my husband made. I took the screen shot of just the main body owl outline. I then pasted this into a Word document and put four per page. I created the “Look Whoo is 5” graphic in Canva, an online graphic creator. The rest of the invitation content was created in a text box.
I used double stick tape to adhere this on the back of the owl after I had cut it out. We were done and ready to get them in the mail.
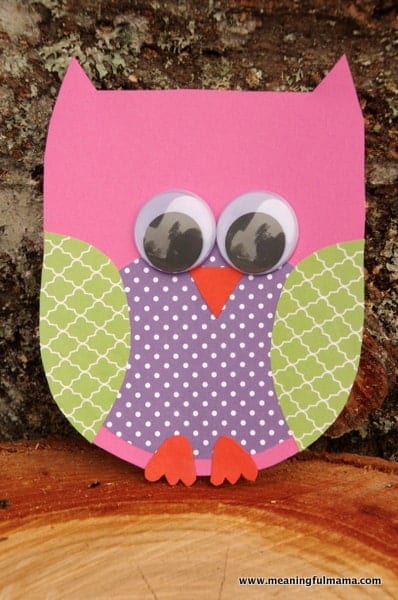
I love how these turned out. I hope this has been helpful as you create your own owl invitations.