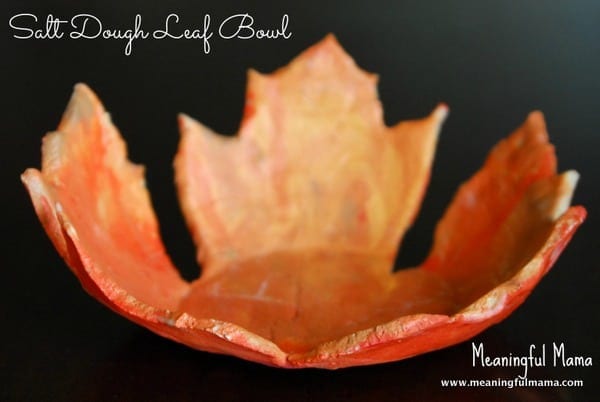
This salt dough leaf bowls is a perfect way to bring in the new season. It’s a fun craft for kids of all ages. Materials are minimal, so whether you are looking to entertain your own kids or making these with a number of kids in a classroom setting, this is a super fun option. Just make sure to get parent volunteers if the latter is true. For more leaf crafts, check out my Easy Fall Crafts for Kids.
* Affiliate links provided for your convenience. Anything you purchase through these links helps to support Meaningful Mama and the free resources I provide. Thank you for choosing to support us.
I absolutely love the fall. The gorgeous colors of the leaves and the changing of the seasons is fun to duplicate in crafts with my kids.
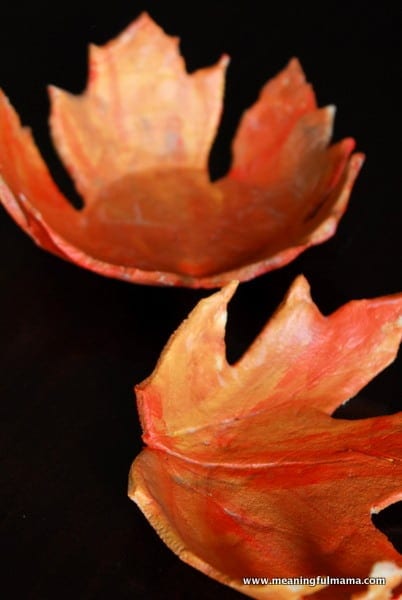
This salt dough leaf bowl yields a beautiful result, but it was done by preschoolers. Can you believe it? We had a lot of fun creating these together.
I was inspired to do this idea after watching the Google+ Hangout hosted by Red Ted Art. She had done leaf bowls with actual clay, firing it in a kiln. Well, I don’t own a kiln. She also suggested using quick dry clay. Having worked with salt dough when making my fall salt dough ornaments, I immediately knew I wanted to try a salt dough version. If you need a great recipe, here is my salt dough recipe. Doing salt dough ornaments with my own mom around Christmas time while I was growing up is a favorite memory.
Salt Dough Leaf Bowls
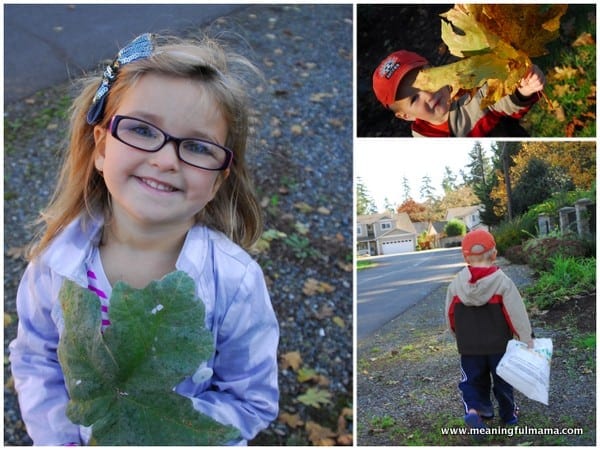
The first thing we did was go on a nature walk to collect leaves. We found some beautiful ones perfect for this activity. If all of the leaves have fallen, don’t fret. You can buy fake leaves at a craft store. I actually think they might work better with the thickness of their plastic veins. You make get more of an imprint in your salt dough.
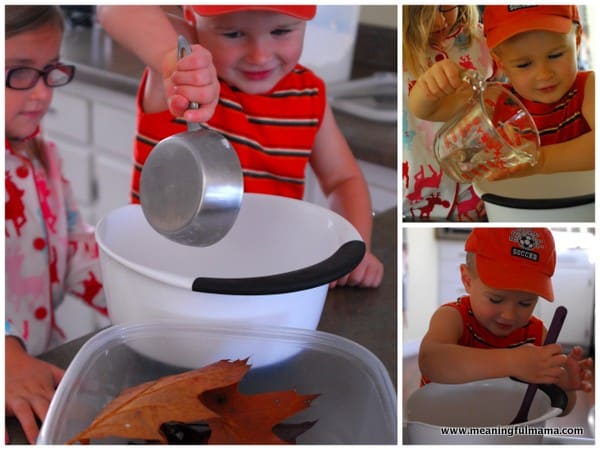
Next, mix up your salt dough. Your kids can easily help with this. Click back to find my salt dough recipe.
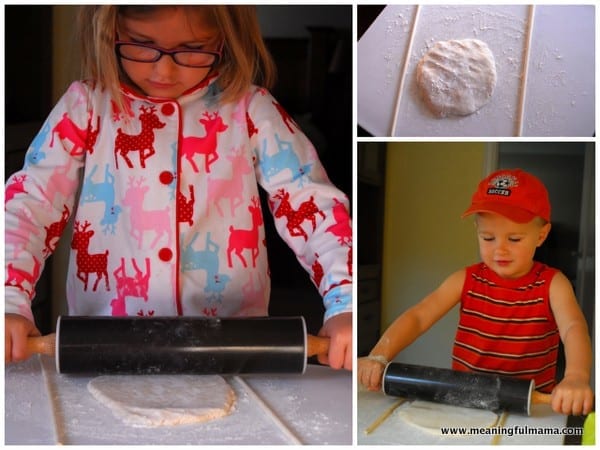
Once the dough is made, it is time to roll it out. A great tip for rolling out dough is using 1/4 inch cake dowels as a guide to get an even thickness. You can see Kenzie slipped off the dowels in the picture above, but you just need to get them back on the track, and they will have an even thickness for the bowls. I use this idea when rolling out my fondant too. We rolled out our dough to 1/4 inch thickness. I wouldn’t go any thinner. They are fragile as is, so you could go a bit thicker. However, I do like the fragile end look of ours.
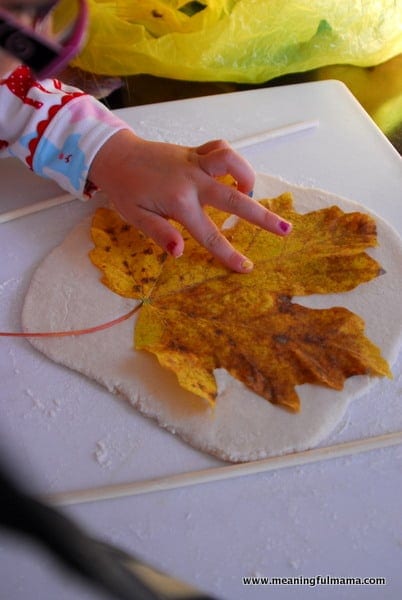
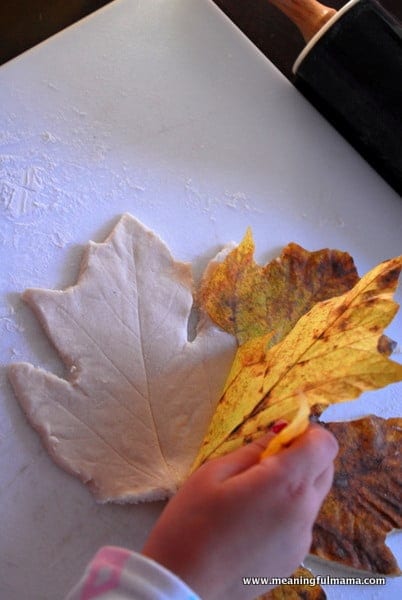
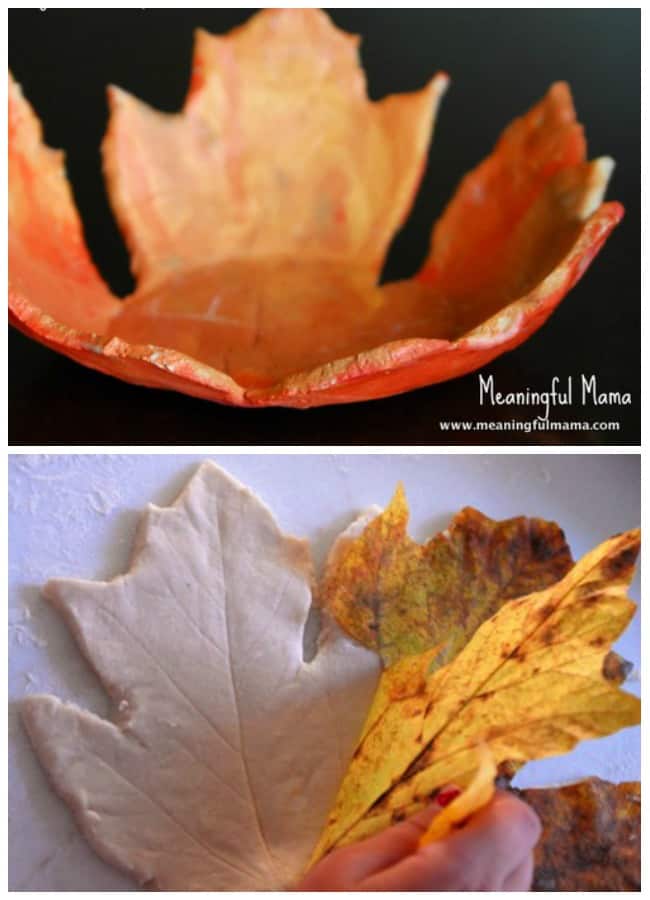
The next step is to lay your leaf on the dough. I had the kids gently rubbing over the veins to make an impression in the dough.
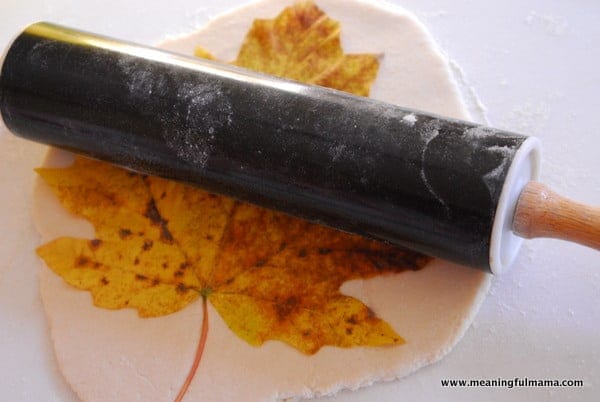
Then, I did one light roll over the leaf with the rolling pin.
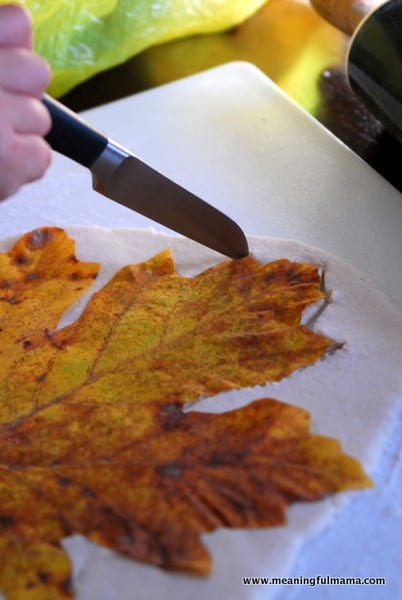
The next step is to cut around the leaf. I used a sharp knife and helped during this part. I guided their hand with the knife around the outline of the leaf. Monitor this closely. This is the reason you will need parent volunteers if you are working in a classroom setting. You’ll want to work with a few kids at a time.
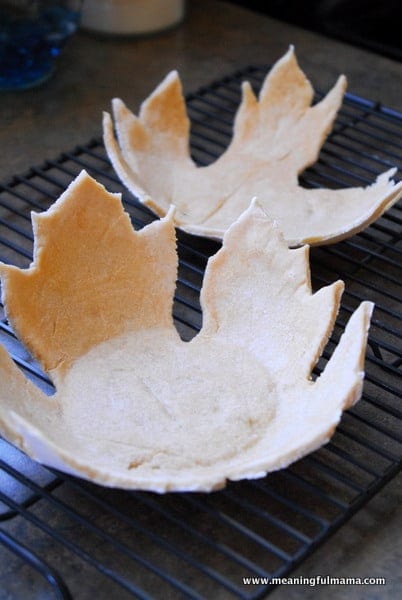
The leaf can then be pulled away to reveal the leaf imprint and shape underneath.
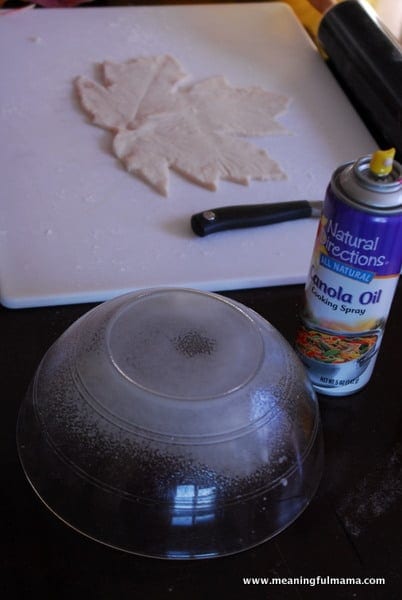
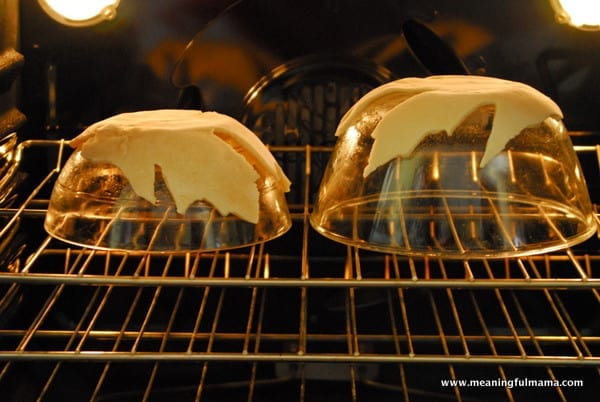
Spray an oven safe bowl with cooking spray. When I say oven safe, you will want to look for something like a glass Pyrex bowl. I used both a Pyrex and another glass mixing bowl I have.
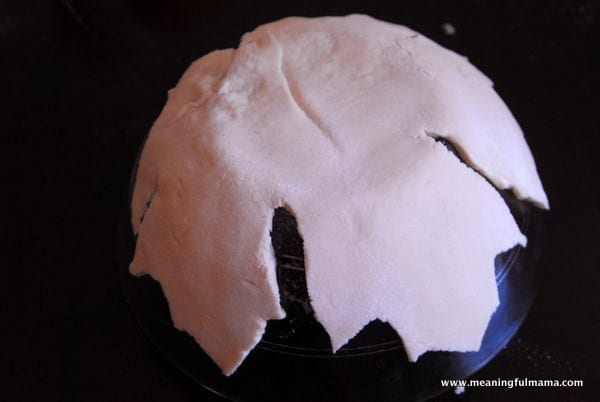
Carefully lift your leaf and lay it over the bowl.
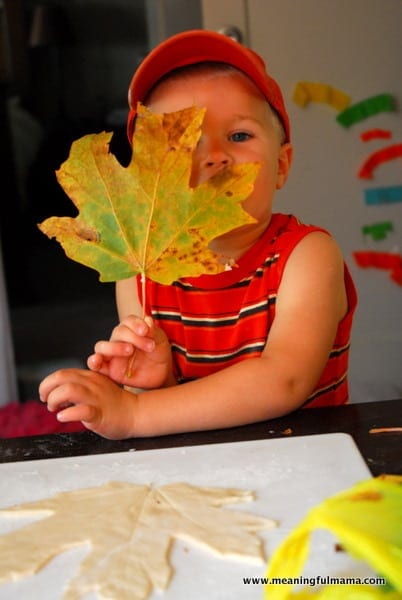
Corban was able to help make his own leaf as well.
We placed both of the leaf bowls in a 250 degree oven for 2 hours.
I pulled them out of the oven and let them cool on the glass bowl for about 15 minutes. Then, I gently lifted them off the bowl and set them on a cooking rack to cool completely.
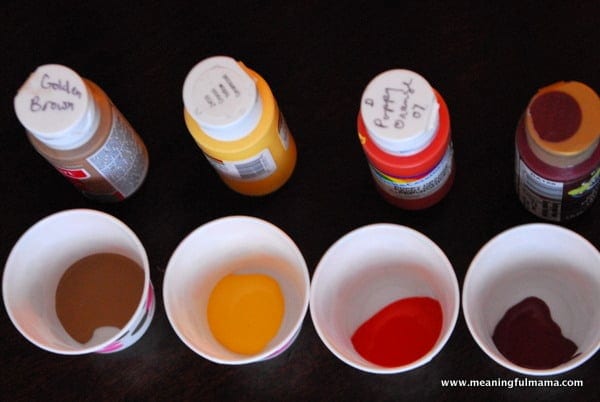
Once cool, we picked out four fall colors and put them in Dixie cups.
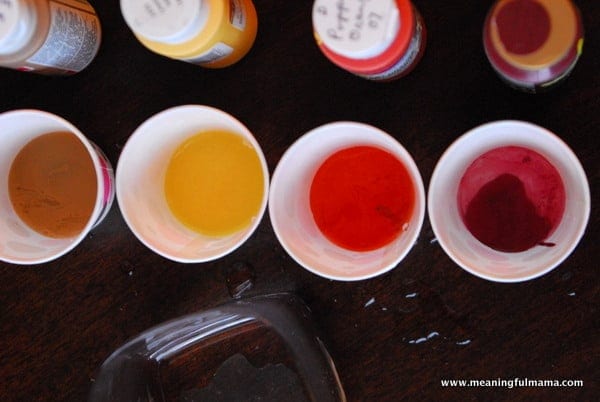
I added a little bit of water to each to thin out the paint.
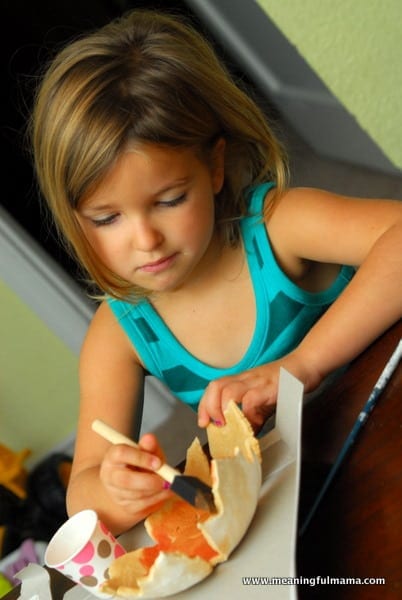
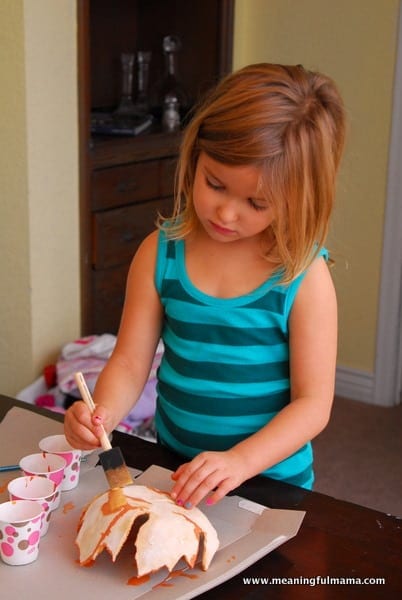
Then the kids went to work dipping their sponge brushes in the paint and mixing the fall colors however they liked.
They will want to do a layer of paint on the inside of the bowl.
Then, they can flip it over and paint the back. These bowls are fragile, so make sure they are not pressing firmly against the leaf bowl.
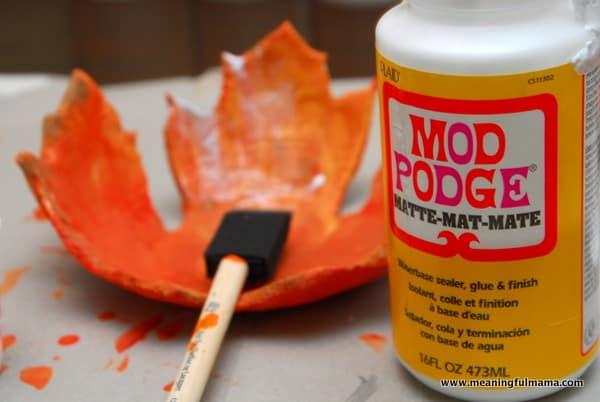
Once the paint was dried completely, we added a coat of Mod Podge. I did a matte finish because it is what I had. I think a nice gloss finish would be better to give more of a glazed effect. You could also look into options for making it more protected with some sort of shellac finish. I’ve never worked with that before, so I’m not sure if it would work or not.
Note: This post was originally written in 2013. It has been re-vamped and republished in September of 2017.




We bought the stuff today at Michaels to try this! This will make great teacher gifts!
Cool! Let me know how it goes. I was thinking they’d be cool gifts too.
I am letting you know! This was so awesome! Just today I was thinking if I was disciplined enough to be thankful for something every day on facebook, today I would be thankful for you, your three kids that are about the same age/style as mine, and the fact you think of all of these amazing things and then share the wealth! We loved looking for the leaves, they all love using the rolling pin, and as it worked out it gave me a little sweet one on one with each kid. Our leaves are browner than yours, and nothing but christmas stuff out at michaels right now so couldn’t get fake leaves. I soaked the leaves we found in water in the sink, then patted them dry before putting them on the dough. That kept them from crunching into little pieces. Abi and I made bowls, and Lily and Miles chose to make ornaments. I just cut a little hole in the top of the leaf. I forgot the cooking spray on my bowl but remembered after about 10 minutes. So I gently scraped it off the bowl, sprayed and returned it to the bowl. It was fine but the spray is essential for sure. A few more minutes and I think my bowl would have been a disaster. I was also able to show the girls your tutorial before we did the project and that was great too to give them an idea of what was coming. We got home from a two week absence on Sunday and school was out Monday and Tuesday – this craft was the perfect easy activity to break up a boring day.
Love this, Melanie. Thank you so much for bringing this joy to my attention. I can just picture your sweet family doing this together. I wish you guys lived closer. It would be fun to hang out. I’m so glad the craft worked really well for you too. It’s so fun to hear of friends implementing things immediately. Thank you for this encouragement.
Where can you get pyrex bowls
Here’s an Amazon affiliate link that might help you: http://amzn.to/2vJdsOr Thanks, Jodi!
I love working with salt dough! These leaf bowls turned out so beautiful Jodi! Pinned this one!
Thank you so much, Trish. We had a lot of fun making them, and I love having them on display right now. Thank you so much for the pin.
Wow, I love it 😀 will recently give it a try, just going to have a nosey at your salt dough recipe now.
Will be following you by email. Lovely blog 🙂
Thanks so much. So glad you found me. I’ll have fun checking out your blog too.
These are just amazing! I think they would make beautiful gifts for family at Thanksgiving- I think we’ll make one for my mother! Thanks for the idea- pinning and sharing today!
Thanks so much for pinning and sharing. I really appreciate the support. I am also really excited to hear you are going to make them. Let me know how it goes!
this is pretty fabulous! pinning!
We had so much fun making them and now love using them. Thanks so much!
Such a fun idea! I just did these with my kiddos right before Thanksgiving. We had a blast doing them. Just one question, though. Our leaves turned out a little more puffy and held less detail from the veins than yours did. I’m wondering if ours were just too thick to start with, or is there some other step I may have missed? Thanks again for sharing!
I’m so glad you guys had fun doing these. I’m guessing I rolled mine a bit thinner based on your description. I do think the veins on mine would have turned out better if I had used fake leaves too. I thought they’d appear more than they did. I’m just glad you had fun!
Thanks for the input, Jodi. Next time I’ll make sure we roll out the dough a bit thinner. 🙂
These are beautiful! The process looks like so much fun too. My daughter and I will have to try them.
I hope you have a lot of fun with these. They’re super fun to make, but they’re fragile in the end. Treat them with care. They are fun to display all fall! Thanks for commenting!
Love this! Featuring on my KBN roundup of Favorite Fall Activities and Crafts for kids at: http://www.happyandblessedhome.com/fall-activities-and-fall-crafts-for-kids/ Thanks for sharing! Pinned.
Thanks so much for the feature. I really appreciate it!
Very cute idea! I may try this with my grandkids.
I hope you do. Let me know if you enjoy it. Thanks!
Great tutorial, I am using it as an inspiration for an after-school craft club project 🙂
Thanks for sharing!
Yay! I hope you have a lot of fun with it. Thanks for letting me know.
I have a son with Autism who loves to bake and craft and paint so we do a lot of salt dough. Thanks for this great idea. We will be making it today when he gets home.
So fun! Thank you so much for letting me know. I hope you have a lot of fun with it this afternoon!
[…] are these cutest gifts! These leaf bowls look like real fall leaves and I love them. They would be perfect for holding rings, earrings, or […]