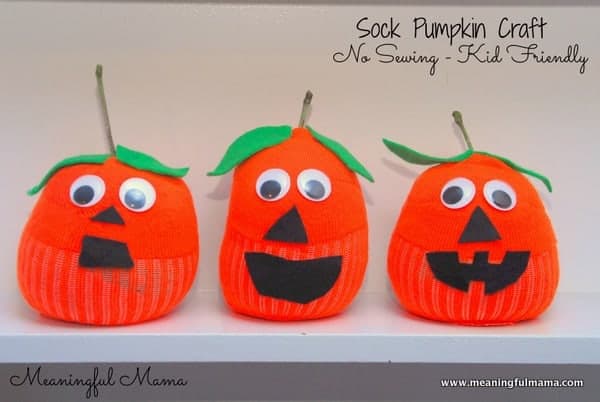
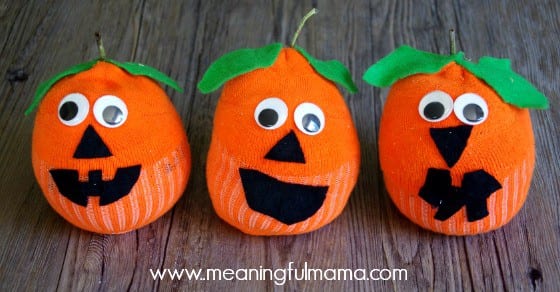
This is a wonderful sock pumpkin craft for you to enjoy this Harvest season. It is a no sew project, and it is great for kids of all ages. If you are looking for more pumpkin crafts, I hope you will check out my paper pumpkins.
This is a wonderful sock pumpkin craft for you to enjoy this Harvest season. It is a no sew project, and it is great for kids of all ages. It’s a really easy project with minimal supplies. I think you’ll have a lot of fun with it. I came up with the idea with inspiration from these adorable sock snowmen from The Purple Pug. I just took the main idea and applied it to this season.
Materials Needed to Make the Sock Pumpkin Craft
* Affiliate link added for your convenience.
Orange Sock (I was originally looking for kids socks but found man socks instead…it worked)
Rice or Beans
Rubber Band
Black and Green Felt
Large Googly Eyes
Stick
Fabric Glue or Hot Glue
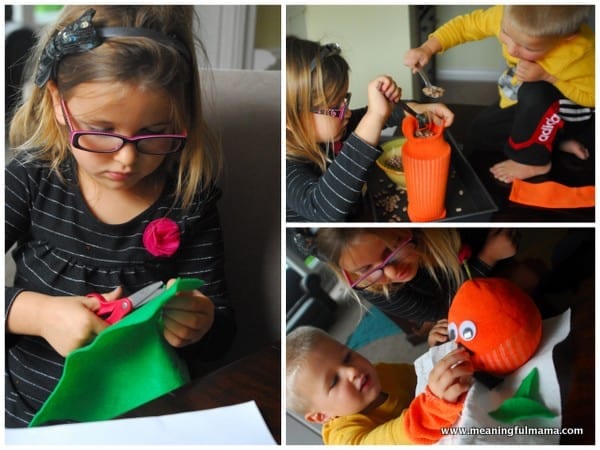
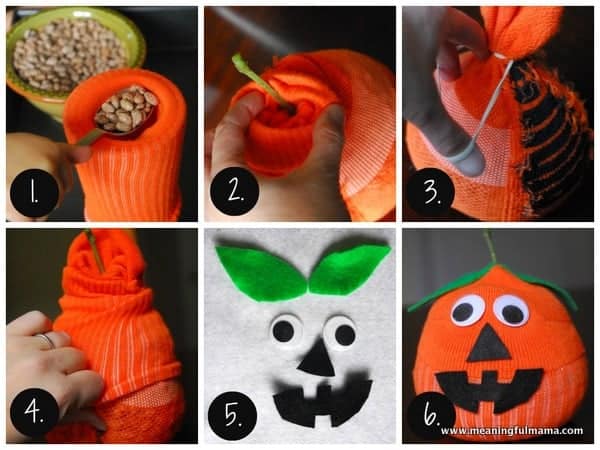
- Turn an orange sock inside out. Fill it up to half way with beans or rice. I stretched the sock over a cup so the kids could easily scoop in the beans. After the initials beans were put in and there was not more room in the cup, I took it out and stretched it out by hand so the kids could dump the beans in. You could also use a paper funnel. Fill it about 1/2 full. I didn’t fill it quite as much because I had large man socks. It’s OK to have excess sock. I kept pushing the beans down to make the pumpkin rounder rather than longer.
- Get a stick from outside and put it in the center of the open sock. This will become your stem. It will go down into the beans or rice. Pull the top of the sock straight up around the stick
- Wrap a rubber band around the sock and stick right above where your beans and rice end.
- Pull the top of the sock back down and around the base with the beans and rice.
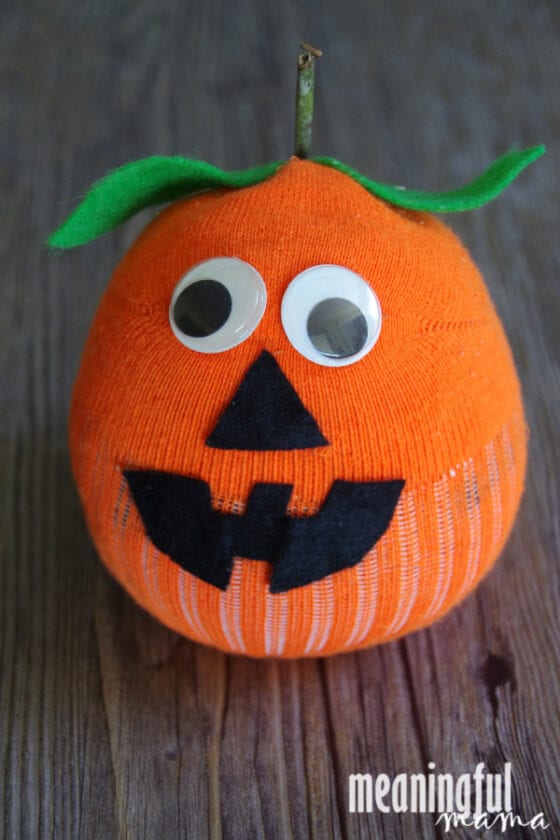
- Cut out leaves, nose and mouth out of felt. Use googly eyes eyes or cut some eyes out of felt. Thank you, Craft Project Ideas, for the googly eyes for this project.
- Glue on your leaves, eyes, nose and mouth. I used hot glue, which I always know will stick. The kids can do more of the project if you have fabric glue. I’m pretty sure that would work well too. I just didn’t have any.
I have a few more pictures I thought you might find helpful:
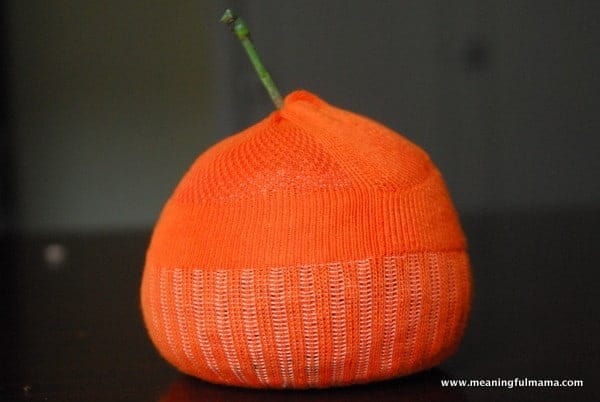
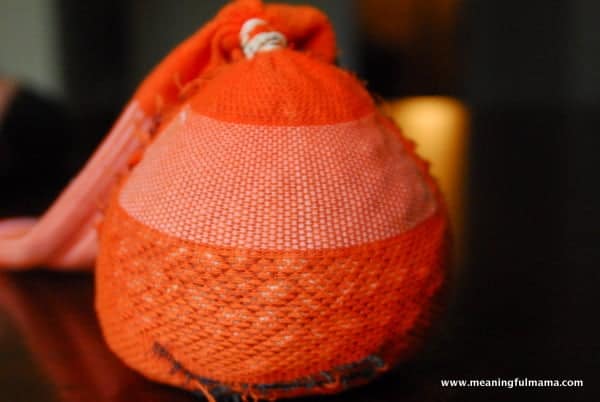
This shows the step right after you have put your rubber band on the sock.
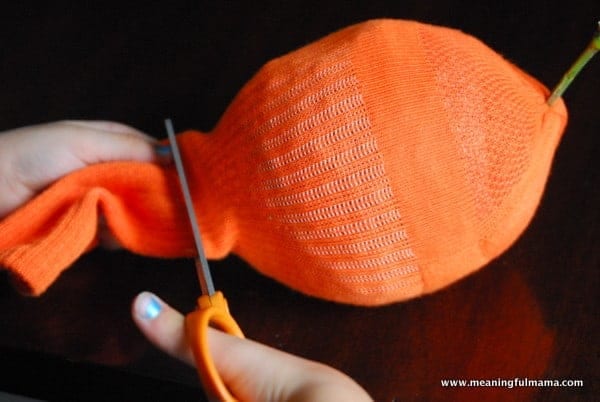
You might have excess sock. We cut them off of one and just tucked them under on the other sock pumpkins. Either way works just fine.




These are so cute! What fun they must have been to make.
Hey…I can’t figure out if you used the “foot” part of the sock, or the “ankle/leg” part of the sock. THanks!
I used the whole sock. I filled up the foot part with beans, rubber banded the top and the folded the leg part back over the sock ball of beans. Does that make sense? I hope that helps. Let me know if I can clarify further.
Where did you find the orange socks?
I added an affiliate link within the post – right under the picture of the sock, but here’s the link for your convenience. Have a great time with it! https://amzn.to/2BbIQIM