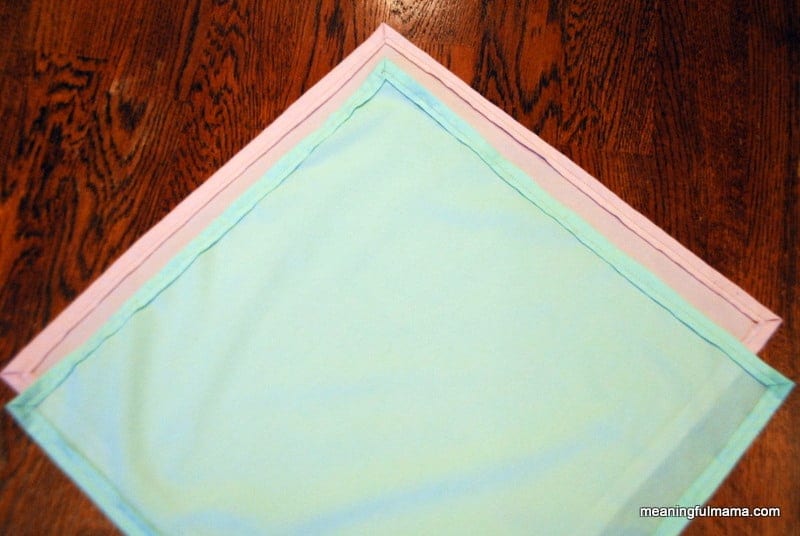
Almost every day of this blog I’ve given you activities to do with your kids. That is the heart of my blog, and I intend to keep in the heart. I diverged from that slightly today as I was working on a project for Abby’s birthday. It was a new skill for me, so it was something I had to do on my own. I started in on the project to teach you how to make a cloth napkin with a square corner like this:
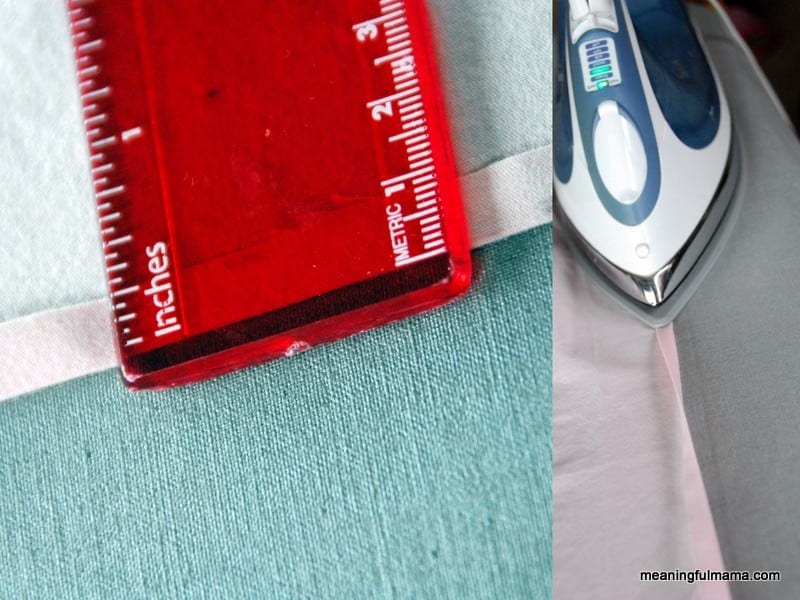
2. Measure 1/4 inch from the edge, fold and iron down the side. The first one I measured, but then I began to eye ball it…a skill I need to improve upon. Perfectionism isn’t really a gene I inherited.
3. Fold over the same side one more time and iron again.
4. Repeat this process on all four sides of the napkin, ironing each time.
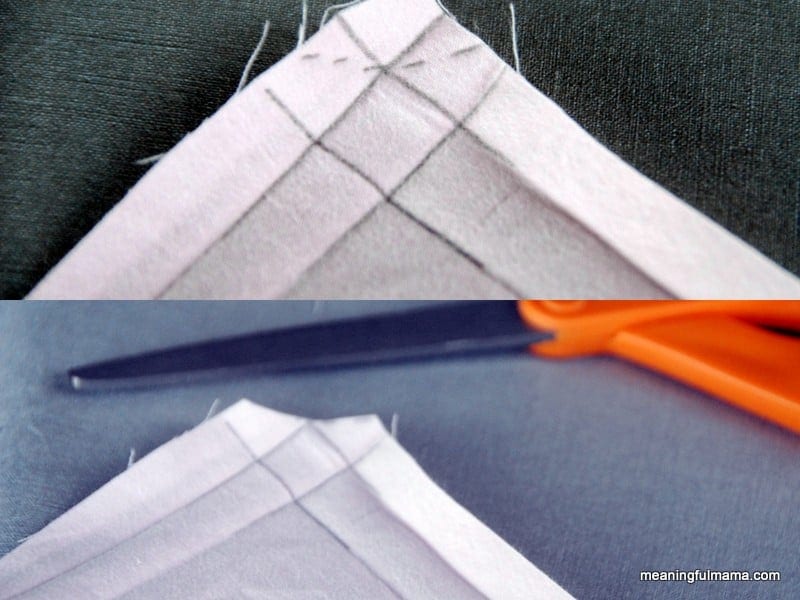 5. Unfold the napkin. I drew over one of the folds in pencil so you could see it. The dotted line is where you cut. If you see the tic-tac-toe in the fabric, the dotted line passes right by the upper corner.
 6. Fold the first quarter inch of the fabric in to create a slight point.
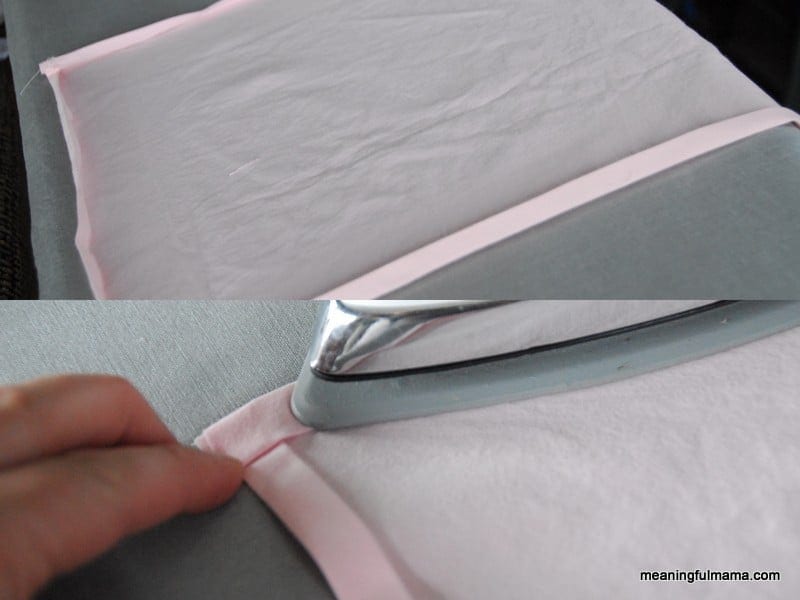
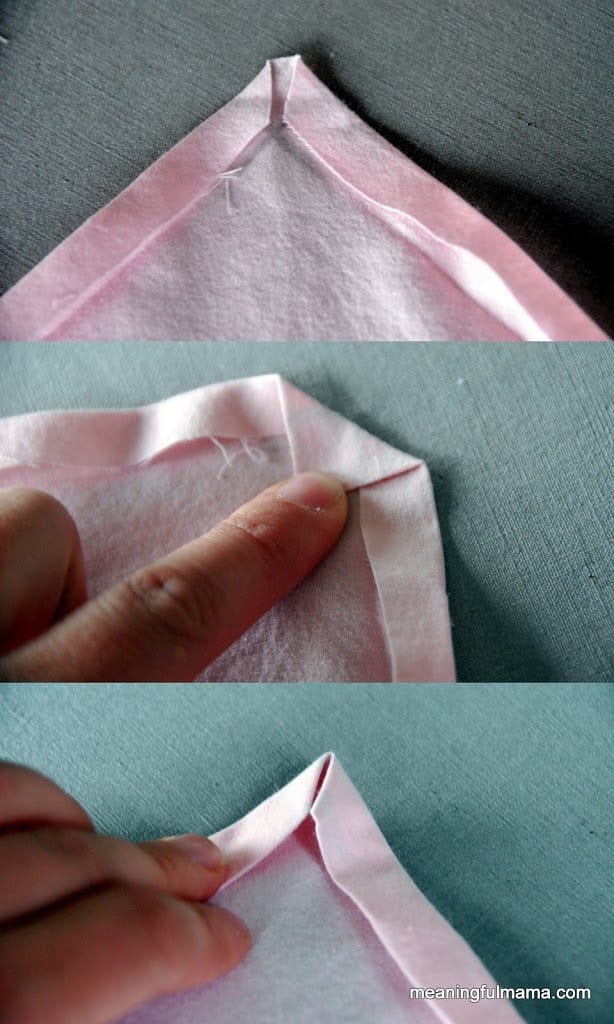
7. Fold the corner in and iron.
8. Fold the second quarter inch in to create the mitered corner. See where my finger is in the second picture? Take the upper right point and fold it to where my finger is covering. Do the same with the upper left point. Iron the corner down. You are ready to sew.
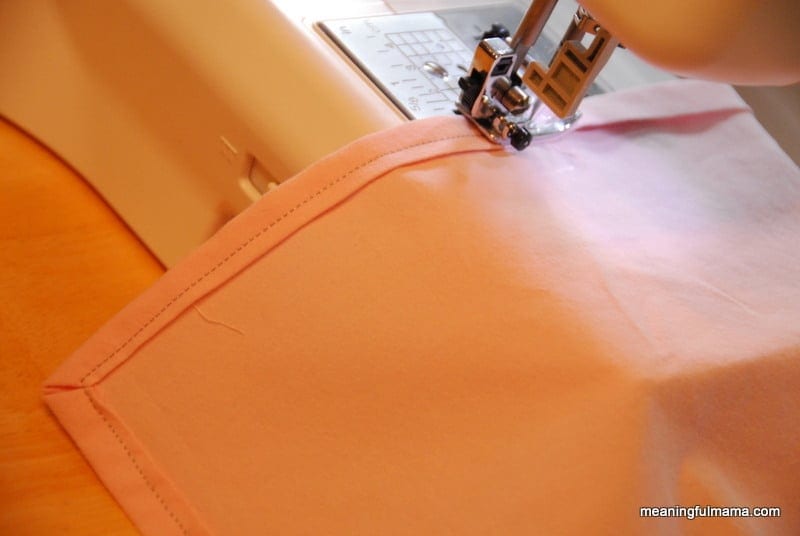 9. Sew your napkin. Start the needle in the corner crease. Sew straight until you get to the corner. Once you get to the corner, lift the foot of your sewing machine and turn your fabric 90 degrees. Keep going around the entire napkin.
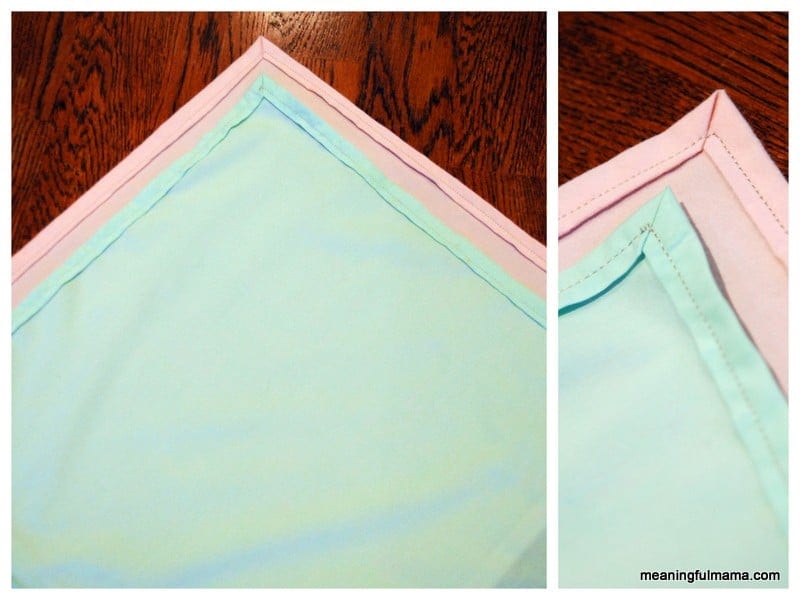
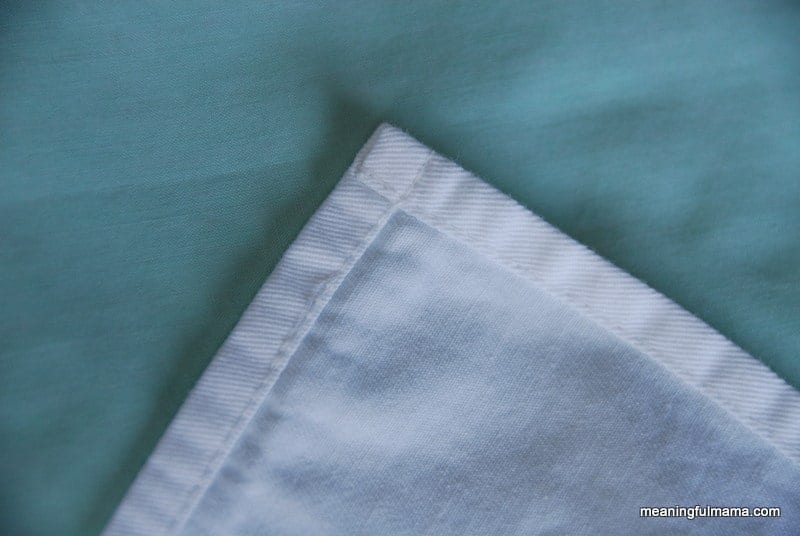
10. Done – celebrate!


They look great! I love the soft colors.
And great minds, you know…
http://gratefullygrowingingrace.blogspot.com/2011/09/cloth-napkins-sort-of-tutorial.html
I made our set of napkins last year and that is all we use. They are easy and wonderful and no more cheap paper napkins for us!
Yours are adorable. I love the fancy stitches you did around the edge. I am excited to make more with different fabric.
Wonderful tutorial. Thank you!
Thanks so much.
Oh, wow, this sure makes them look more “crisp” looking if that makes sense, lol. Might tuck this little tip away for next time I’m making burp cloths =)
They’d be great for burp clothes. I fell into a rhythm and became really fun.
Love the tutorial! Visiting from Craft-O-Maniac Monday’s. I’m a new follower, I would be honored if you’d follow me back at http://lifeofblocks.blogspot.com/
I enjoyed poking around your site. Happily following you back.
I have done the square corners but have never attempted the mitred corners. Your turned out great. I would love it if you shared this on Tout It Tuesday. http://www.claimingourspace.com/2012/07/tout-it-tuesday-13.html
I’m so sorry. This week has been so busy. I’d love to try and link up next week.
Warm Greetings!
Today, I visit your website and after reading your blog i realize that it is very informative. I’m highly impressed to see the comprehensive resources being offered by your site.
Thanks and Regards
napkin making machine