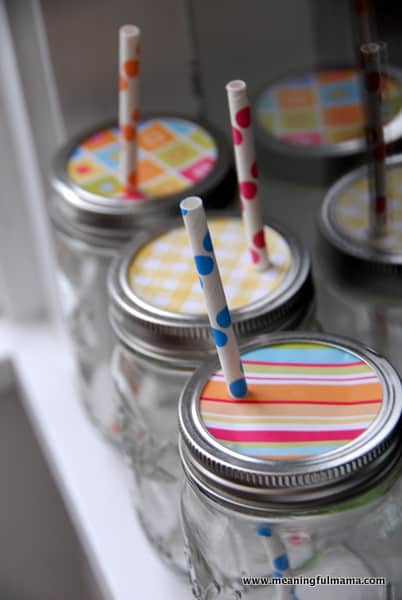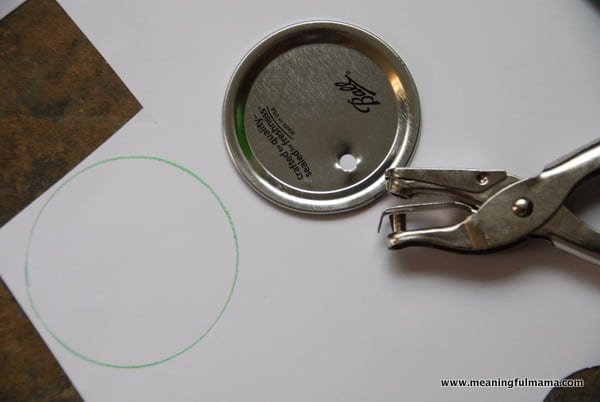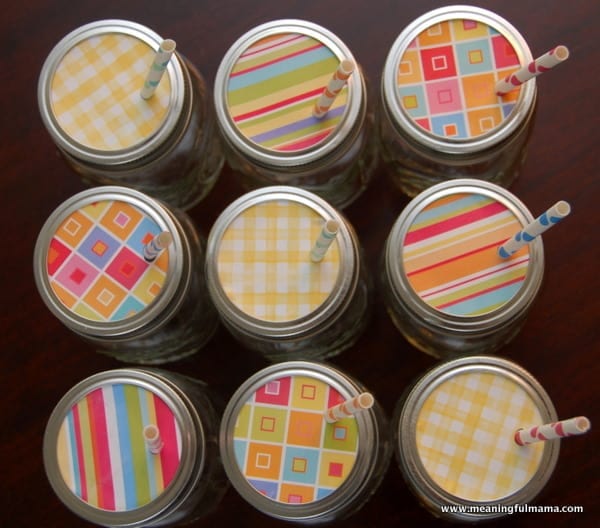
Once you have chosen your paper (I used patterned stock paper I had on hand), you flip it over and trace around your lid. Cut out your circle. You will use double stick tape to adhere the circle to the top of the lid. The picture shows a hole pre-punched. However, I ended up sticking the paper on first and then punching the hole through both. This saves time. I used a standard punch, but it was slightly too small to fit the straw, so I had to punch it once, move slightly to one side and punch it again to make it work.


These are the cutest! I passed by some of these paper straws and was so tempted to get them “just in case” because they are so cute!
Hi! This is so cute. I’ve wanted to do these for a long time but thought they’d be a lot harder to make. do you plan to replace the paper with every use? i was thinking a couple of coats of mod podge would keep the paper looking nice for the whole evening. if you have kids you already know that they simply can’t keep the straw in the cup for very long!!!
I’m so glad this was helpful. I did a tutorial because I didn’t know if people knew how easy it is to create. That it inspired you is affirming. Thanks for that. You know I was thinking about how to make them more long term. The paper wouldn’t last for long but is great for a party. Mod Podge might work. I’m not sure. I really am wondering if you could buy a plastic school folder and cut the circles out of that. It might work, and I’m sure you could find some cute designs. Maybe I should try it out and do a post. 🙂 Thanks for stopping by.
That would be really cute. Fabric would work too. You could wash the whole thing and then push the lids out and lay the fabric out to dry.
Maybe mod podge with a water proof spray? I made some coasters using scrap paper, pictures of my choice, with a few coats of mod podge and a few coats of a spray water proof coating and they seem to be holding up well. I also decorated a little end table with some money that I’ve collected from around the world, and I water proof coated that, too for when people don’t use coasters (like they’re supposed to! 😉 ) and that also seems to be holding up well. I don’t know how well it would work for something that’s constantly being put through the wash, but it might work? Maybe test it on 1 and see how long it lasts? Also, fabric would be a great idea, but how would you get it to stay? Just wrap it and rewrap it after every wash? And, I agree with the original commenter!! I’ve wanted to get rid of all of our regular drinking cups and replace them with these, but had no idea it was so simple! 🙂
Those are all good ideas. I need to get some of that waterproof spray for a project I’m doing with my girls this week anyway. I did consider cutting up the plastic from a plastic school folder. I’ll just need to stay on the look out. I’ve done fabric before for my rainbow party and stuck it down with double stick tape, which worked for that day. I am not sure it would be great for long term. Thanks for all of your great ideas.
oooo a hole punch… I never would have thought to use that to punch the lid. I love how festive these are! I’ve got a great cutting edge stencil giveaway going… I think you could use $50 in free stencils :o)
http://www.nap-timecreations.com
Thanks, Emily. I was surprised the hole punch cut through, but it did. Hope you’re having a great week!
I am DEFINITELY making these for my daughter’s graduation paty next month!
Thank you ( I pinned it so I could remember it).
~ Michelle
http://lifeonthehorizn.com
So cool! Thank you for pinning it. I’m glad it was helpful!
I just wanted to thank you for this wonderful idea. We just had our patio remolded and I was for a fun way to entertain on Memorial Day with our friends and family. i love doing creative things to bring about conversation.
I’m so glad this was helpful. They really are easy to do and can dress up a party nicely. I hope you have a fabulous time entertaining. Let me know what your guests think.
Hei Jodidurr:)
Just wwanted to ask,maybe you make these Jars for individuals for sale? I would be interested,just to have a private one for myself
thank you,
Thank you for asking. I really don’t think I want to get in the business of making and selling them. They are really easy though. You could do it easily, I’m sure. Thanks for asking!
Instead of tracing out a circle and cutting it out, I used a 2 1/2′ inch punch for a standard lid and a 3″ punch for a wide mouth lid. it worked really well and saved me time since I’m not a great cutter! I can’t wait to put my baseball themed jars on the table for father’s day. thanks for sharing this idea.
That’s brilliant! Such a great idea to use the cutters. That would make life easier. Thanks for the idea.
What size hole punch did you use? When I did this with a standard punch it was too small for the straw.
I used a standard size punch, but I think I said in my tutorial that I had to kind of double punch it to make the whole slightly bigger. I would punch, move the punch just a little over and punch again. Seemed to work just fine. I hope that’s helpful. I’ll go back and check my post and correct that explanation if I didn’t state that the first time. Thanks.
OK – I guess I didn’t say that originally. So sorry. It is corrected now.
Thanks for the tutorial.willtry it this week.we are having a mad hatter tea party theme for a bridal shower. I was using Mason jars for drinks but was having a hard time with the lids.
Thanks
Great. I’m so glad this was helpful. Let me know how it goes.
i love it
Thank you!
I’m thinking, if you laminated the paper before punching out the hole, it would save the paper for the entire party, and possibly be able to store it for later use!! It must be the teacher in me!! 🙂
That’s really a great idea. I definitely think you have it! Thanks for commenting.
Why not just use contact paper? It already has the “stick” on it and it’s washable. Much more permanent than regular paper. And these days you can find it in multiple pretty patterns.
That’s such a great idea. Thank you so much for adding your good ideas to the conversation. I am having a party soon, and I think I’ll look for some contact paper.