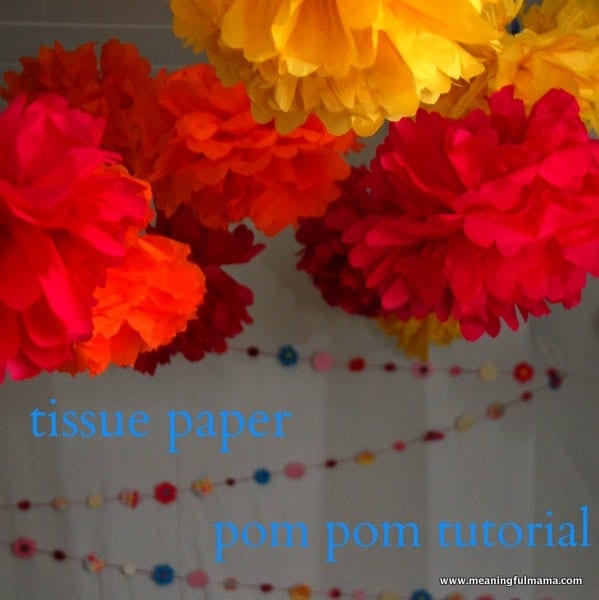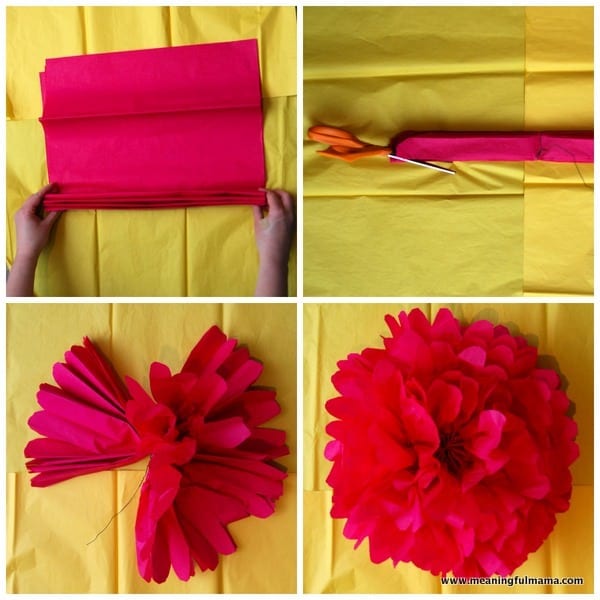
1. Fold your tissue paper in an accordion like style until you reach the end of the paper. I had tissue paper that was 16 1/2 inches x 24 inches. I stacked 6-8 on top of each other.
2. Tie floral wire around the center. I used floral wire, but I image it would work with all sorts of wire or even a twist tie. I remember doing these as a kid, and I think we’d just tie string around the center.
3. Cut your tips. I did rounded edges for my pom poms, but you could also cut a V in the top.
4. Begin to pull your tissue paper carefully up from the edges one piece at a time.
A project like this can look intimidating if you haven’t done this kind of stuff before. I remember making these as a kid though, so I know they are achievable to even the basic crafter (or non-crafter for that matter). I first made them as an adult at Abigail’s Dora party. I never gave you a tutorial though, so I hope this was really helpful.


I love your colour combinations! So pretty! Looks like we had the same inspiration! I recently did a tissue paper pom pom tutorial too. 🙂 http://onelittleproject.com/how-to-make-tissue-paper-pom-poms/
Debbie
You did a great tutorial. We were both inspired! Thanks so much for taking time to comment!