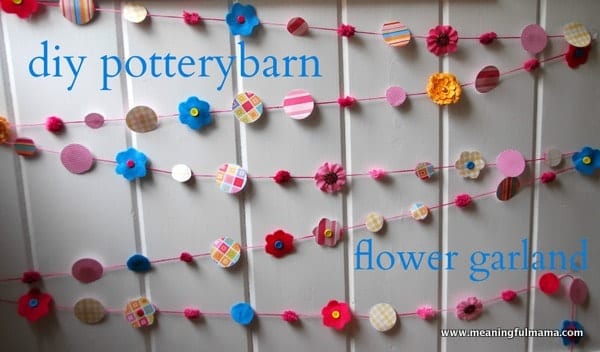
Kenzie’s 4 year old birthday party happened last weekend. She wanted a spring party. After she decided here theme, I went about planning for decorations, food, and games. As I was browsing the Pottery Barn kids catalog, I cam across a cute flower garland. I thought, “I could make that. I actually have all the materials on hand to make that.” I like to have a aspect of my blog tutorials. Have you seen “Goodwill Hunting?” There’s a scene where the two main characters are talking about how he understands chemistry so well. He compares it to Beethoven just being able to play the piano. He got it. I don’t claim the brilliance of Matt Damon’s character nor the piano skills of Beethoven. I don’t claim the crafting skills of Martha Stewart. However, when it comes to crafting, I can see how things go together. I also know there are many that don’t have that gene. There are a lot of genes I don’t have – like the science or the political gene. I want to create my tutorials for those without the crafting gene because I know some of them want to be able to create things, but they also need a step by step guide – just as I liked having teachers who broke down chemistry or biology so I could really get it. So, here you have my DIY Pottery Barn kids flower garland tutorial.
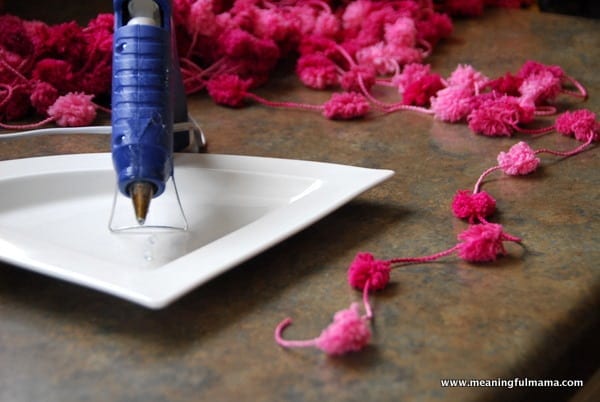
I started with this pom pom yarn. You can find this in the yarn department of a sewing or craft store.
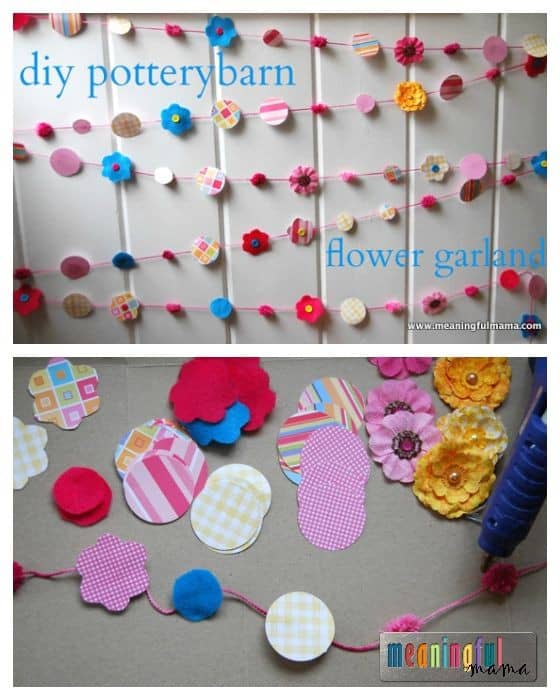
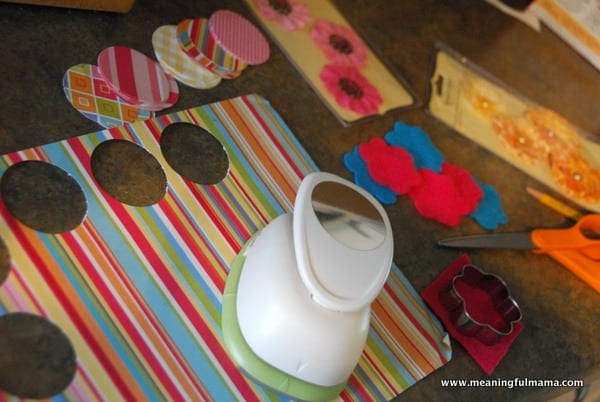
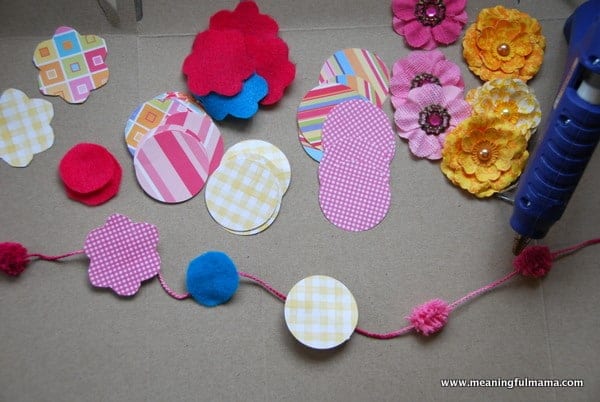
I was armed with the pom pom yarn, glue gun, paper, circle punch, scissors, felt, buttons, patterned stock paper, a flower cookie cutter (to trace), and some paper flowers I found on clearance at our craft store (totally optional). A cut out circles on patterned stock paper with my hole punch and smaller ones manually out of paper and felt. I traced around my flower cookie cutter onto the felt and cut out flowers.
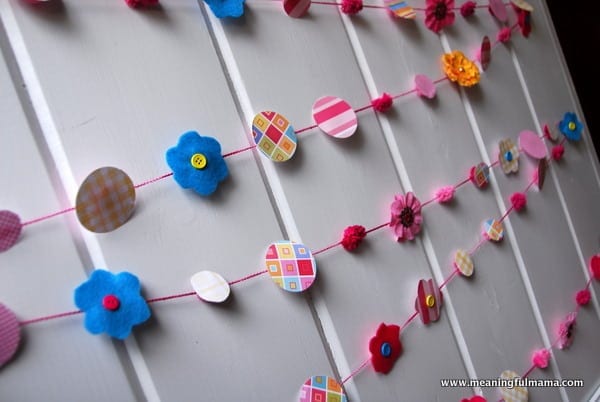
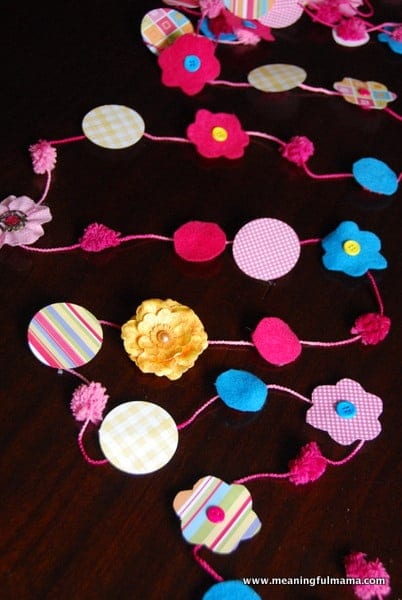
I then just started gluing things onto the pom poms with my hot glue gun. I had a really random pattern going, mixing up patterns, shapes and textures. Some of the pom poms I left with nothing on them. With the flowers, I added on little buttons.
Just keep going until you have filled up the length you want.



Ok, this is GORGEOUS! You MUST share this at the link party I mentioned on your snack pack post. LOVE! http://creativegeekery.blogspot.com/2013/04/starting-this-week-pin-it-party.html
Thank you so much, Elle. I’ll have to see if I have time to stop by your link party.
So pretty. I have clipped on beadandcord.com
Thanks so much!