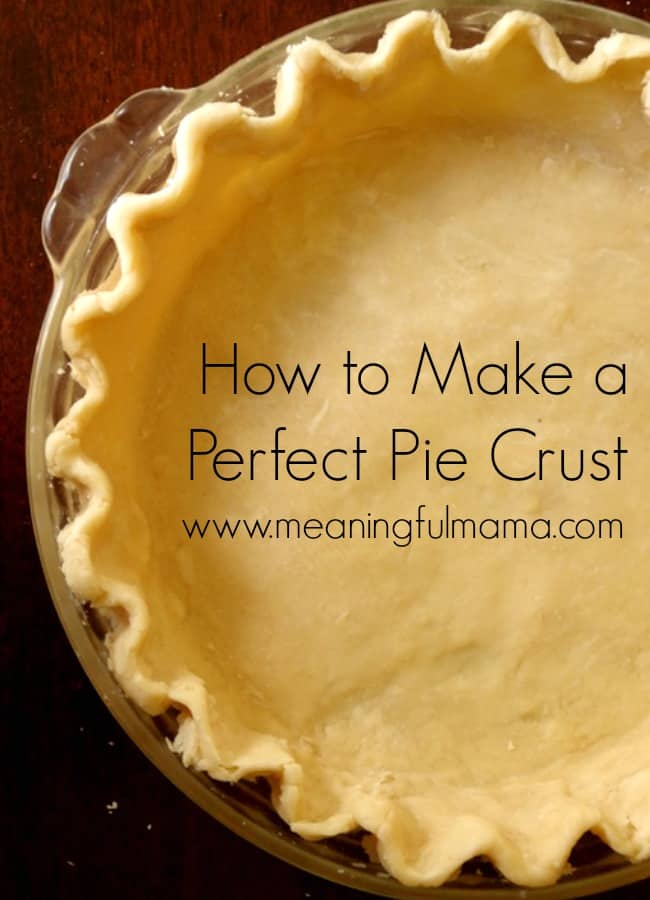
How to make a perfect pie crust is something sought after by most but eludes many. Whether you are making a quiche, chicken pot pie or dessert pie, you want your pie crust to be flaky and have a buttery flavor. You want it to pair perfectly with whatever the filling contains. My mother-in-law is known for her pies, and I received all of my instructions for making the perfect pie crust from her.
Mom, don’t kill me for writing this. 😉 I grew up with a mom who was great in the kitchen. However, she would talk about how pie crusts are the hardest thing to make. I remember hearing it over and over. I think I developed a fear of pie crusts, and I have avoided them. Not a fear that they were going to attack me, but I developed a fear that I was going to waste time and mess them all up. Also, it has only been recently that I really have developed an appreciation for pie. Therefore, there hasn’t been a big need or desire to make them. I have now developed a taste for pie and since my mother-in-law is known as the pie queen, I decided to take some lessons from her. I have her recipes, but I wanted to go over, get a lesson and full instructions. I scribbled down notes I took from her and now have learned to make a perfect pie crust. I get to pass on what I learned to you today.
Ingredients for Making a Perfect Pie Crust
* This makes two crusts. You can do two pies without a pastry topping or one pie with a pastry topping.
2 cups Flour
1 tsp salt
3/4+ cup Butter Flavored Crisco
1/4 cup cold water
How to Make a Perfect Pie Crust
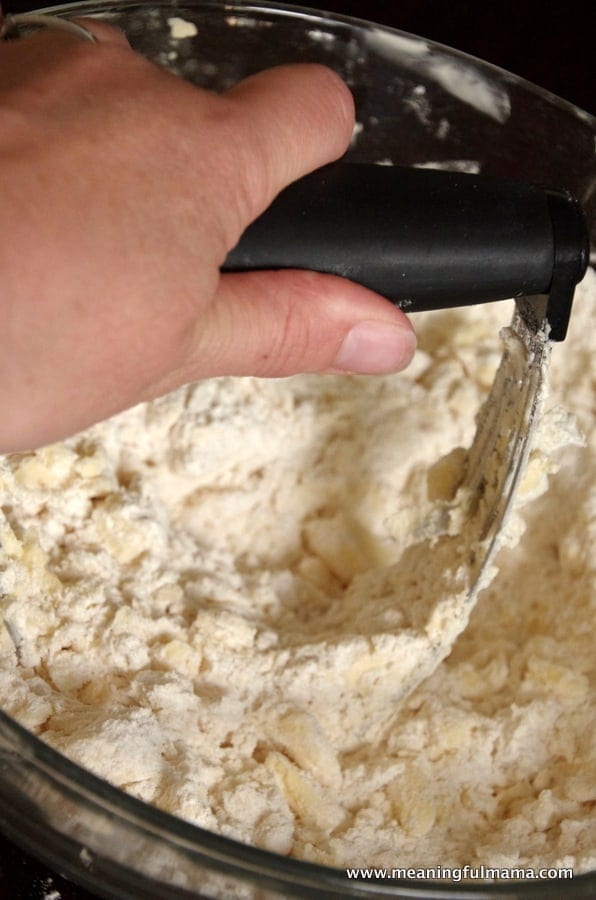
Combine 2 cups flour and 1 tsp. salt. With pastry blender, cut 3/4+ (heaping) cup butter flavored Crisco with flour until dough it is starting to stick together. It will look dry. Add 1/4 cup COLD water. Mix with a fork.
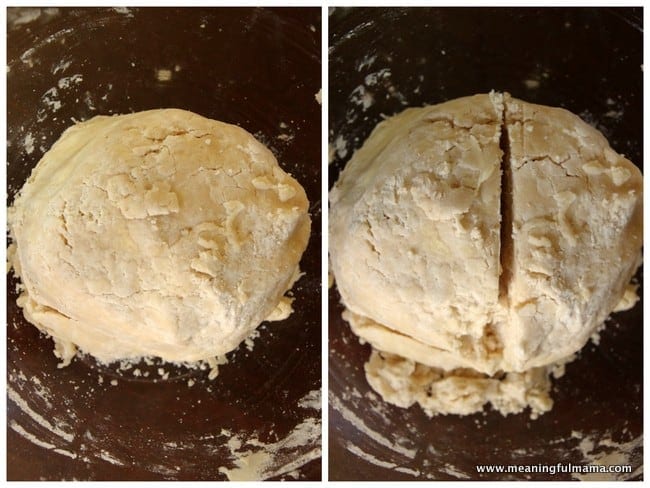
Form dough into a ball with your hands. Divide the dough in half.

Prepared your pastry cloth. You can also use a silicone mat, which works really well because it doesn’t slide. To prevent pastry cloth from sliding, you can add a mildly damp paper towel under the pastry cloth. You do not want to add moisture to the dough, however, so do a strip of slightly damp paper towel under the edges of the cloth. Flour your surface.
If your dough feels too moist, stick it in the refrigerator to chill for 30 minutes or more.
Press one of your dough balls into a flat circle, smoothing the edges. Eliminating cracks from the edges will help prevent splitting of the dough. Turn the dough over to roll to prevent sticking.
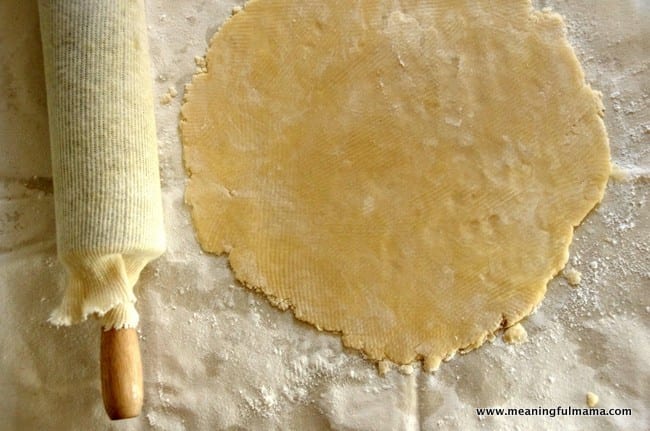
Roll dough with short light strokes to circle about 1 1/2 inches larger than your pie plate. Roll working around the dough like you are rolling to different times on a clock – Roll toward 12:00, then 6:00, then 3:00, and then 9:00. Keep repeating until desired size. It’s good to occasionally rotate the dough to prevent sticking too. Dough should be rolled to 1/4″ or thinner.
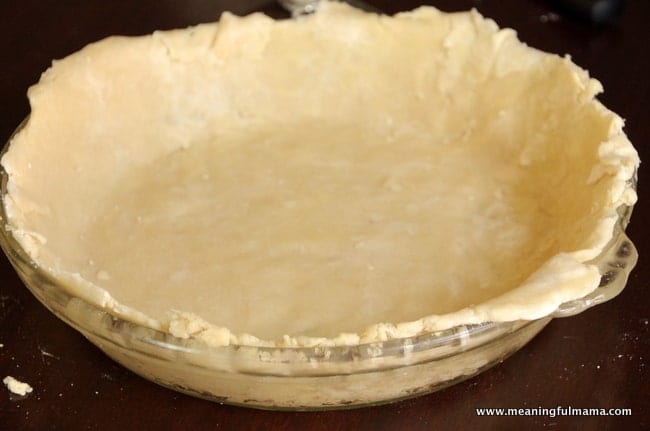
To transfer dough to pie plate, gently roll the dough onto the rolling pin and then unroll it into the pie plate. If cracking occurs, patch with other dough and fix using a little bit of water on fingertips.

For a double crust pie: Trim dough even with the plate. Roll out the top frost and slit the top. Add filling; cover with the top curst by transferring with the rolling pin. Fold top curst edges over and under bottom curst. Press together to seal. Flute the edges with fingers or a fork.
For a single pie curst: Fold under dough at rim of pie plate. Flute with fingers or fork. To bake with filling, fill and bake according to filling directions. To bake without filling, prick bottom and sides thoroughly with a fork. Bake at 425 for 10-15 minutes, until golden brown.
I made a couple quiches for a recent baby shower that I’ll share with you soon. I’ll work on some other pie recipes for you too. Now that I feel comfortable with the pie process, I can start sharing some of our family favorites.
Other Types of Pie Recipes
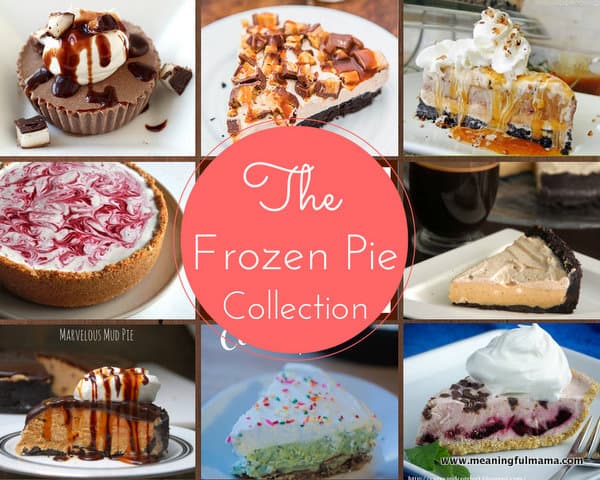 The Frozen Pie Collection
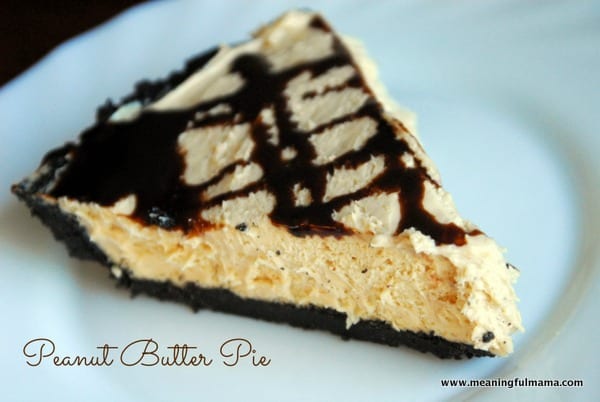 Peanut Butter Pie


Excellent tutorial Jodi! Your pie crust does look perfect 🙂 Pinned!
Thanks so much, Trish. It’s fun to finally feel like I have a handle on making a pie crust. Thanks for the pin love!