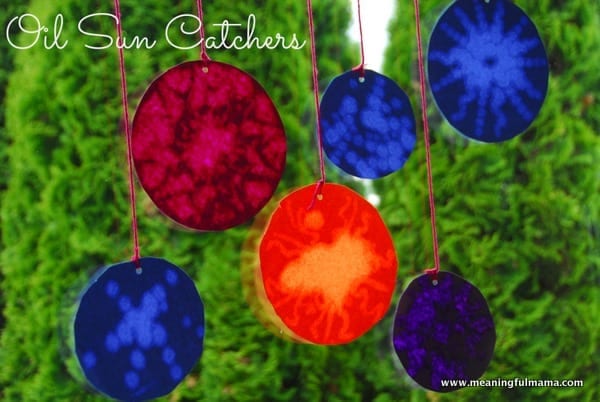
Oil suncatchers are an easy craft to do with kids of all ages. The results are fun as they hang in the window and catch the light. It is an easy craft to do, but I do have an important tip to help them turn out well. The main materials for this craft are baby oil, q-tips, and construction paper. I actually used some after-shower body oil I had. I’m sure other oils would work too.
Oil Suncatchers
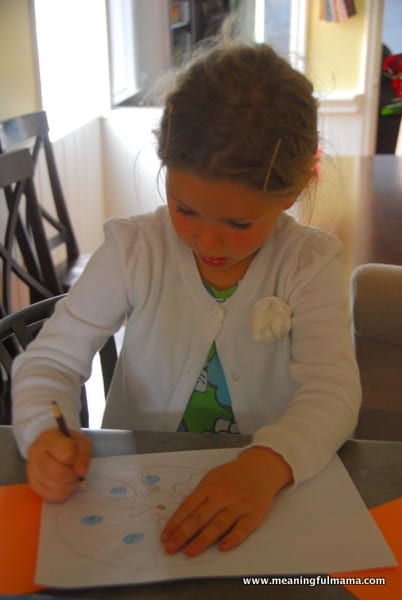 The first thing I did was do an example for my kids. I showed them how it’s great to start with a center point and then do a patterned design that expands out from the center. I think this yields the best results, but it is not necessary. I drew circles on a piece of paper and let them experiment with colored pencil first.
 The next thing to do was to trace around a bowl onto construction paper. I had a couple different size bowls for them to chose from. I had a number of colors of construction paper to choose from as well. I avoided lighter colors, but I’m pretty sure they would have worked beautifully as well.
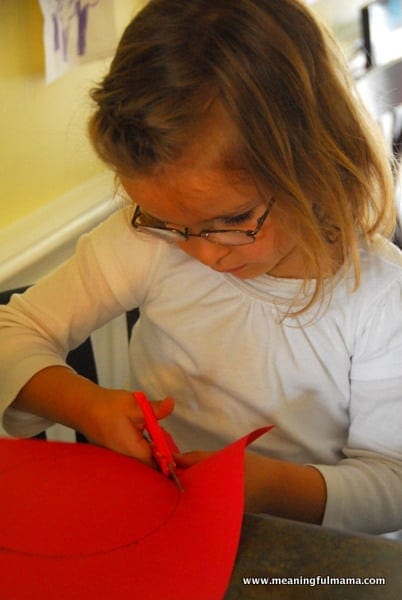 They will then cut out their circles.
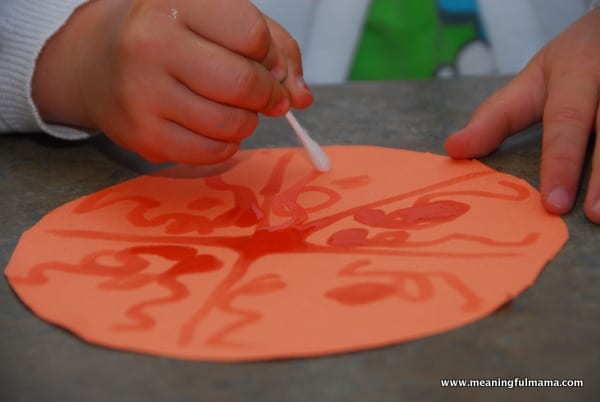
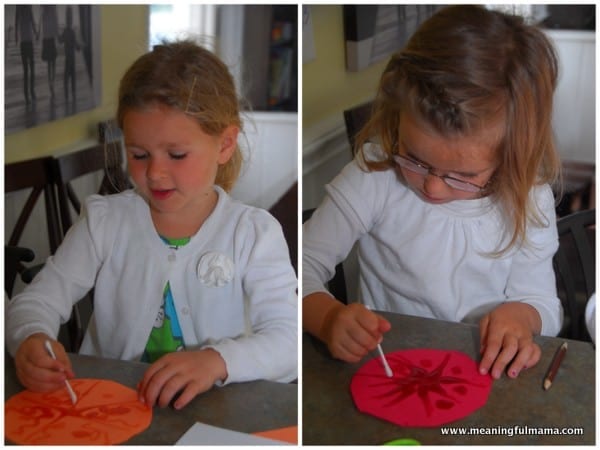 The kids can now draw their designs onto their construction paper circles.
Here’s the big tip: I encouraged my kids to use a lot of oil because when they had finished, I noticed the places with more oil showed through more once I held them to the window. THAT WAS BAD ADVICE. As the oil sits on the construction paper, it begins to spread. There were a number that didn’t work out just because the oil spread into one big section of oil and the design was lost. Even the designs I have featured here spread more than I would like. I would, therefore, advise people to be conservative when it comes to the amount of oil you use.
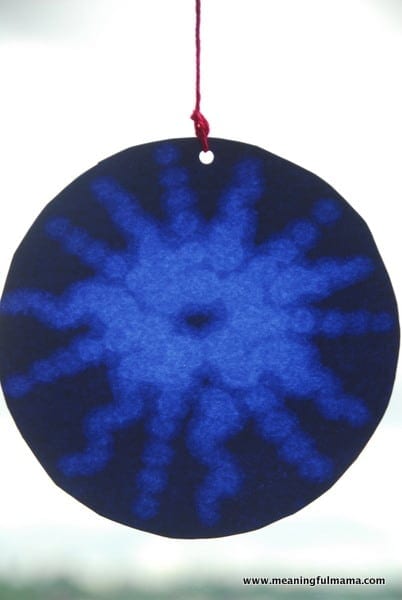
Despite the learning curve with the oil, this really was a fun, easy craft that yielded cool results.


Awesome stuff, I’ll your creativity
Thank you so much!
Very mandala-esque. And so simple. I’m featuring you on my blog tonight!
Thanks so much! Glad you liked it.
That’s cool! Great idea!
Those look so fun!
Don’t have baby oil – do you think cooking oil would work? Gonna give it a try!
Let me know if it works! I was totally curious about that.
did the cooking oil work?
I never tried it. I think one of my readers was going to, and I’m curious too. Maybe I just need to try it.
what did you use around the circle ??
To trace? I used a bowl. Have fun with it!
Sorry, haven’t had a chance to try the cooking oil yet. I am hoping to get to in this afternoon.
Dont know what construction paper is, Can i use normal coloured craft paper?
I imagine it is the same thing. I would say the difference between construction paper and normal paper is that it is a bit more porous and colored.
Construction paper is the same as sugar paper!
I had never heard it called that, but apparently it is. http://en.wikipedia.org/wiki/Construction_paper New interesting fact for me today. 🙂 Have fun!
Hi, I had my 4 kids try this and they all loved it. We used canola oil and tried not to put it on too thick. We did end up spilling the bowl on a few at the end…still pretty:) I did a post about it and linked to you for the tutorial. I’m new to linking to other sites….but I hope you are happy with it. We learn as we grow:) Thanks for a great idea…really, my kids all really enjoyed this…the tracing, the cutting, the drawing…great for little hands. We made about 50 of them by the time the girls were done.
So, the canola oil did work. So good to know. Really fun to be able to go to your site and see you doing it. Thank you so much for linking back. It looks great. You made 50 of them? That is so cool. If you filled up a window I bet it was super cool to see. Thank you!
The only thing to remember about kitchen oils is they will eventually get rancid, especially in the sun. Mineral oil won’t if you happen to have that. Probably depends on how long you’re leaving them hanging also.
Really good tip. Thank you for that piece of advice.
I love your beautiful sun catcher craft and I’m featuring them on my blog this week. Thanks for sharing your ideas!
http://www.thepaperycraftery.com/paper-craft/10-fun-paper-crafts-for-kids-to-celebrate-summer/
Just tweeted and pinned. Thanks for sharing my ideas and letting me know. 🙂
I’m totally going to make these with my girls! I know we’ll all enjoy it especially my almost 4 year old, but i know that my even my 18 and 16 year old will also enjoy making these, as will I! Great idea. I’m wondering though if we could scent these maybe with essential oils? The warmth from the sun would make them scent well. I think we are going to try it. 🙂
I think that’s a great idea! I would just remember that the oil spreads, so you DO NOT WANT to apply generously. Have fun. let me know how the essential oils turn out.
They do look realy cool, but I haven’t tried many things like this with kids. I have noticed though with the different ideas I looked at that you don’t go into much detail at all. On this one for the sun catchers for instance, you talk about using the oil, But you don’t say in what manner. Do you spread it all over the paper, just in spots, how do you apply it? This is the sortof info that would be really helpful. In one of the others (The twinkling jar lights), How did you paint the back grounds like the stars for different colours? A little more info would sure help Newbies. The craft ideas look great do though!
I’m sorry this wasn’t clear to you. It’s true that I didn’t mention how to spread the oil. We used q-tips. I would encourage you to start light on the amount of oil used and then add more if needed. It tends to spread slightly, so you want a delicate touch. I think your kids will have fun doing this. I’m not sure which twinkling jar lights you are talking about. I’m wondering if you found it on a different site. No matter what, I hope you enjoy your time with your kiddos.
You can find cotton swabs that have tapered tips, such as Q-tip brand’s Precision Tips, that may help with placing the oil in just the right location. Also, there are a surprising number of swabs of various sizes that are made of other materials, like foam, that seem like they’d be excellent at dispersing a more controlled amount of oil. These are often used for applying precise eyeliners, cleaning jewellery & guns & are great for nail art as well. Amazon sells a very wide variety (of course 🙂 along with drugstores and hobby shops, etc. This is a great little project that I can’t wait to try for myself! I’d like to give the essential oils a go & see what “blossoms”, ha! Thank you very much, cheers!
What a great tip. Thank you so much. Now I want to try this again with those precision tips. Essential oils are a great idea too!
I love your directions, it looks like a lovely activity for even the very young ones, if the oil is only minimal 🙂
Yes, it is. You do want to have a careful hand with the oil because it does spread. I’d just put a tiny amount in a tiny dish for those little ones.