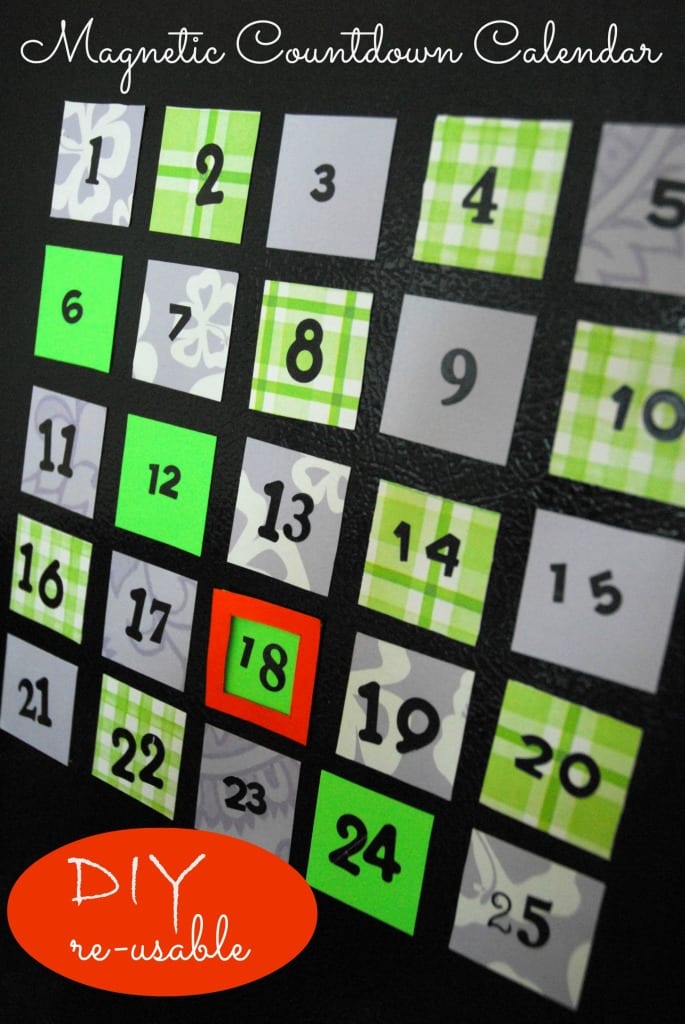
A countdown calendar is such a great way to build anticipation for special events. I wanted to be able to create a re-usable magnetic countdown calendar for my refrigerator, and this was the result. We have a couple exciting things coming up. The kids keep asking me, “How many days until we get to go on our trip?” We would look at the calendar on my phone and countdown the days. Eventually I said, “We should make a countdown calendar.” The logical question from the kids was, “What is a countdown calendar?” We had never done one before. I could do a normal paper tear away countdown calendar. However, I wanted something reusable. Also, I’m a blogger. It’s my job to do something a bit more creative. Right? I actually was able to put together this craft with things I already had on hand, so it was so great that I didn’t have to run to the craft store, and I didn’t have to spend any money.
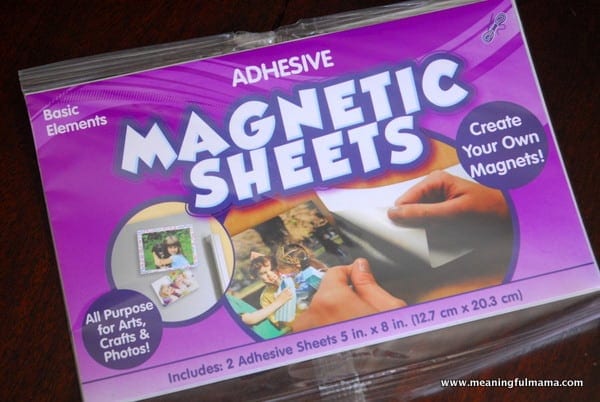
What was essential for this project was these magnetic sheets. I was given these adhesive magnetic sheets free from Craft Project Ideas. These are really easy to use.
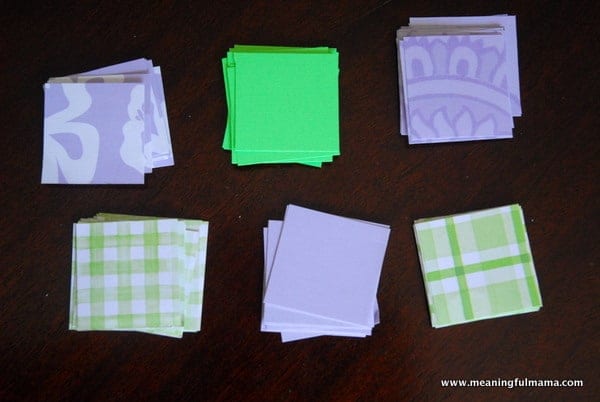
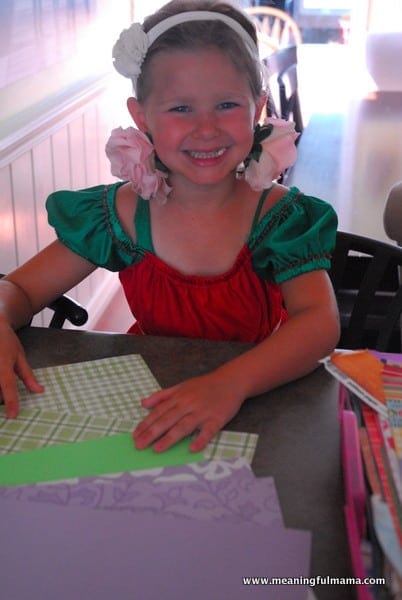
I had Abby pick out my paper. Do you like her outfit? Yes, those are flower hair clips on her ears. She often wears hair clips on her ears as “earrings.” Crazy kid – love it. I have a bin full of patterned paper that always comes in handy. I told her to pick out 6 different papers, sticking with 2-3 color choices so that they would look well together.
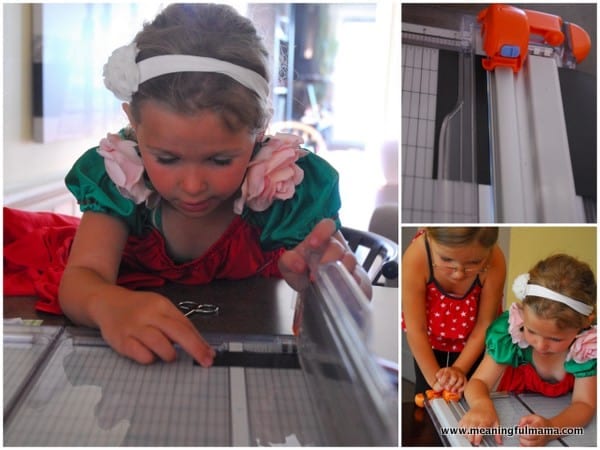
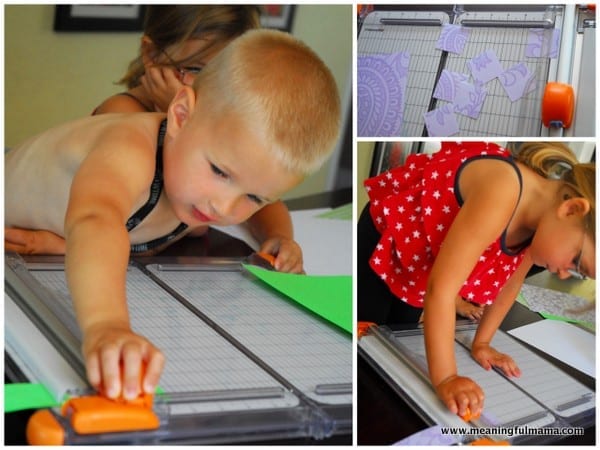
The girls helped me cut down the magnet paper. This is self-adhesive paper. Make sure to leave the backing on all the stickers and cut with it on. You will cut 1.5 x 1.5 inch squares. I was there the whole time to help the kids learn to measure and use the cutting board correctly.
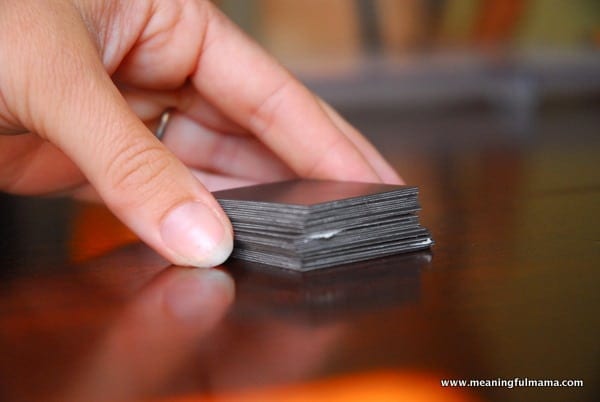
You will end up with a stack of magnet squares. As you can see from this picture, when you don’t have the countdown calendar on the refrigerator it is very compact for easy storage. I was able to make 26 squares of these magnets.
The next thing to do is cut the papers. I cut them just slightly larger than 1.5 x 1.5 inch squares. I didn’t want to cut them the exact same size just because that requires a lot of exact actions in measurement and also sticking down the magnet. I opted to cut slightly larger and trim down.
You’ll now have a bunch of fun paper squares. We cut way too many. Oops. Kept them occupied for a while.
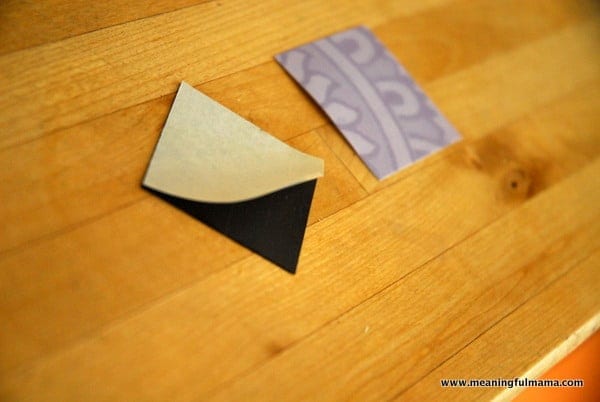
Like I said, these magnet sheets have adhesive on the back. The paper backing peels off easy to reveal a whole lot of stickiness.
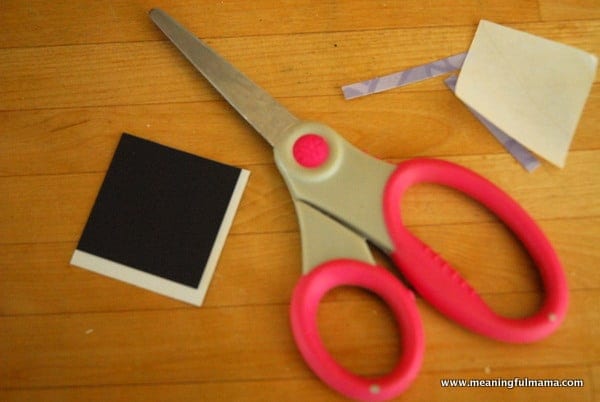
I put the paper, face down, on my table. Then, I stuck the magnet sheet onto the back, attempting to line up two sides. You can then just trim off the edges.
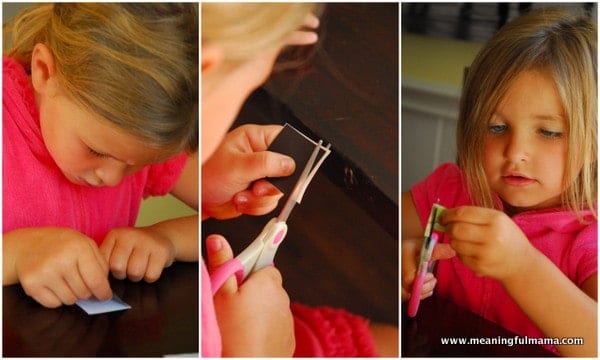
My kiddos were like little machines ripping these things out. Lining up the magnet sheet with the paper was a little challenging for Kenzie, so I made sure I was there as a helping hand.
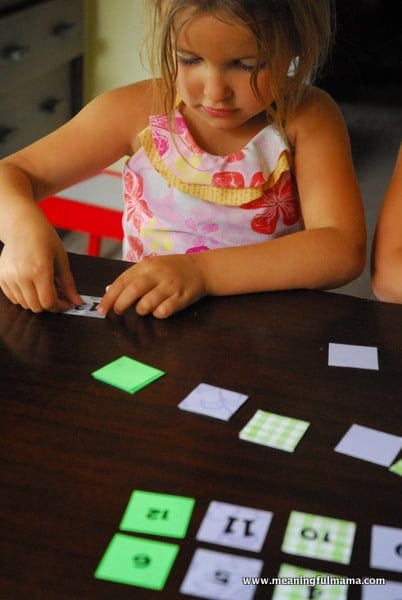
The final step of this portion of the project is to stick on the numbers. I had a bunch of black numbers. They were all different, but I actually didn’t mind at all. I kind of liked the look of the mix and match numbers. It beat spending money and making a trip to the craft store.
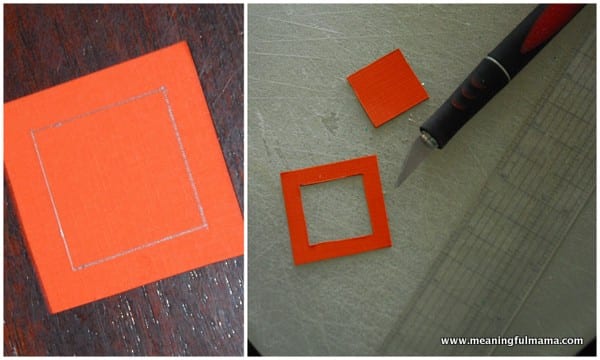
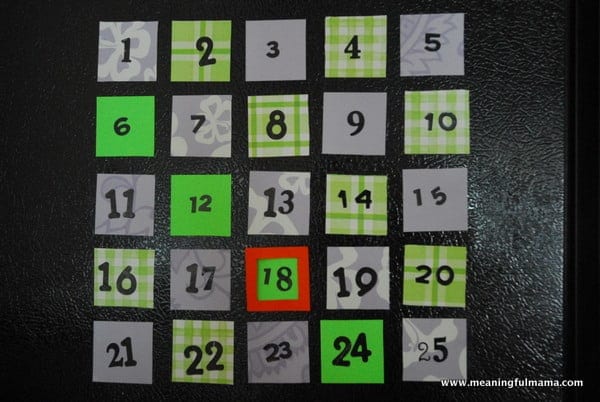
You now need to make the magnet square that helps you with your count down. This square will box around the number of days left on the countdown calendar. It is moved daily. I took one of the magnetic squares, and rather than adding one of our purple or green colors we added the bright orange. I then used a ruler to mark out where I wanted to cut. I used an Exacto knife and straight edge to cut out the center piece.
There you have your very own re-usable, magnetic countdown calendar.
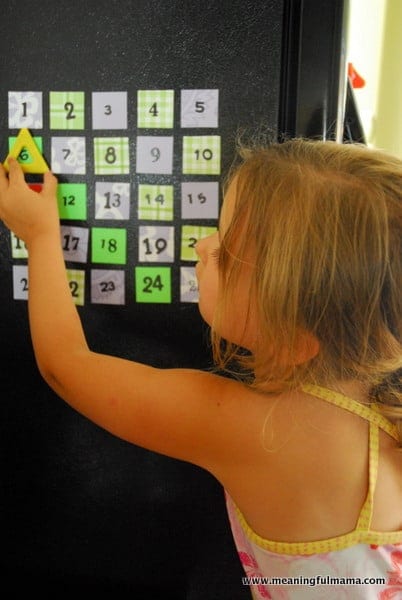
We actually had two dates to look forward to, so we used our orange marker to indicate one of them. We had this triangular magnet we used to mark the other. You can use any old magnet too. Your kids will head to the countdown calendar in anticipation every morning to move their markers down the the next number. Now, you don’t have to answer the never ending question, “How many days left until…?”
I love countdown calendars. I have two boys, 4 & 2, and when we have something coming up, I have been using homemade calendars. I draw different shapes, number them in count down fashion (since I get bombarded with “how many days?”) and we put a sticker on every night before bed. They each have their own chart. I am using it for a variety of things: recognizing their names, number and shape recognition and naming, and counting. Plus, I love buying stickers and they love using them and having their own charts. Great post, as always. God bless,Victoria
So cool. I love to hear about other people’s creative ideas. Thank you so much for commenting.
Thanks a lot for this great idea. My little foster care boy and I am going to make us one as soon as possible, can’t wait. Thanks again for this great idea.
Joy and TJ
So cool! I’d love to see your results. It makes me so happy to know when people are doing my projects. It’s a real encouragement.