These DIY volleyball locker decorations are made with a Cricut and hung with a magnet hook. I’m providing a video tutorial to help take your design from the beginning stages to the final Cricut look.
Having fun locker decorations adds to the team spirit when your children play sports. If you want another volleyball locker decor idea, check out this idea, which does not require a Cricut machine.
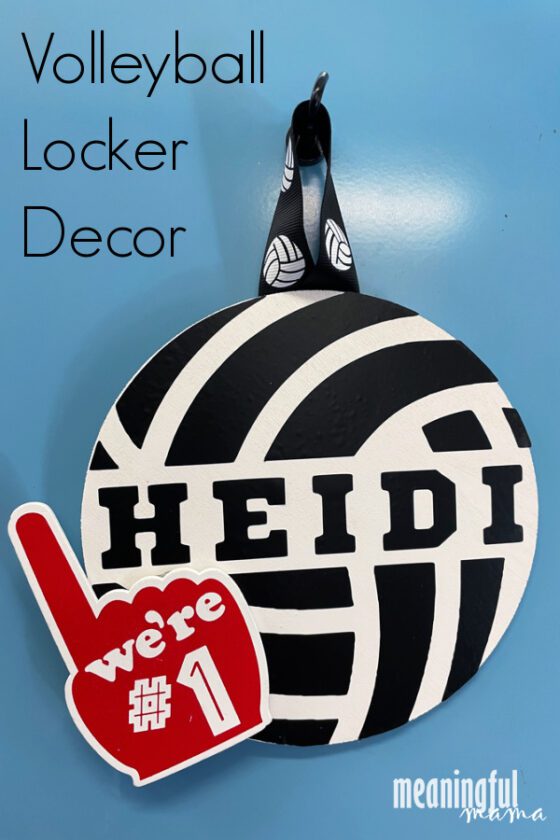
Volleyball Locker Decorations
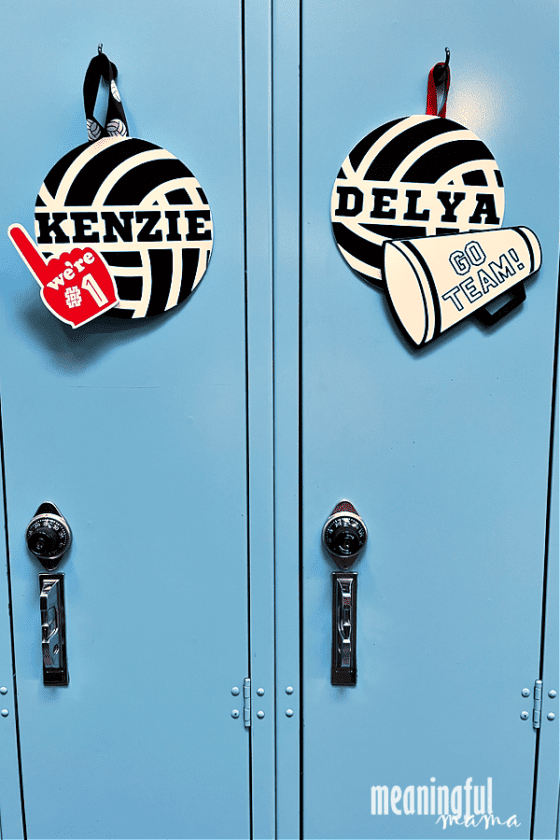
It’s that time of year again: volleyball season. Do you have a player or a team you want to help hype up for the season? This volleyball locker decoration can be hung via magnet hook for the whole season. After volleyball is over, these can be a keepsake for the kids. They can hang them on their bedroom wall or keep them in their own keepsake box.
I aimed to match the locker decor to the school colors, which are red, white, and black. The volleyball color can be easily changed on the design program Canva. I’ll walk you through that design process in this written and video tutorial.
Materials Needed to Make these Volleyball Locker Decorations
Note: Amazon affiliate links have been added for your convenience. Anything you purchase contributes to the free resources I provide at Meaningful Mama. Thank you for your support. I also added a couple items linked to Hobby Lobby.
- 6 1/2 inch wooden craft circles
- White Spray Paint & Primer in One
- Cricut Machine – I have the maker.
- Black Vinyl for Cricut
- Basic Cricut Tools
- Cricut Standard Grip Mat
- Cricut Transfer Tape for Vinyl
- Red Ribbon
- Volleyball Ribbon
- We’re #1 Painted Wood Shape (Hobby Lobby)
- “Go Team” Megaphone Painted Wood Shape (Hobby Lobby)
- Hot Glue Gun with Hot Glue
- Magnet Hooks
- Clear Packing Tape
How to Make these Volleyball Locker Decorations with a Cricut
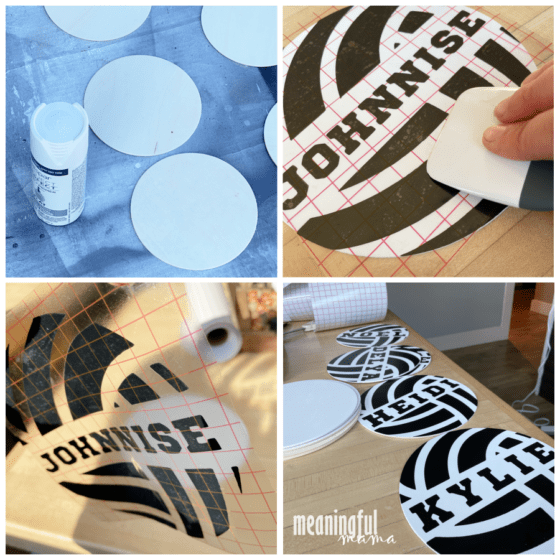
- Spray paint your 6.5″ wooden circles with white paint and primer spray paint. Allow to dry according to container instructions.
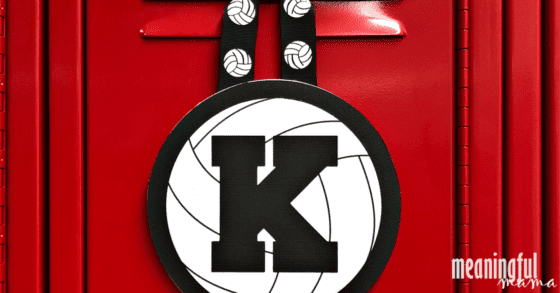
- Design the volleyball with names in the middle on the free Canva design program (see video tutorial below). Save your design to your computer.
- In the Cricut app, select New Project > Upload > Upload Image > Browse & choose design > Complex > Remove Background (make sure all the negative space is grided out, especially within closed circles like o’s, a’s and e’s) > Apply & Continue > Cut Image > Upload > Select Your Design > Move to Corner of Canvas and Resize to Just Under 6.5″ > Make It > Continue > Connect Your Cricut, and the Cricut will instruct you from there (see video tutorial below).
- To prepare your black vinyl for cutting, cut the vinyl down to a 6.5″ x 6.5″ square. Place it on the upper left corner of your sticky mat, aligning it in the gridded area on the corner of the mat.
- Load your sticky mat into the Cricut when directed to do so by the app.
- The Cricut will now cut your vinyl.
- Once cut, peel the vinyl away from the mat.
- Next, start to peel away the negative space vinyl from the design. Do this slowly and carefully. Cut away excess vinyl as you go so that you don’t have the excess vinyl attach to your design. If vinyl pieces you want to stay as part of the volleyball start to peel away with the excess, use your pointed Cricut tool to hold down the vinyl piece as you peel away the negative space. This is why you move slowly, to assure all the pieces you want to stay in your design stay in your design.
- Time to move your design to the transfer paper. Cut your transfer paper to a 6.5″ x 6.5″ square. Peel the transfer paper away from the backing. Carefully lay the sticky side of the transfer paper on top of your design. Using the cricut scrapper, rub over the transfer paper so that your designs moves onto the sticky transfer paper. Rub thoroughly. Slowly peel away the vinyl design from the vinyl backing, making sure the design transfers to the sticky transfer paper. If it is not peeling away, use your scrapper to continue to work to press it down. Your vinyl should now be on your sticky transfer paper.
- Now lay your sticky transfer paper with your vinyl design onto your dry, white, wooden circles, carefully aligning the edges.
- Using your scraper, rub the non-sticky side of your transfer paper thoroughly so that the vinyl moves from the transfer paper to your wooden circle. If the vinyl is not sticking, just spend a bit more time with that scraper until it sticks onto the wooden surface.
- Once the vinyl paper is in place on your wooden circle, run over it with your finger to remove any air bubbles and to make sure the vinyl fully stuck.
- Breathe. We are almost done.
- Using a hot glue gun, glue your “We’re #1” or your “Go Team” in place.
- Cut the ribbon to size, about 4 inches.
- Hot glue the ribbon in place. It was important to try and find the balance point and glue there because the wooden add-ons will shift the wooden volleyball off balance.
- I used a small piece of packing tape on top of the ribbon on the back of the locker decor as one more level of strength.
- Stick a strong magnetic hook on the individual volleyball players lockers, and hang your labor of love on the hook for them to enjoy.
Video Tutorial That Teaches How to Make Volleyball Graphic on Canva and Upload it to Cricut
Want More Fun Craft Ideas?
I have so many crafts on my site for kids. You’ll find them under my kids tab and the subheading crafts. That said, I have some fun crafts that adults enjoy too. This volleyball locker craft was aimed more at parents. Here are a few more:
DIY Volleyball Locker Decorations (no Cricut needed)