Cardboard Stackers
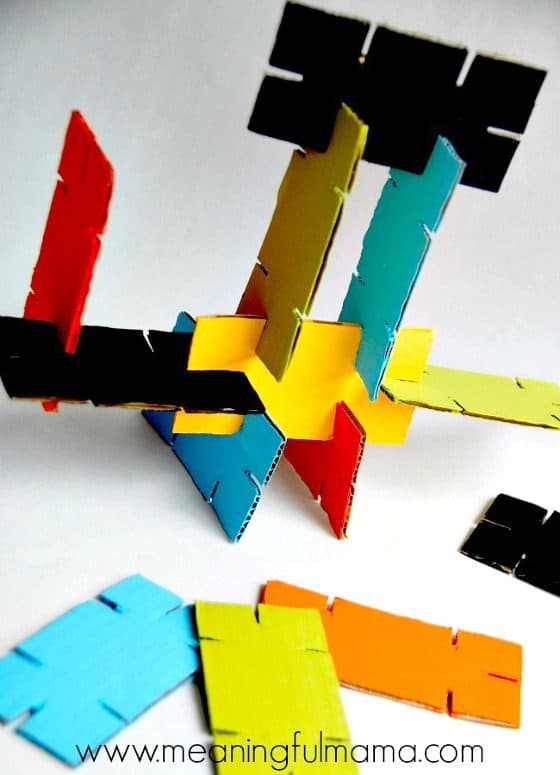
The cardboard building pieces you are creating today are colorful and sturdy. It will be fun to see the unique structures your children will choose to build.
Materials Needed to Make Cardboard Stackers
- Cardboard
- Ruler and/or Yard Stick
- Scissors
- Pencil
- Craft Paint
Written Instructions for Cardboard Stackers
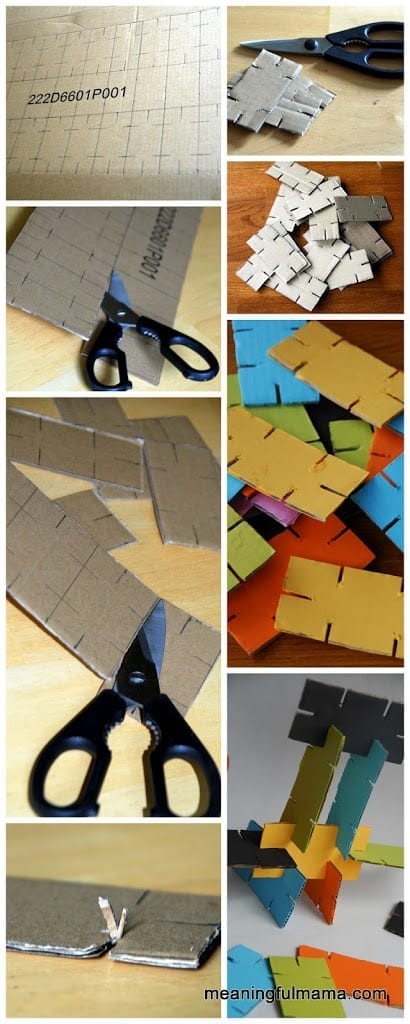
- Grab an old box or piece of cardboard. You can really make them at any size, but we chose to make a 2″ x 4″ shape with 1/2″ slits cut one inch from the corners. Measure all of this out using a ruler or yard stick.
- Cut out your individual pieces.
- Take craft paint and paint them all.
- Let these dry completely before you play.
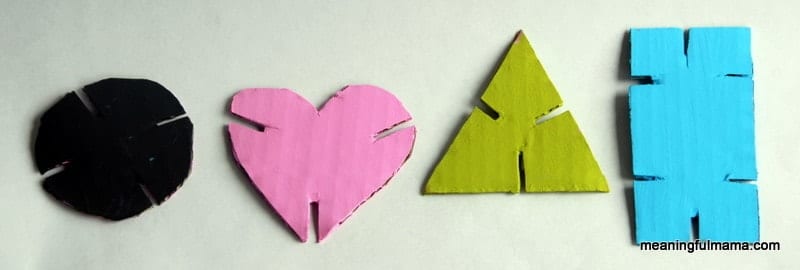
You can also make different shapes with which to build. I have added a few of our examples at the end.
Do You Love Crafts Made with Recycled Materials?
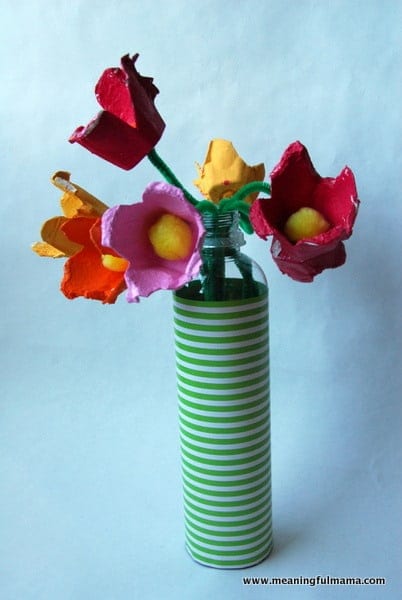
Here are some other great crafts you can make using recycled materials. Using what you have helps to spark children’s imagination, makes them think outside of the box and is an inexpensive way to teach creativity. I now often find myself pausing before I throw anything in the recycle bin or garbage can. “What can I make out of that?” always runs through my mind.
This post was originally written in 2012, but it was updated and re-published in April of 2015.

 DIY Robot Mask
 Toilet Paper Roll Fish


That’s such a great idea! We have so many cardboard boxes around that need something made with them.
Now you have got something to do with them. They’re fun.
Isnt this a great toy? We have made this in all shapes and played http://www.puttiprapancha.com/2011/05/building-with-slotted-cards-and-discs.html
Oh cool! You did. I wish I had seen your version before. I got the idea from an old craft book I picked up a while ago at a second hand store. Wish I had seen yours first. I love the way you decorated them.
What a great idea this is, thank you for sharing I am pinning it
Thanks for the pin. I am glad you like the idea.
I just LOVE this craft! Even if you’re not doing anything in a day, they still look awesome and are so easy to make! Thank you for leaving a sweet comment on my painted vases 🙂
Thanks so much for stopping by here. Glad you enjoy the idea.
What a lovely idea. I love the heart one.
Thanks so much.
What a great idea- my 5 year old would surely really enjoy these! Love your profile description also 🙂 You are clearly a great Mom! Hope you have a nice week!
I’m working on it. Thank you for stopping by. I hope you’ll come back.
what a great idea!!! pinning this and now your newest follower!
Natasha xx
Thank you! I am so glad you’re following along. Thanks for that.
Following you along too now…know I’ve been to your site a few times, and I thought I already was following. Weird!
these are so neat! i lvoe handmade manipulatives. thanks again for linking up to tip-toe thru tuesday!
Thank you!
Absolutely fantastic. I think my mans’ lil’ ones are a tad too old for this by now but I’ll still give it a go and see if the we dude might enjoy this as an outdoor activity (not much fun to be had in our concrete yard, I’m afraid, and no way I let him take LEGO outside- we’ll never see most of it again!) It’ll probably be a hit if I let him spray paint the pieces and get all dirty and messy with it. (best part will be to stick something around his face as a mask to keep out the fumes!) yup, this is defo worth a try! Thanks a lot for the inspiration 🙂
I hope it works out for you. I really wanted to spray paint them because I think it would create a more heavy duty surface and would look cleaner. I trusted the littler ones more with craft paint. Have fun!
Found you via “I can teach my child” blog. I love this idea! I will have to share on my Facebook page (Mama’s Little Muse) ! Thanks!
Thank you so much for sharing this on your Facebook page. I really appreciate the exposure. I’m glad you like the idea!
This is so much fun! Who says toys have to be expensive? Thanks for sharing at tip toe thru tuesday!
KIM
Thanks so much!
Such a great building toy! Pinning this to make soon.
Thanks so much. My kids are still playing with it. For Father’s Day, Abby wanted to make it into a centerpiece, which we did.
Thanks for sharing!! What a great idea.
Thank you!
This is a great idea knew I was keeping those boxes for something 🙂
Yeah – I love doing crafts with things I just have laying around. Thanks so much!
Loooove this!
Just found this via “I can teach my child”…LOVE this idea. Can’t wait make some for my little one! I know it’s an older post but I have a question – did you paint the pieces before you cut them or after? I’m wondering if it would be easier if I did it before hand so I could paint a bunch at once but then I got concerned the paint wouldn’t look nice once I cut it out. Yours turned out nicely – which way did you do it?
Sorry it took me so long to write back. We painted the pieces after they were cut out. I was concerned about what the scissors might do to the paint. That said, they have held up pretty nicely and my kids still play with them. The paint hasn’t lost much, so it might work. The way I saw it, the painting kept my kids occupied for a while, so that seemed good to me. Have fun with it. Thanks for coming by!
wow, i *LOVE* this idea! i will definitely be doing this one day with my kids! 🙂 lisa
I saw the picture on Pinterest and knew this would be great for my niece. I made some stackers today in 5 colours and we had a lot of fun playing and building stuff:) Thank you for this post.
This is a great idea, I love homemade toys! I have featured it on The Crafty Crow today 🙂
Thanks so much for featuring my project. It was fun to go over and check it out. Thanks for letting me know.