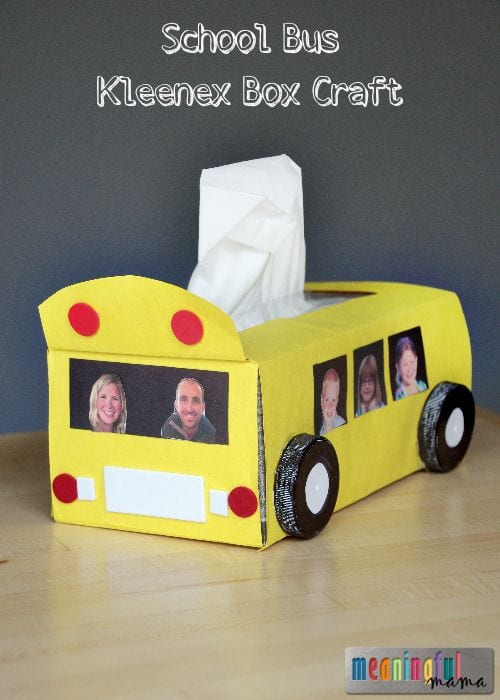
It’s back to school time, and I’m finally getting around to a craft I’ve had on my mind for quite some time. Ideally, I would have finished it before school started, but alas, our crazy busy August prevented good intentions. This school bus Kleenex box craft is a fun back-to-school project, and would be a great gift to give to the teachers as a decorative addition to their classroom. I was inspired to include the kids’ pictures because of the fun popsicle school bus craft we have done in the past.
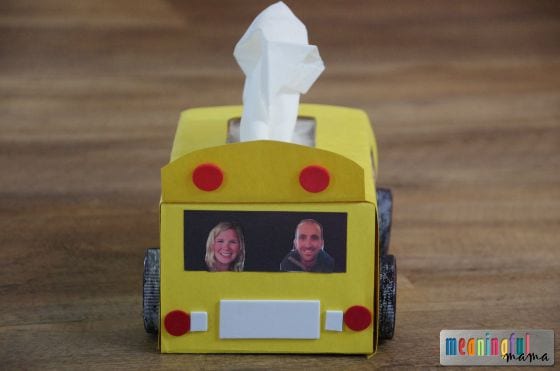
This became a fun craft for my son to do with me while the girls were in their first days of school. Even though he’s not in school yet, we included him on the bus ride. Check out the driver too. I made my husband the bus driver, and I couldn’t help but put myself alongside him for the ride. We presented our creation to the girls when they returned home from school. It’s an easy craft to do with minimal materials, so I think you’ll have a lot of fun creating your own school bus Kleenex box.
Materials Need to Make a School Bus Kleenex Box
* Affiliate links provided for your convenience. Anything you purchase through these links helps to support Meaningful Mama and the free resources I provide. Thank you for choosing to support us.
- Large Kleenex Box
- Yellow Construction Paper
- Black Construction Paper
- White Construction Paper or Foam pieces
- Large White Plastic Lids (We used Costco milk lids) – Alternative is to use Paper
- Red Foam Circles – Alternative is to Use Paper
- Glue Sticks
- Double Stick Tape
- Hot Glue and Hot Glue Gun
- Sharpie
- Paper Cutter or Scissors
How to Make a School Bus Kleenex Box

Covering the Ends of the Box
- Lay a yellow piece of construction paper on the table. Put the Kleenex box on top of it, lining up one side with the edge of the paper. Draw a line to represent the width of the box.
- Using scissors or a paper cutter, cut on that line. You should now have a strip the width of the box.
- Cut that paper in half. You should now have two pieces of paper, the width of your box, that will cover the two ends of your box.
- Add glue and/or double stick tape to your paper.
- Beginning at the opening of the Kleenex portion of the box, glue down one end, fold around the edge and wrap end completely. Glue it all in place.

Cover the Rest of the Box
- Luckily, my construction paper was the perfect size to wrap around the last three exposed sides of the Kleenex box. Simple crease paper along the two top edges when the paper is centered around the box.
- Using the ripped off opening piece of the Kleenex box as a guide, trace onto the yellow paper where the opening will be. Cut out the opening so that Kleenex can be easily accessed.
- Using glue and/or double stick tape, glue the piece of yellow paper in place. I like to use double stick tape on the very edges.
Adding the Details
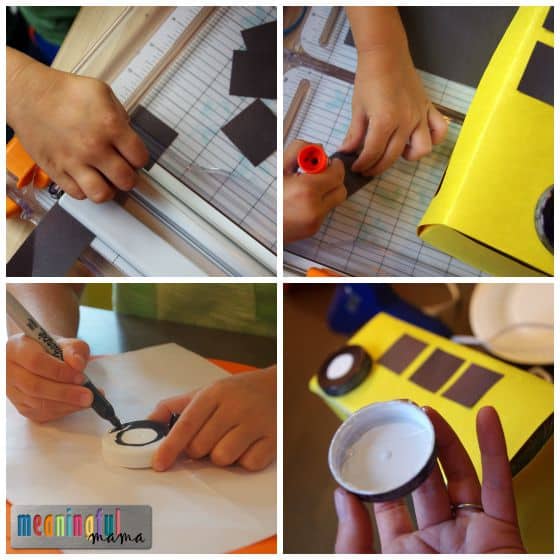
- Cut black squares out of construction paper and glue 3 per side for the windows.
- Cut out a black rectangle for the front and back windows of the bus.
- Draw a black circle on the lid to differentiate the center of the wheel from the tire portion. Color in the edge portion of the “wheel” black with a Sharpie.
- Hot glue the wheels in place. This should be done by an adult.
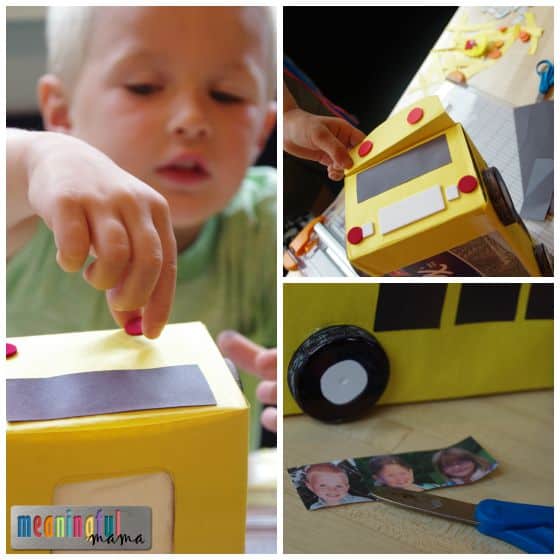
 Add red foam sticker circles to the front and the back of the bus to represent the lights.
- Cut out white foam or paper in small and large rectangles and attach to the front to represent the other lights and the grill.
- Cut out a rounded top piece from your yellow construction paper to add to the top of the bus. I made mine long enough so I could fold it and then slip it under the other paper. Add red foam dots for lights.
- Print out pictures of your kids to fit inside the windows. Cut out the pictures and glue them in place. Add yourself as the bus driver to make it a family affair.
I hope you have a lot of fun celebrating the beginning of school with this great back to school craft. For more fun craft ideas please visit my crafts sub-tab you find if you hover over the main kids tab. Thanks for being here.