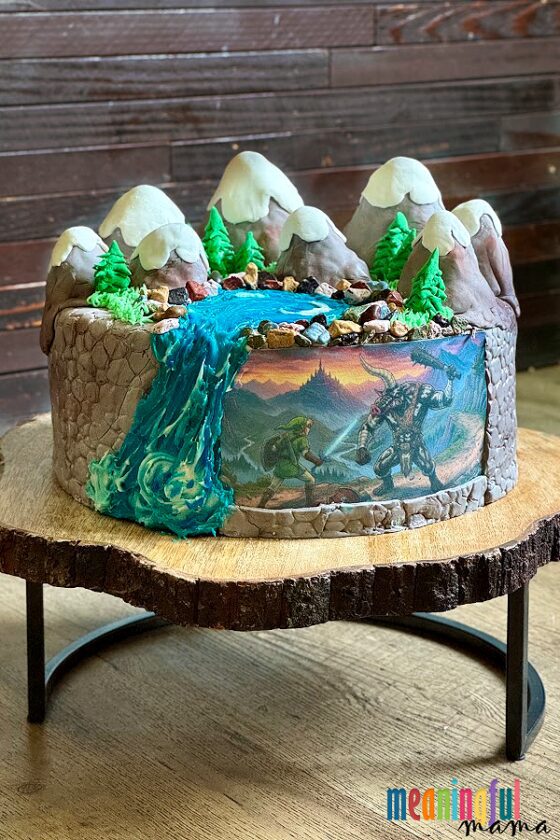
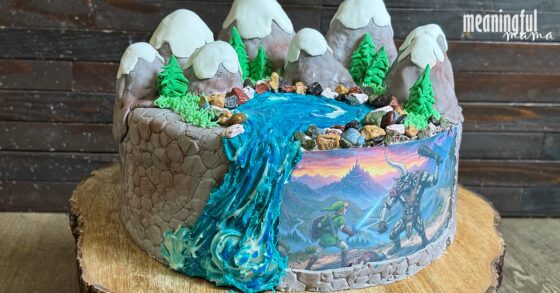
Level up your next celebration with an Epic Zelda-themed cake designed to captivate gamers and dessert lovers alike. I will share the steps I took and the tools you will need to accomplish this cake, featuring Link and a Moblin battling on the side.
In case you want to do the mountains on a Zelda cake in a different way, get inspired by my hunting and fishing cake.
Epic Zelda-Themed Cake
Months ago, a friend’s 7-year-old asked me to make him a birthday cake. I said yes. From then on, every time I saw him, he described EXACTLY what the cake should look and taste like. He was so specific, and I could tell he had a very specific idea in mind.
Chocolate cake was the request, so I made my devil’s food cake recipe (note to self: I need to update this old post with better photos and a recipe card). He also wanted a mint buttercream filling with a plain buttercream on the outside. I linked to the two recipes I used to fulfill his request.
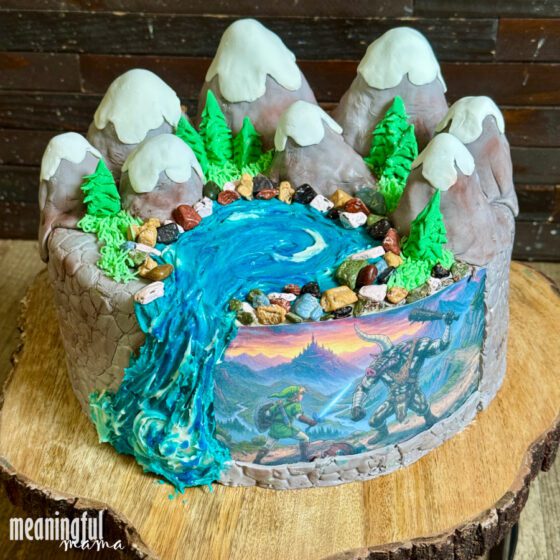
He was just as specific with the top: 8 mountains (since he was turning eight), a body of water, and Link fighting a Moblin.
While I knew he had in mind a little figurine of Zelda and Moblin, I couldn’t find any online, and I knew sculpting that small wouldn’t work, so you can see the results: an edible scene I had AI create for me.
Materials needed to Make a Zelda Cake
Note: The following contains Amazon affiliate links. Anything you purchase through these links goes to support the free resources I provide here at Meaningful Mama. Thank you for your support.
For your convenience, I compiled everything you need to replicate this cake in my Amazon storefront, so you can click and buy from there.
- Frosted Cake (for my best tips for baking a cake, see here, and for my best tips for working with fondant, see here)
- Rice Krispies Treats for Cake Sculpting
- Fondant (estimated 3-4 lbs used)
- Chocolate Rocks
- Green Food Coloring
- Black Food Coloring
- Brown Food Coloring
- Blue Sparkle Gel
- Stone Fondant Impression Mat
- Grass Piping Tip
- Piping Bag
- Kitchen Scissors
How to Make an Epic Zelda-themed Cake
I’m regretting not taking more pictures of the process, but I was in a hurry and heads down.
- Make your cake. Read here for my best tips. Basically, I bake and then freeze my cake to lock in moisture and make it easier to frost. Then, I crumb coat the cake.
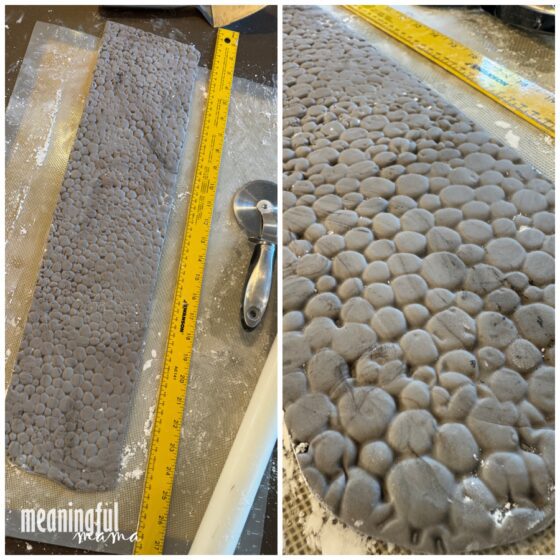
- Next, cover with fondant. This coverage is unique because you only cover the sides, and not all the way around. Mix black (primarily) and brown food coloring into your fondant to get a gray color. I kept some of the black streaks for a bit of a marbling look. Roll out the fondant strip about an inch taller than your cake. It should be 1/8″ thick. I use dowels on either side of my rolling pin to get consistent thickness. The fondant strip needs to wrap around about 3/4 of the cake, so measure accordingly. Lay your stone fondant impression mat on top of your rolled-out piece and press down until you get the desired stone look. Use a straight edge and a pizza cutter to make the edges of the piece of fondant straight. To cover, lightly roll the fondant onto the end of your rolling pin and unwrap along the side of the cake, making sure the bottom edge remains level. The top edge of the fondant will wrap around the top edge of the cake, overlapping about an inch.
- I had AI design the scene for me for the side of the cake. This is a printed image, and it was not edible. I know bakeries can print out designs for cakes, but I think they steer clear of recognizable characters because of the risk of copyright infringement. Correct me if I’m wrong, but I believe my use is OK since it was AI-generated and not an image I found online. I had a plastic barrier between the paper and the cake and tucked the image into one side of the fondant while leaving the other side exposed to be covered by the waterfall later.
- Make the mountains. I made these out of moldable Rice Krispies treats. I simply shaped the treats into little cones, making sure the scale seemed right for the cake. I then draped them with gray fondant and covered them with little white drips of snow. The fondant from the mountains poured over the back edge of the cake, and I just pressed the stone impression map on top of the draped bits to blend the look.
- Using blue-colored frosting, I created a pool of water at the top and ran it down the side to create the waterfall. I kept this very textured and swirled in white frosting and blue sparkle gel to give the impression of movement.
- The pool was lined with chocolate rocks.
- Use green frosting with the grass piping tip to fill in bald spots around the rocks and mountains.
- Color fondant with green food coloring or just buy green fondant. Make little fondant cones, and then use kitchen scissors to snip little triangular pieces out to create the branches. Place the trees in place. (The picture below shows trees made from a cake I’ve done in the past.)

Hopefully, you have been inspired to create your own Zelda cake someday. It was a fun one, and my little friend was delighted with the results.
Want Some More Great Cake Designs?
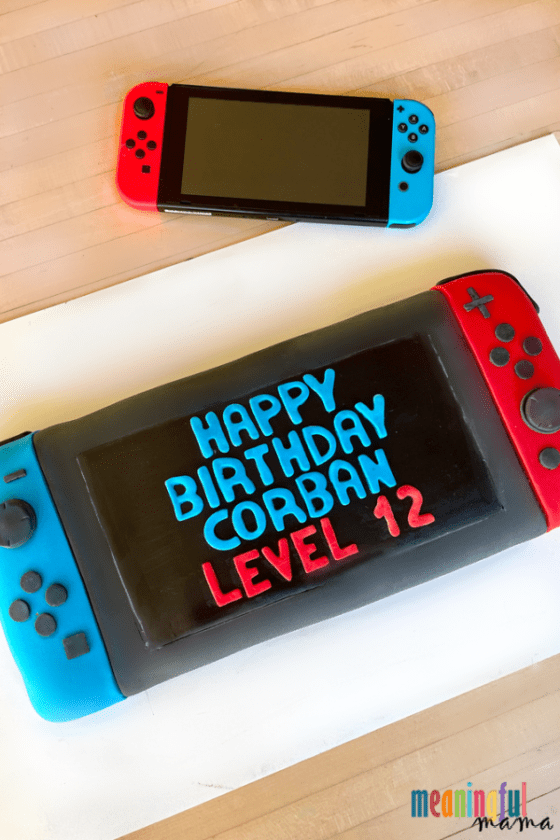
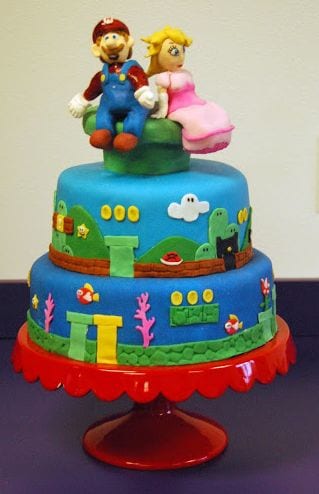
For all my cake designs, check out my cakes tab. I thought it would be fun to feature some more of my Nintendo-themed cakes here.