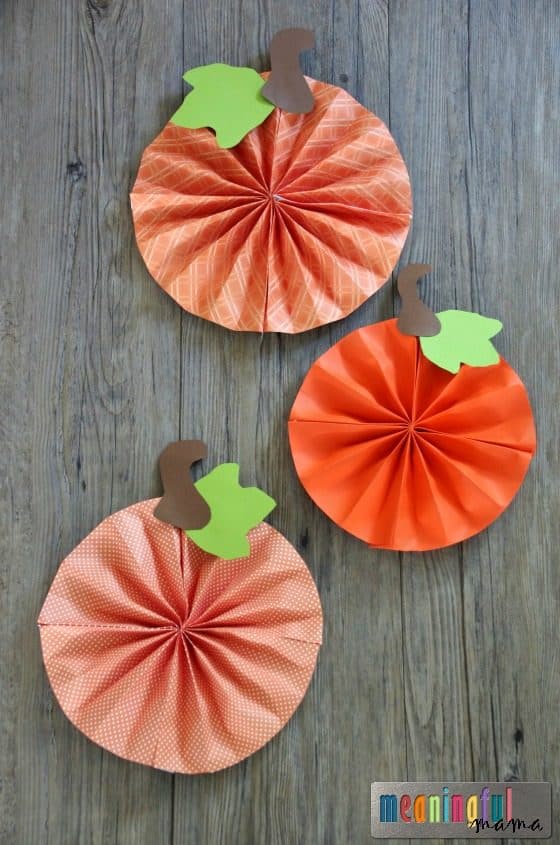
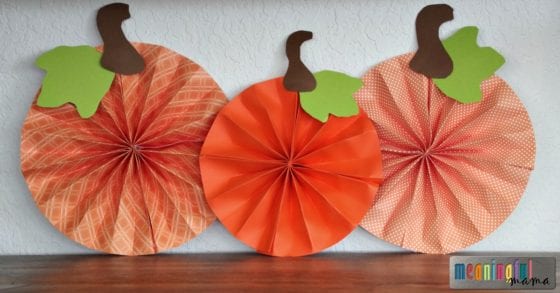
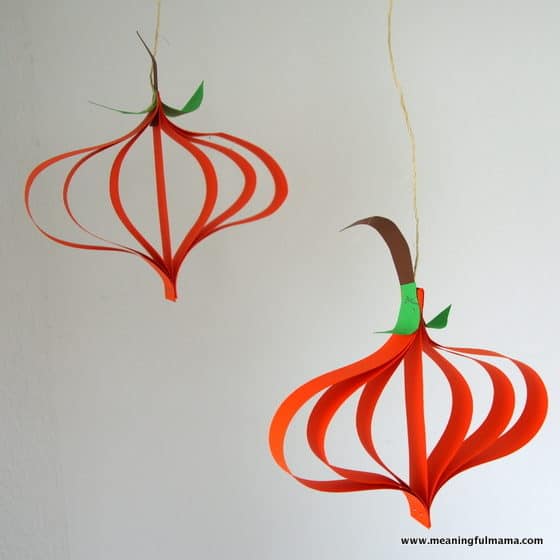
It’s not too late to make some cute decor with your kids for this harvest and Halloween season. This paper pumpkin pinwheel craft is easy to do and adorable to display. Whether you are decorating for a party, doing crafts with kids, decorating your front door or just want to get our own craft on, I think you’ll love this adorable option. Looking for more paper pumpkin crafts for kids and/or decorating? Check out this hanging option.
* Affiliate links provided for your convenience. Anything you purchase through these links helps to support Meaningful Mama and the free resources I provide. Thank you for choosing to support us.
Materials Needed to Make Paper Pumpkin Pinwheel Craft
- Orange Patterned or Plain Scrapbook Paper
(2-4 per pumpkin)
- Brown Stock Paper
- Green Stock Paper
- Hot Glue Gun
and Hot Glue
- Paper Cutter
(optional if making different sizes)
- Leaf and Stem Printable (Free!!)
Note: I love to always have stock paper on hand for a variety of crafts, so I tend to purchase a colored stock paper variety pack.
How to Make Paper Pumpkin Pinwheel Craft
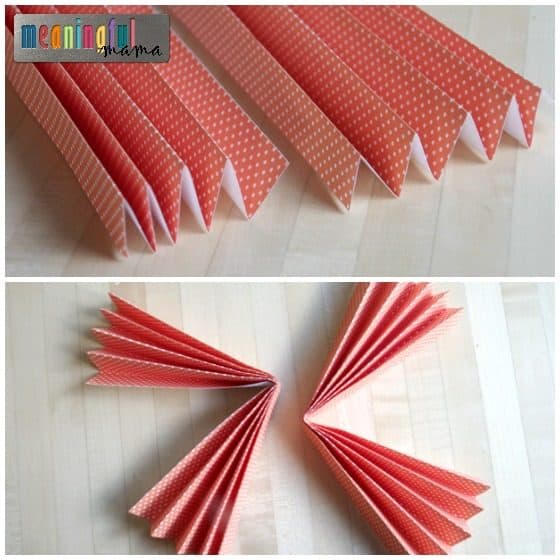
- Follow these instructions to make a pinwheel, but do not scallop the edges. You can hot glue 2-4 pieces of paper together. Sometimes it is easier (less pulling) to use three or four pieces of square scrapbook paper rather than just 2. See how mine puckers a little at the edges? I made different sizes (12×12, 11×11, 10×10). You’ll just need to scale your stem and leaves accordingly.
- Cut out a brown stem and a green leaf using the printable provided.
- Hot glue your leaf and stem to the top of your pumpkin.
You can hang these on the wall or set them on a counter for display. I have found small velcro command strips as a fabulous option for hanging things while not damaging the walls.
Have fun making this paper pumpkin pinwheel craft and happy autumn!
Just see how easy these are to make with my YouTube tutorial. Join my YouTube channel today.

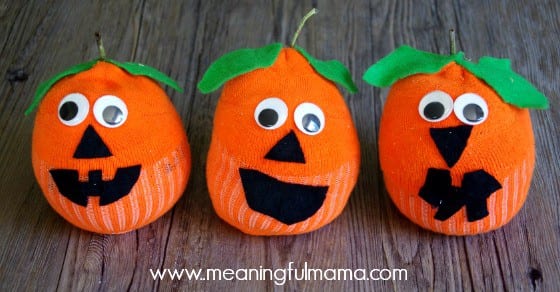


[…] GET TUTORIAL HERE […]
[…] 4. Paper Pumpkin Pinwheel Craft […]