This fun and easy fall leaf crayon craft for kids is a great autumn craft for children of all ages. The results look beautiful when they are hung in the window as a DIY suncatcher. After all, we need to catch as much sun as we can as the weather shifts to turn darker over the fall and winter months, right?
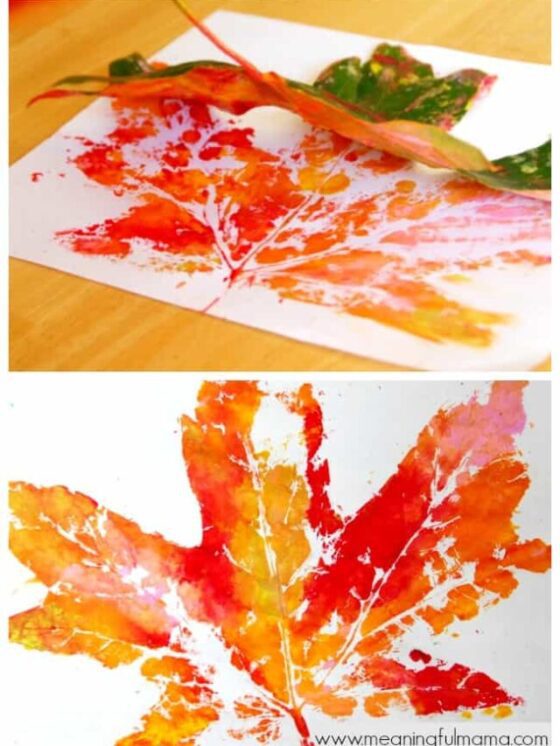
Want another fun leaf craft idea? I think you will love this easy leaf craft that teaches symmetry.

Materials Need to Make this Fall Leaf Crayon Craft for Kids
Affiliate links are provided for your convenience. Anything you purchase through these links helps to support Meaningful Mama and the free resources I provide. Thank you for choosing to support us.
- Crayons – You know that bin of old, battered crayon pieces you have? This is the perfect time to use them.
- Wax Paper
- Pencil or Crayon Sharpener
- Iron
- Scissors
- Optional: Leaves to Trace – I suggest taking a fall walk with your kids to collect some big, beautiful fall leaves. I recognize not everyone has access to this, so here is a free printable with a fall leaf you can trace. Your leaves can also be drawn freehand.
- Optional: Sharpie if tracing leaves.

How to Make Fall Leaf Crayon Sun Catchers
- Head out on a fall nature walk and collect some beautiful fall leaves with your kids. The bigger leaves work best. Take time to be in God’s creation, pointing out all the different colors, textures, shapes, and sizes of the leaves you find. If finding leaves isn’t an option, download my free leaf printable and print to the desired size.
- Take your crayons and start twisting them in the crayon sharpener. Remind your kids of the fall colors you saw outside. Crimson, brown, green, yellow, orange, and red are all great fall colors. That said, when it comes to art, there aren’t a lot of rules. Some really colorful, out-of-the-box leaves might be fun as well. You will need quite a pile of crayon shavings to make a leaf.
- Lay down a piece of wax paper twice the size as you want your leaf. Sprinkle the different colored crayons shaving on half of the wax paper.
- Fold the plain part of the wax paper on top of the crayon shavings to sandwich the shavings between the two pieces of wax paper.
- Lay a piece of paper on your ironing board to protect the board.
- Transfer the crayon shaving sandwich onto the paper on your ironing board. You can move it by sliding a flat cutting board under the wax paper and sliding your wax paper creation onto the ironing board.
- Cover the wax paper with another piece of plain paper.
- Press (don’t iron) the paper. The iron should be on medium heat. Turn the iron up if the crayon wax isn’t melting.
- Allow the creation to cool completely.
- Time to cut your leaf shapes. As indicated, this can be done freehand. However, you can also cut out the outline of the leaf printable I provided and trace that onto the wax paper using a sharpie. Alternatively, trace the leaves you collected around your neighborhood. Cut your wax leaves out.
- For a fun display, use double-stick tape to hang your DIY leaf suncatchers in the window.

Are you inspired to engage your kids with a little craft activity? I know all too well that there is both so much to do in a day and yet there are days that feel so long. Having a fun fall craft to pass those long hours can be refreshing.
I hope this activity blesses your family. Make sure to tag me on social if you share your family engaging in this craft. It’s inspiring to see.
Note: This post was originally created in 2012. It was updated in 2024 to provide better formatting and readability.

Want More Fun Fall Crafts for Kids?
If you are looking for seasonal ideas for kids, I think you will love exploring my holiday tab. Click my harvest tab for autumn-themed activities.
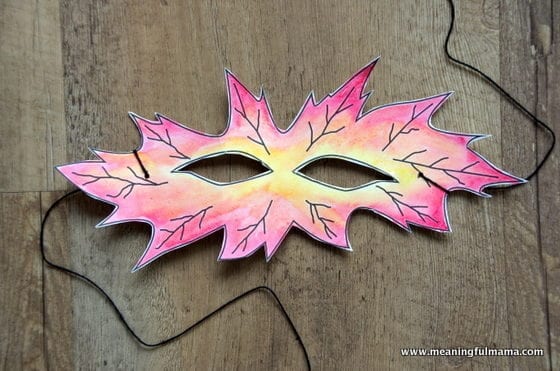
Water Color Harvest Leaf Masks

DIY Salt Dough Leaf Bowlshttps://meaningfulmama.com/salt-dough-leaf-bowls.html


