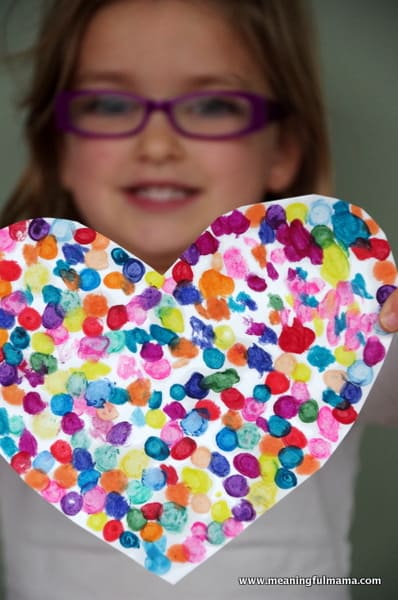
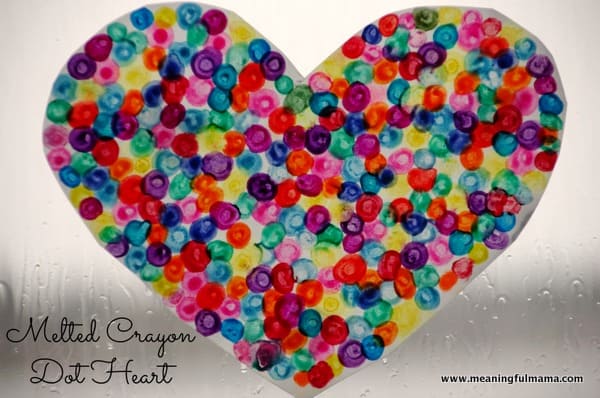
This melted crayon dot heart is a fun craft for this Valentine season. Of course, you don’t need to wait for Valentine’s Day to do this kind of craft. It is easy to do this dot art with any shape.
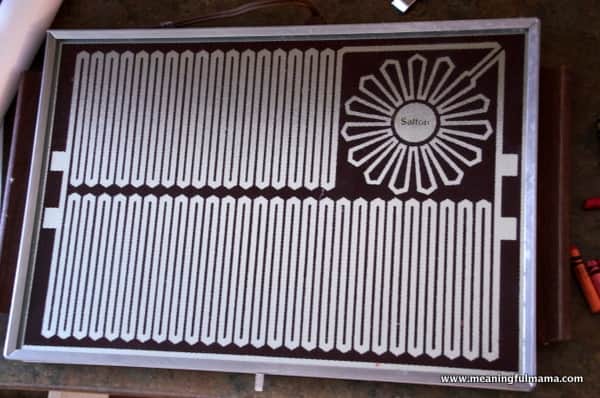
I will show you how to make it work in this tutorial using a really cheap griddle I bought at Goodwill. We have used this griddle for a craft idea I had posted before, but I love the thought of making colorful explosions of art with little wax (melted crayon) dots.
Before I begin, let me please urge you to be very careful when working on this craft. Griddles are hot, and they can burn. Make sure to supervise this project carefully and keep your griddle at a lower temperature.
Materials Needed to Make a Melted Crayon Dot Heart
* Affiliate links provided for your convenience. Anything you purchase through these links helps to support Meaningful Mama and the free resources I provide. Thank you for choosing to support us.
I bought an old griddle a while back at Goodwill. I remember doing melted crayon artwork as a little kid, so I was excited to have my own griddle for fun crayon projects. It was a very cheap addition to our craft closet. What if you don’t have a griddle? I have seen people do melted crayon dot art with a candle, melting the tip and then doing dots. It’s an option but will also need to be highly supervised and would be more appropriate for older kids.
How to Make Melted Crayon Dot Heart
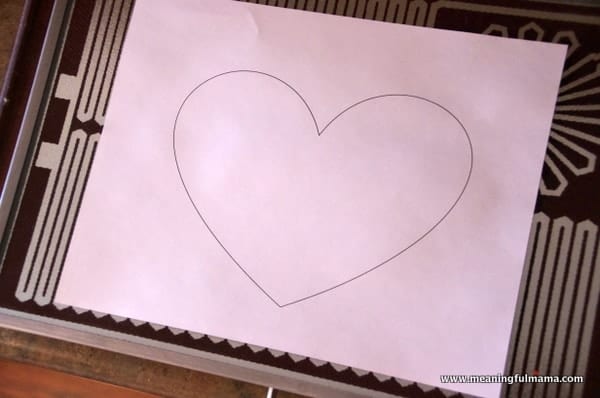
I printed out a big heart. It’s really simple to add a heart to a Word document by choosing to insert a shape. However, I made a printable for you so that it would be very easy to duplicate this project. You can lay this heart directly onto the griddle and lay another piece of printer paper over it. You will be able to see through the paper to see your guidelines to follow to create the heart.
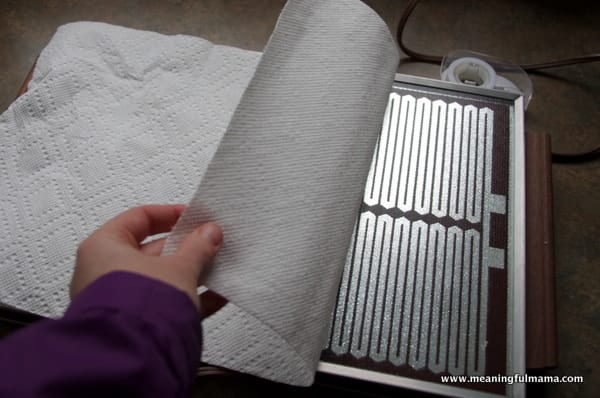
If your griddle runs too warm and you are afraid of getting burned, another option is to put a paper towel down on the griddle prior to use. The layers would be 1) paper towel 2) heart outline printable 3) blank sheet of printer paper on top.
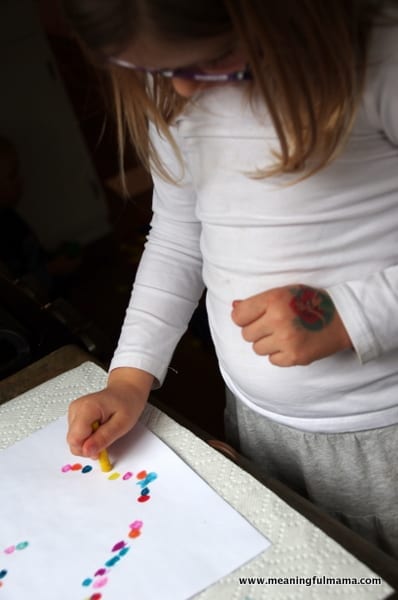
On your blank piece of paper, your child will start doing different colors around the outline shape of the heart.
The method is to hold the crayon in one place to let it melt a bit. Once it becomes soft, you move the crayon in a tiny circle to create the dot. I liked to use the same color over and over again in different spots since the crayon was already warm. So, I might (and encourage my kids to) do a bunch of blue dots and then a bunch of yellow and so on until it’s filled in completely. We tried to do the outline of the heart first and then begin to fill in. Kenzie was a little anxious to start fill in in the heart, so this didn’t happen exactly that way for her.
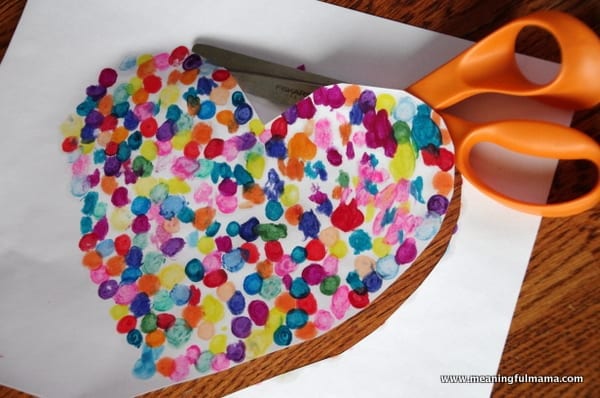
You can cut out the heart once it is completed.
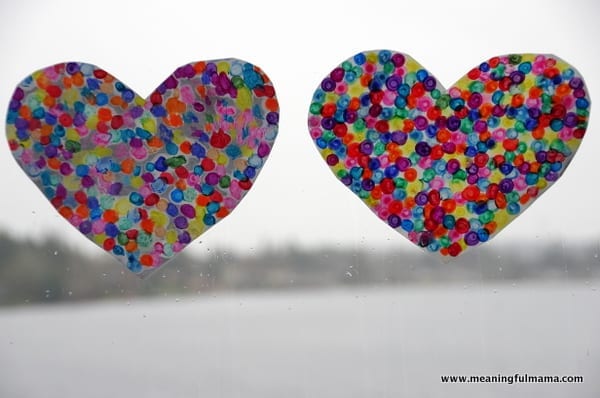
These Melted Crayon Dot Hearts are beautiful to hang on the window for display through the Valentine season. I really hope you have a lot of fun creating this craft with your own kids.
This post was originally written in January of 2014. It has been updated and reposted in January of 2017.




This is lovely! I think we used to do something similar in school, but with waxed paper, so the final product was like stained glass. I think we shaved crayons and then melted between dish towels with an iron. It came out really pretty but not so precise (circles). I’m going to try this with waxed paper and a griddle! Thanks!
You know – I tried it on parchment paper initially, and it didn’t work for me. Maybe it is the parchment paper thing. Perhaps you need the other layer of wax paper and thicker crayon shaving t make it work. I’m not sure. We have done the crayon shaving/wax paper craft before. https://meaningfulmama.com/2012/09/day-270-fall-leaf-crayon-craft.html That is always a fun one. If you try the wax paper, let me know how it goes. Thanks!
What a fun and unique craft! Our baby isn’t old enough to do this yet, but I may have to try it out myself 🙂
It’s actually pretty relaxing! Thanks so much for commenting.
For really young kids use wax paper and then crayon shavings. Then you can iron it and they too will have a beautiful crayon art picture.
We’ve done that too. Such a great idea and so much fun. Thanks for sharing the great idea!
Off topic, but can you share where you got your daughter’s glasses, or what brand they are? Sooo cute, and I’m having trouble finding the perfect purple-pink pair for my little one.
It’s OK to be off topic. We got them at America’s Best. I would say her face (at age 4) is finally big enough to wear the cute ones. Before that, they didn’t have a lot of options. Good luck!
A similar project (and safer for children 5 and under) is have them color a heart (or any drawing) on card stock (to prevent buckling) and then (an adult, or closely supervised child) melting the wax with a heat tool/heat gun. We’ve done rocks the same way and on hot days here in Florida we’ve just left them out in the sun, it’s a great way to teach about melting.
That’s a great idea. Thank you so much for sharing a different technique. I think that will be super helpful for my readers.
Is that a griddle or a warming tray? I think I have it here. It does get pretty hot.
I used a griddle, but you definitely want to make sure you watch the heat. If it runs hot on the lowest setting, I’d keep unplugging it. Then, if it gets too cold, plug it back in. I am sure there are griddles and warming trays that run at different temperatures. A warming tray might actually be a good idea. Let me know how it goes.