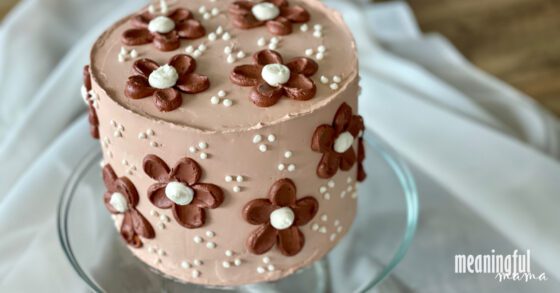
This simple daisy birthday cake comes with a complete tutorial so you can re-create a similar look for your own celebrations.
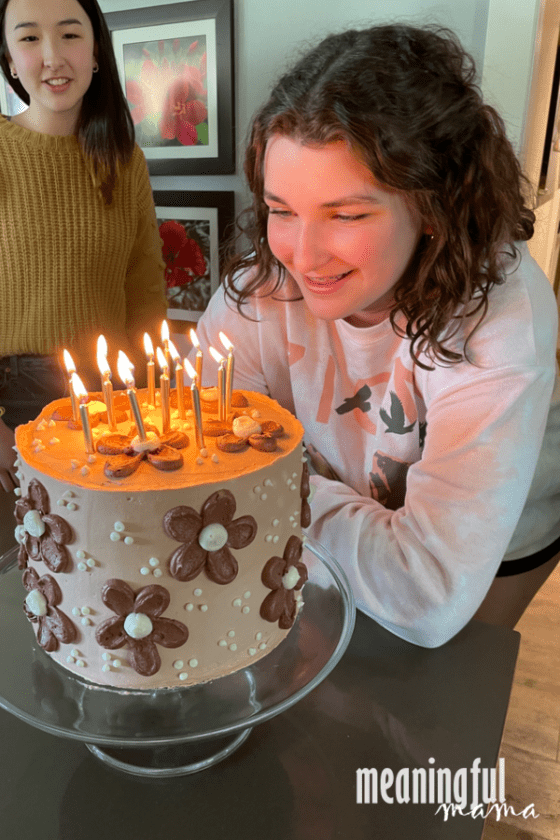
The cake was created for my daughter’s 15th indoor picnic birthday party. She was looking for more neutral colors to match her aesthetic vibe, but she also wanted flowers on her cake. You can see the result.
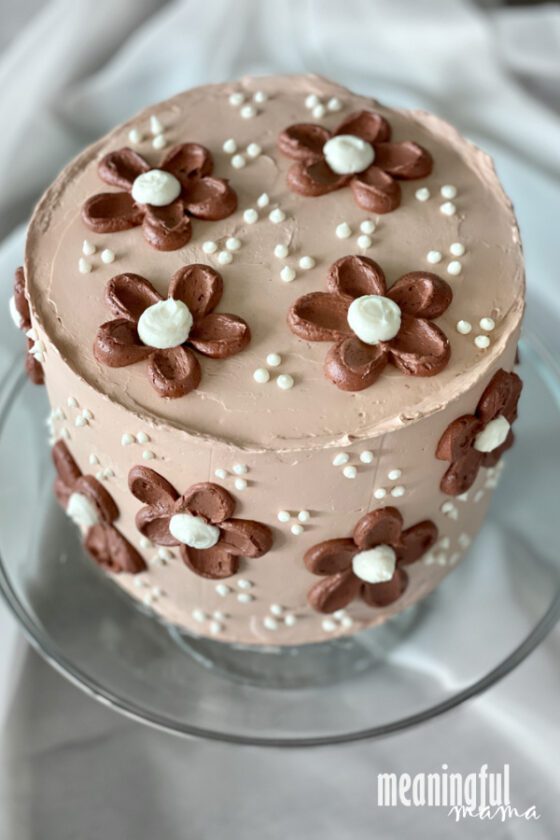
Simple Daisy Birthday Cake
My daughter designed her birthday cake. She is a girl who tends to know exactly what she likes. I love that about her. She knew the overall look she wanted for her birthday celebration. I find joy in creating, so I had the privilege of bringing her vision to life.
This simple daisy cake was the result, and I will teach you how to do it.
Whether you are new to making and decorating cakes or have been making cakes for a while, I still think you might find some good tips in my Cake Making 101 post. I have some of my favorite cake-baking tips and tricks gathered in one place.
For her birthday, she requested our favorite white velvet cake with a delicious vanilla buttercream frosting. Those are go-to recipes for me. They are both easy and delicious.
Materials Needed to Make This Simple Daisy Birthday Cake
The following contains Amazon affiliate links. Anything you purchase in these links goes to support the free resources I provide at Meaningful Mama. Thank you for your support.
So many of the items needed to decorate this cake can be found in my list of must-have baking tools and supplies. You will need a few simple supplies to recreate this cake.
- 4-Layers of Cake
- Buttercream Frosting
- Food Coloring in Ivory and Burgandy and Brown – The base colors are ivory and burgundy, but you might want to adapt the colors slightly with brown to get the exact colors you want.
- Cake Spatula
- Piping Bags
- Couplers
- Small Piping Tip Size 2
- Large Round Piping Tip Size 1A
- Small Spoon
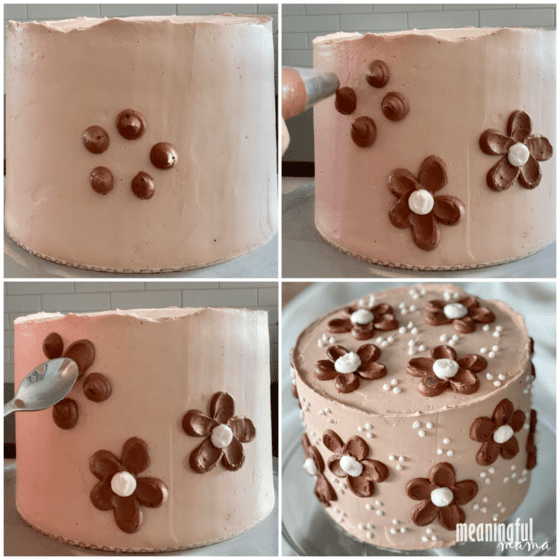
How to Decorate a Daisy Cake
- Color your buttercream frosting in ivory & burgundy or whatever colors you want. I’d love to promote homemade buttercream here. The store-bought frosting is so incredibly challenging to work with. It’s very sticky.
- Prepare a burgundy pastry bag with a 1A tip. Put together a white pastry bag with a 1A tip. Those two tips do not need a coupler. Simply put your tip into the bag and push down to the bottom to see where to cut off the end. Cut off the end. Prepare a white pastry bag with a coupler and a size 2 tip.
- Do a smooth layer of ivory around the edges and top of the cake. I hope you read my cake-making 101 post, but a quick tip for smoothing frosting is to keep your spatula warm and clean. I keep a hot cup of water and a paper towel nearby to remove excess frosting and keep the spatula warm.
- Once you have a smooth base, begin to add your daisies. Do this by taking the burgandy buttercream and baking 5 dots in a circle, as seen above. The 5 dots form about a 2-3-inch circle.
- Using the back of the spoon, press the dot down toward the middle of the dot and pull toward the center of the circle. Do this with each of the dots.
- Using the white buttercream with the 1A tip, put a dot in the center of each flower. If there is a bit of a tip to your circle, press it down with a clean finger or the back of a spoon.
- The final step is to take the pastry bag with the small 2-tip and make groups of 3 small, close dots all over the cake.
Want More Birthday Cake Decorating Ideas?
Cake decorating is such a fun hobby. I love to create, but I’m also a purger. This is the best option. I love that I can create edible art. Here is a link to all of my cakes, but I’ll feature a few below as well.
