Are you ready for a great up-cycle craft for all of those empathy water bottles you have laying around? This water bottle fish craft is both easy and fun for kids of all ages. The fish designs are endless. I think your kids are going to love to create these underwater friends.

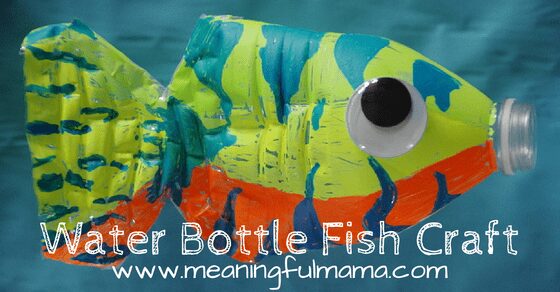
Water Bottle Fish Craft
Are you excited to create your own water bottle fish? I think you will love how easy this craft is in both set up and clean up. I think your kids are going to really enjoy making their own fish designs.
This would be a great craft to start or continue the discussion about the importance of having less waste, recycling, up-cycling and caring for our oceans. According to this study, 8 million metric tons of plastic waste ends up in our oceans per year. Having kids bring in their already used, empty water bottles gives them an opportunity to up-cycle while discussing important issues facing our world.
Materials Needed to Make Water Bottle Fish Craft
- Water Bottle
- Scissors
- Tape
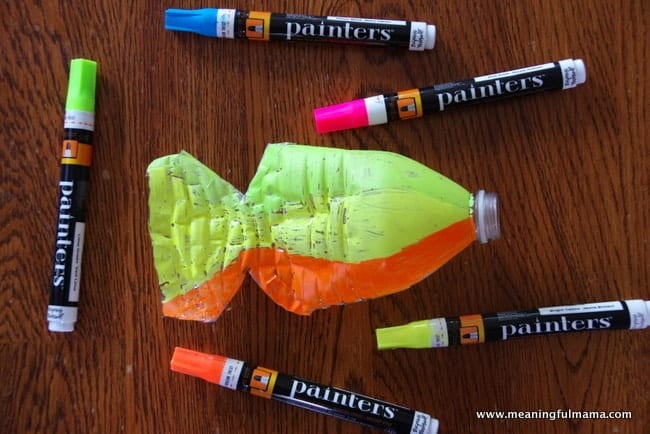
- Elmer’s Painters Opaque Paint Markers, Set of 5 Markers, Neon Colors, Medium Point (WA7571)
 (Affiliate link added for your convenience. These markers come in other colors as well, but we used the neon)
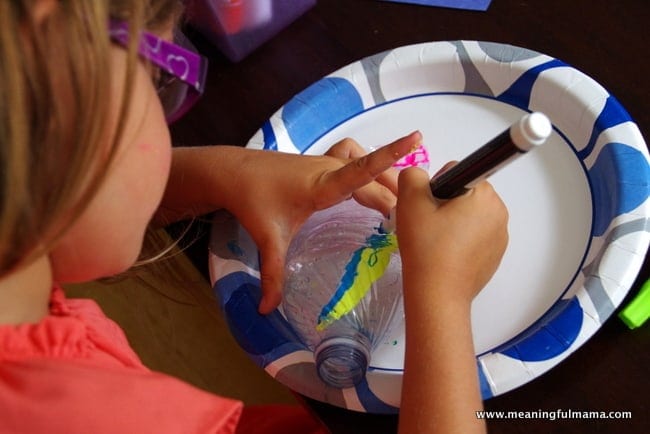
 - Some sort of table covering to protect your table. We just used a paper plate for the kids to work on.
- Glue Dot or Another Glue
- Large Google Eye
Written Instructions for Water Bottle Fish Craft
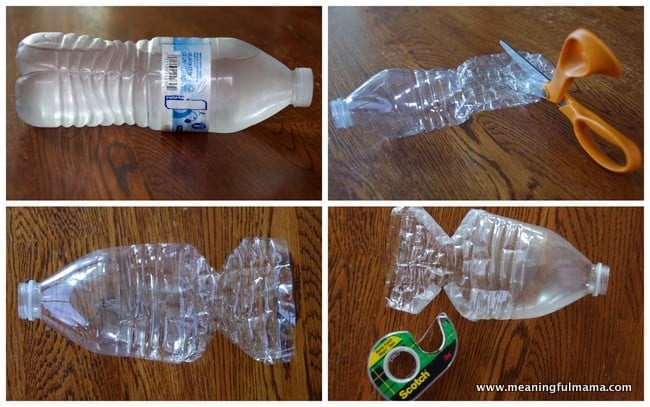
- Take the lid off an empty water bottle and squish the bottle flat from about the middle of the bottle all the way to the bottom. Leave the front part puffy. If it does get flat, you can always put your finger in the mouth opening of the bottle and push the sides back out.
- Cut off the bottom of the bottle about an inch up. You can make this a flat line or curve it to create an interesting shaped back fin.
- Cut triangular notches in the side of the bottle to differentiate the back fin from the rest of the fish body.
- Tape the triangle cut outs with clear tape so there is no longer exposed holes. This will make a more finished look and add a layer of protection from the sharp edges. You can tape the back of the fish as well if you are concerned with the kids getting cut. I did not tape that back fin, and we have had no problems. The paint will cover the tape.
- Using Elmer’s Painters, “paint” (it really feels like coloring) the design onto your fish. We did a Google image search for tropical fish designs to help spark out imaginations. If you are layering colors, you will want to let paints dry in between. Paint dries to the touch rather quickly, so there is not a huge delay if you want to layer colors. I did the fish in the feature picture, and once I completed the entire bottom layer of color, I was able to go work on top of the colors that I had initially done.
- Once dry, add a large google eye with a glue dot. We made one sided fish, but you could easily complete both sides.
This would be a great project for any time. I could see these dangling from a classroom ceiling during an “Under the Sea” unit. These could be hung on a sea mural. My kids have enjoyed having them around to play with rather than display.
Visual Instructions

Video Tutorial for Making this Water Bottle Fish Craft
Visit the bottom of the post to find my video tutorial for making this water bottle fish craft.
More Fish Crafts
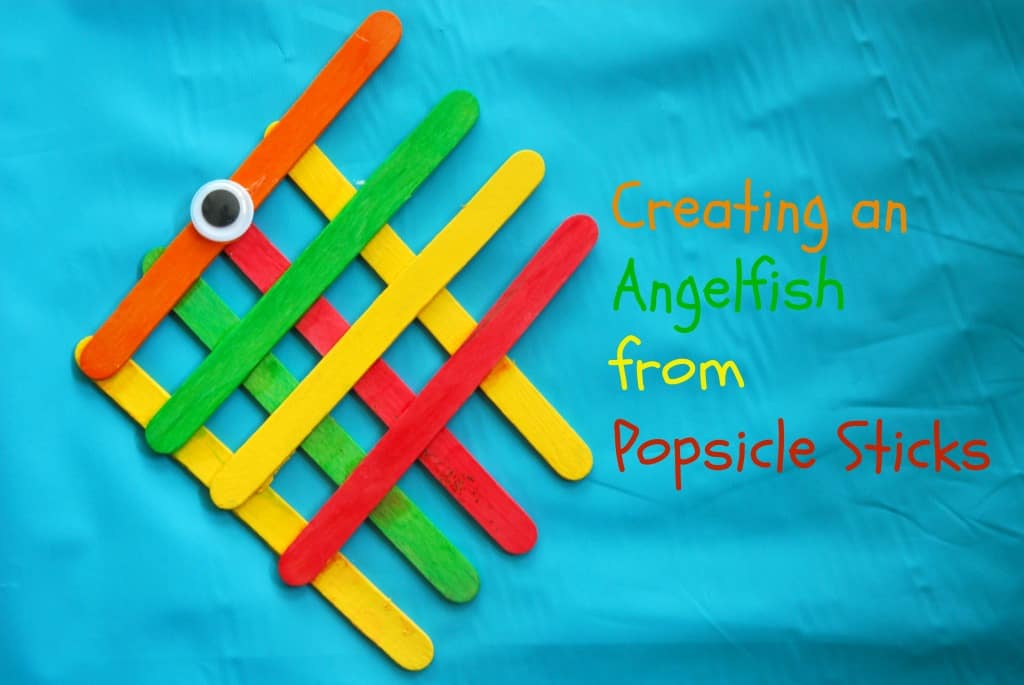
Angel Fish from Popsicle Sticks
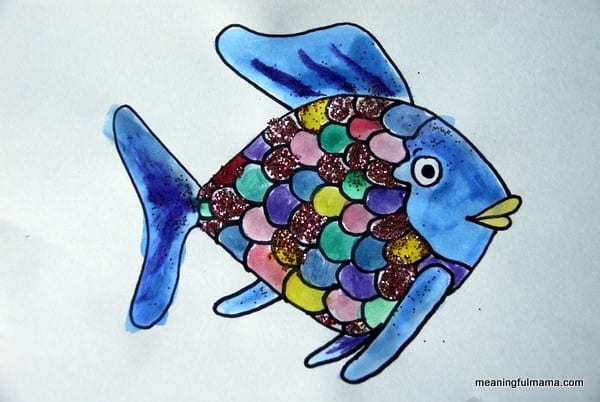 Rainbow Fish Watercolor with Printable


Very creative and interesting. I am into fish things and also do a Ocean Christmas theme. Not quite classy enough for me, but I love your creativity and using recycling. Great job done.
Thanks so much. I understand them not working for the theme, but maybe they’ll be useful and fun to do another time. Thanks for commenting.
I like your idea. I am teaching the big catch the apostles made and have a fish net now with your idea I’ll have fisn in the net. i was going to try and make fish out of small lunch sacks stuffed with newspaper but I think this will be better. thank you for sharing
So cool! I’m so glad this is going to be used in a Bible lesson. I hope the kids have a lot of fun! Thanks for letting me know.
Thank you so much for idea. We are using it tonight in Bible School – Surf Shack.
So cool! Thank you for letting me know how this craft is being used. I hope you have a lot of fun with it!
Its awesome I love it and its so interestinpg.
Thanks so much. I appreciate it. 🙂
Thank you for sharing your ideas. I will be using your water bottle fish idea for teaching preschoolers the 5th day of creation. Thank you.
I love that you are doing that. Thanks so much for letting me know and thanks for working with those preschoolers. 🙂
merci pour ce partage très intéressant
You are so welcome.
Hi Jodi! I’m a graphic designer living in Bonaire, Dutch Caribbean.
Together with my client DCNA, a non-profit nature organisation, we are working on a free kids magazine for the children of the 6 dutch caribbean islands. Could we please feature your Water Bottle fish craft including photos? Of-course with a credit to you.
Sunny greetings,
Laura
Just responded to your email. 🙂