If you have been wanting a system to help your children remember every part of cleaning a bathroom, this bathroom cleaning checklist for kids will be helpful. The beauty of this concept, however, comes more in the execution than the checklist itself.
If you are also looking spring cleaning or end of summer cleaning checklist, please visit here.
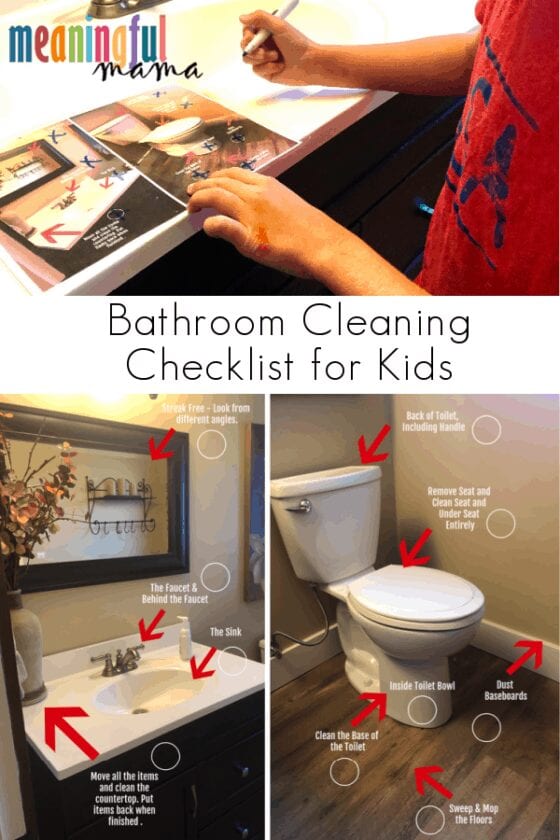
Bathroom Cleaning Checklist for Kids
This bathroom cleaning checklist for kids is helpful as kids benefit from having a visual picture of every component involved in the process.
The concept here is more important than the lists I am providing. This process involves you taking photos of the rooms in your house and providing a laminated image detailing your expectation for each room.
Why lamination? If the image is laminated, your kids can use an Expo marker to mark off the different tasks within a room as they complete them. Further, it’s easier to keep the picture in good shape.
We love having a laminator. One fun idea craft idea for a laminator can be found here. We have also used a laminator for gifts and daily routine checklists.
They’re not expensive either. Here is one on Amazon (affiliate links) for less than twenty dollars. You can get extra laminator pouches and EXPO markers as well.
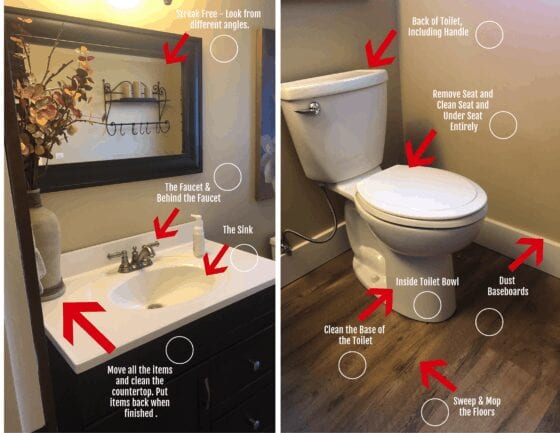
Above you see the image I created for my own bathroom. If you want to use this image instead of creating your own, you can find it here.
Alternatively, you can create your own. For some, that is a simple task. For others, the idea is daunting. No worries! I’m here to help.
I use a free editing tool called PicMonkey. Here are the steps I used to create this image from the PicMonkey home page. You will need two images of your bathroom ready.
Insert Images into PicMonkey
- Click on Create New Image
- Choose Blank Canvas
- Select Print Size 11.5 x8
- Add Image from Computer (Do this twice – place one on one side and one on the other, leaving a small gap between the two). Resizing and moving can happen when clicking the picture.
Insert Arrows into PicMonkey
- Go to Graphics in far left column.
- Type “Arrow” into search bar.
- Choose an arrow you would like to use from the images provided.
- A graphics box will pop up on the right side of your screen. You can change the color there.
- Clicking on the image provides a way to resize and move the arrow around the screen. You can right click on your mouse or use the copy and paste shortcut on our computer to duplicate your arrows and place them around your bathroom images.
Adding Text in PicMonkey
- Select Text in the far left column. Click on “Add Text.”
- Write the text you would like into the box.
- A text box will appear on the right side of your screen. Here you can change font, font size, color, and more.
- Clicking on the text box is another way to resize and move your words to where you would like it on the screen. Because I want the font and size uniform, I copy and paste the text and then just rewrite the instructions throughout the image, corresponding with the different cleaning spots within the bathroom.
Adding Circles in PicMonkey
So that kids have a “box” to check off each task on this bathroom cleaning checklist for kids, I added a circle next to each component of the chore. Here’s how to do it:
- Click Graphic on the left hand side bar.
- Select Basic. Here a number of basic shapes will pop up, including the image I used with a circle outline. You can choose a square outline or any other image that makes sense for your brain.
- Once your graphic is added, a graphic box will pop up on the right hand side of the screen. This is where you can change the color of the shape you chose.
- Click on the image to resize and move the shape to the desired location.
- Copy and past your circle shape and move to the different task locations on the image.
Downloading Images from PicMonkey
Great! You have an image created. Now what? Time to download and print.
- In the upper right bar of your screen select Download.
- You can download it as a jpg or png image for free. A paid subscription will help you change it to a pdf. I just saved mine as a png and printed from there. Just rename it and pay attention to where you save it on your computer.
Once the image is downloaded, print it out and laminate it. While this is a bathroom cleaning checklist, you could create similar images for every single room of your house.
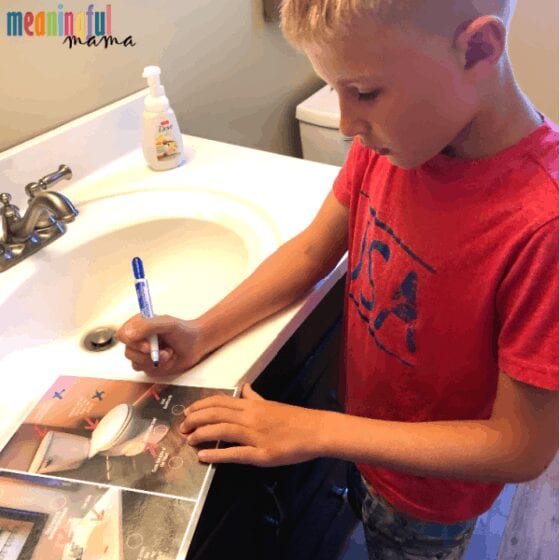
It will still take a couple of lessons from you about how to successfully do these tasks. That said, with your handy dandy laminated bathroom cleaning checklist at their side, custom made for your bathroom, your kids have the tools they need to know how to do this task correctly.
You can keep your bathroom cleaning checklist in a bathroom drawer or under the cabinet. Alternatively, make these for each room and store them with your cleaning supplies.
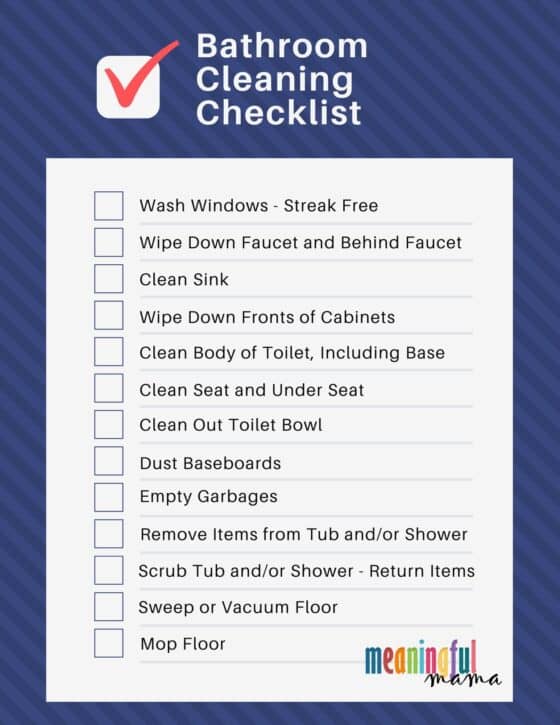
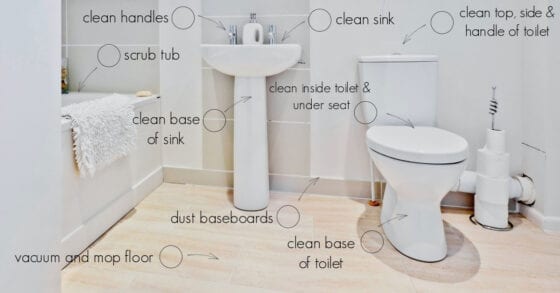
Not interested in creating this on your own? Maybe a list is more your style. Here’s a free bathroom cleaning checklist you can download (photo above).
Teaching kids to clean helps them develop a sense of responsibility and place within the family unit. When we all work together to get things done, a family unit can function better together and equip kids for their future.
Want More on the Topic of Chores and Responsibility?
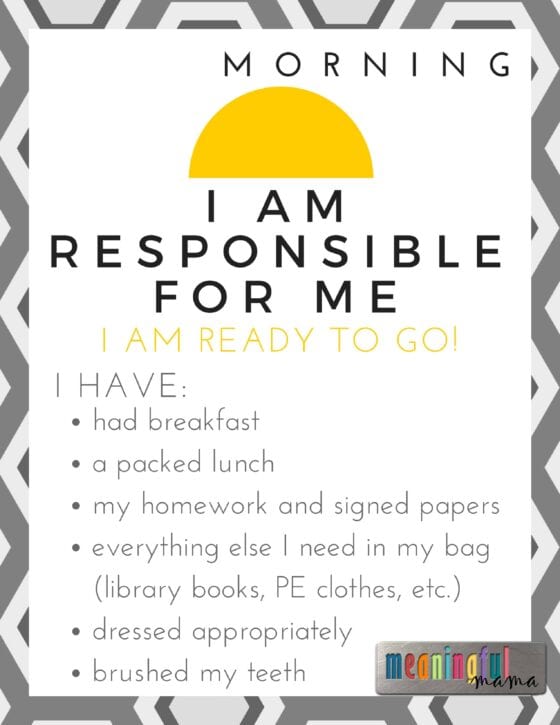
I Am Responsible for Me (Charts for Morning, Afternoon and Evening)


