
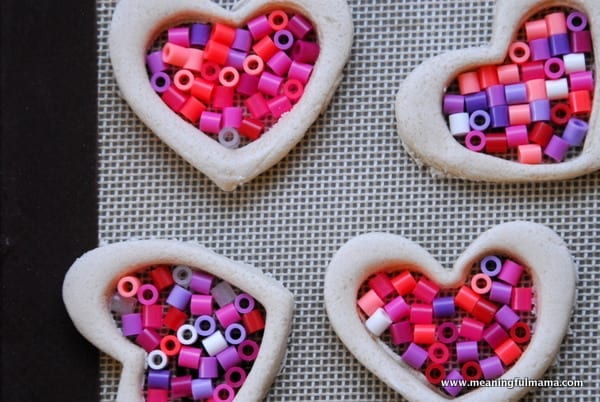

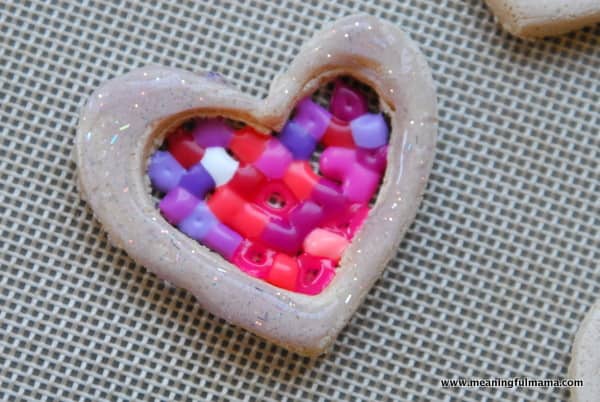

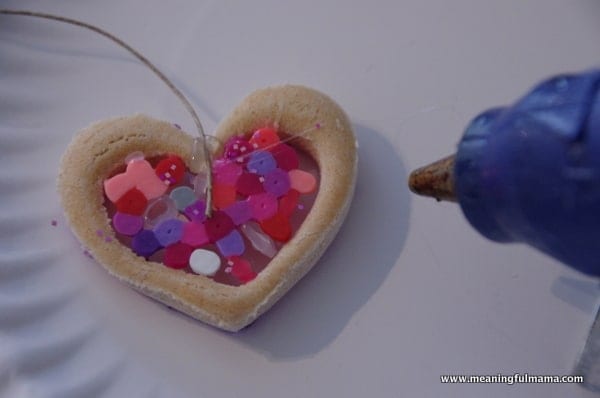
We created these fun salt dough and perler bead Valentine ornaments so we could have a little homemade design in our home this season. Also, it was fun to combine a couple of our favorite things from the past – salt dough ornaments and melted perler beads. I was inspired by a fun snowflake sun catcher garland I found at Homegrown Friends, but I decide to do mine slightly differently. She uses some different materials too, so I encourage you to look back at her tutorial to decide which method is better for you.
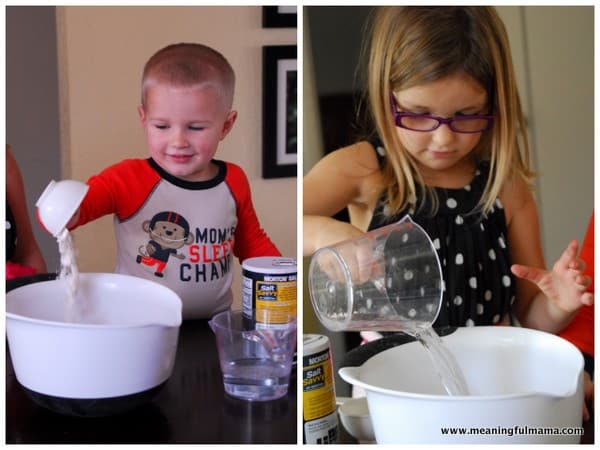
The first thing for you to do is mix up your salt dough. Making salt dough is a very simple recipe, and I hope you will check back to find the version I like to use. I always encourage you to have your kids doing the dumping, pouring and mixing.
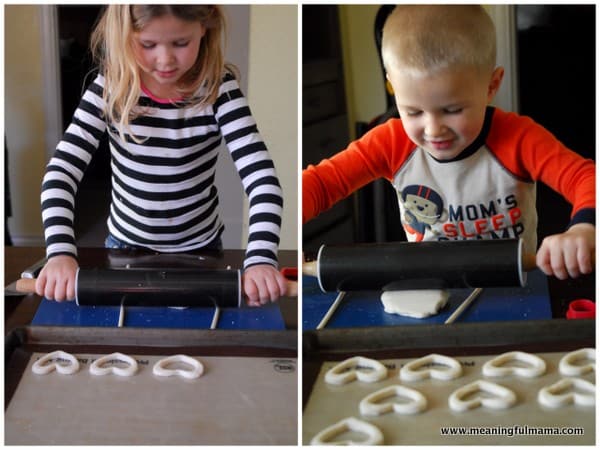
The kids can then roll out the salt dough. I like to use cake dowels as a guide for the roller. It gives the perfect 1/4″ thickness that I used for this project.
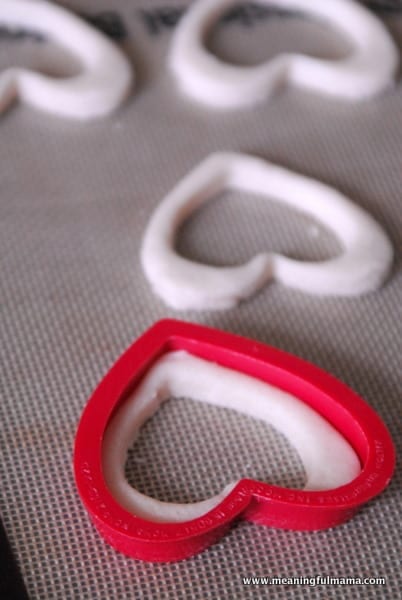
We had two different sizes of hearts. We did the bigger one first and then added the littler heart in the center.
The part you will keep and bake is the thick outline. The center heart, you can remove as it will be the space for your perler beads.
We baked these on a silicone baking mat, but you can use parchment paper also. This is set in a jelly roll pan, but you can use a baking sheet as well. We would put the heart outline onto the baking sheet, and I would then use the larger heart to reform it and make the hearts consistent in shape and size, as they warp a little bit in the transfer from rolling surface to baking mat.
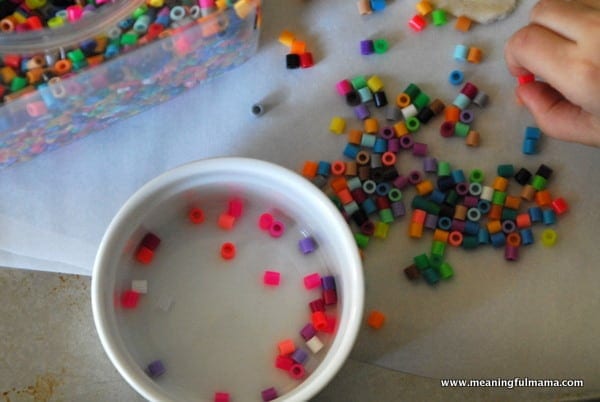
We worked to sort out the Valentine colors of the perler beads. That was actually a kind of relaxing process.
The next step is to fill your hearts with perler beads. I wish I had stuffed mine a little bit more.
The next step is to bake. I just did the same amount of time as it says on the recipe. You will bake at 250 for 2-3 hours. Keep your eye on it, and gauge for yourself when you want to pull them out of the oven.
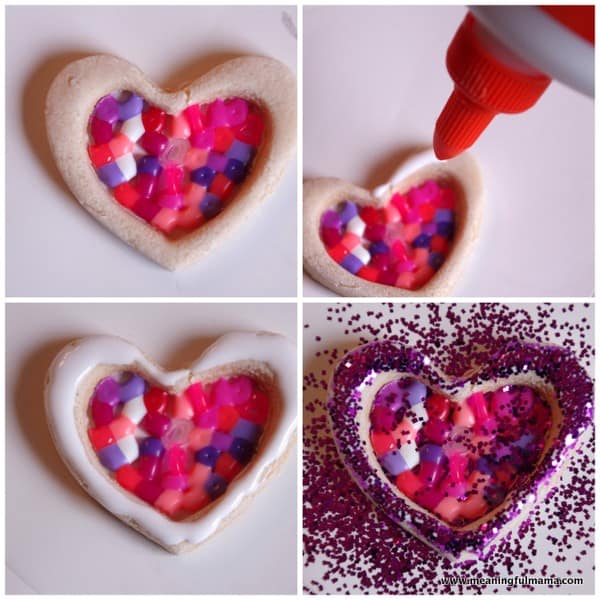
The first thing I tried was to use Elmer’s glitter glue to add a little shine to the salt dough portion of the ornament. I liked it, but I decided I wanted to add a bit more bling to the final look.
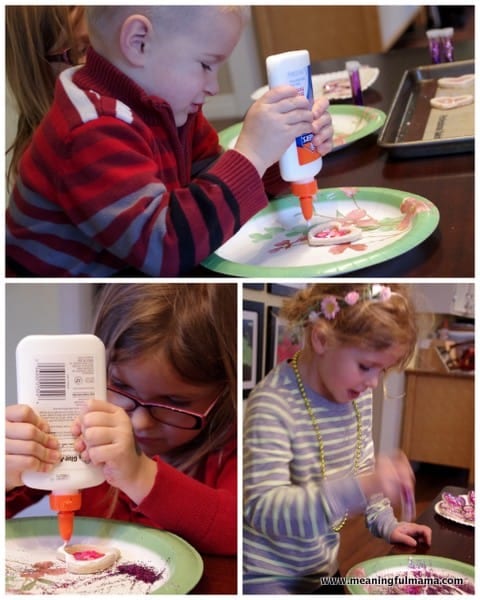
You will add glue to the salt dough portion of your ornament. Then, just sprinkle with glue. The glitter will come off the beads once the outer layer dries. I’ve heard a great glitter trick too to keep glitter from continuing to fall off. After it dries completely, you can add another layer of clear glue or Mod Podge to the top, and it seals in the glitter. GREAT TIP!
The kids had a lot of fun making these, and now we have them as a great decoration for this season. They could also make them for friends. Light does shine though some of the beads when hanging in the window, so that’s another option for display.
I hot glued the string to the back of the hearts for hanging.
Happy Valentine’s Day, Everyone!
Adorable! I loved using those beads when I was younger Nd melting them with an iron. I love this craft.
Thank you so much, Deborah. They are pretty fun beads. Aren’t they. I need to do the tradition way sometime soon.
The dough creations are then baked to preserve them. Salt dough is a wonderful sensory material and this salt dough bracelet is a great fine motor skills activity from forming the beads to threading them onto the string. It would also make a special gift that kids can make for mother’s day.
Thanks so much. I’m glad you like the idea. Thanks for stopping by and commenting.