Looking for a fun craft ideas for kids that involves candy? This edible Perler bead art with Twizzlers gives a new twist on a favorite activity for kids.
If your kids enjoy doing Perler beads, they are going to LOVE this edible version.
We have had fun with the real Perler beads in the past. People have loved making plastic Perler bead bowls, Perler bead bracelets, and Perler bead ornaments for Valentine’s Day.
Today we look at an idea that provides the same pixilated art concept with a new art medium – Twizzlers.
Edible Perler Bead Art with Twizzlers
My kids had such a blast with this activity. There’s the joy found in both the creating and the eating of their art.
Because I’m more of a purger than a hoarder, I love edible art. It means I can make something, take pictures, enjoy it for what it was and then not feel bad when it disappears. Perhaps that is part of the reason I love cake design.
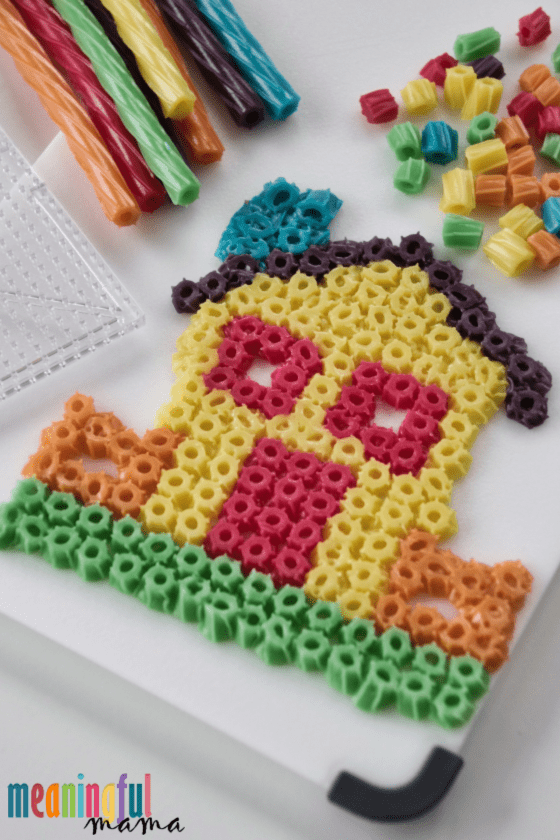
Today we take the idea of turning food into art by transforming Twizzlers into Perler beads.
I want to share two things about this activity:
- This was not my idea. We subscribe to Focus on the Family’s Clubhouse magazine for our kids. I saw this in their magazine and reached out to see if they minded me sharing it with my Meaningful Mama audience. They said they have no problems with that at all, so I feel comfortable providing this activity here. I want to give a shout out to their magazine because my kids love it, and it provides them with stories of hope, joy, and truth while also supplying activities and ideas they enjoy. If you don’t know about this magazine yet, you should check it out.
- This is not a healthy activity. That should be obvious, so why am I stating it? I always want to be real and authentic with you. If you are following my Facebook page (If not – why not?! We have fun over there and would love to have you.) you would have seen this post about our new and improved health plans for 2020…for life. I don’t want you to now see this sugar-filled idea and say, “You hypocrite.” First, I did this activity before we were going more whole foods and limiting sugars. Second, I’m not an extreme type of person. I tend to be a moderate in all that I do. If we are making diet changes, I’m not the one to say, “We will never have candy again.” Rather, I am more the type to say, “We are taking measure to remove excess sugars from our home. However, there is still a time and place for special treats – just not as often as we were doing.” So, while we are making healthier choices for our family, I don’t feel convicted sharing an edible candy art craft with you.
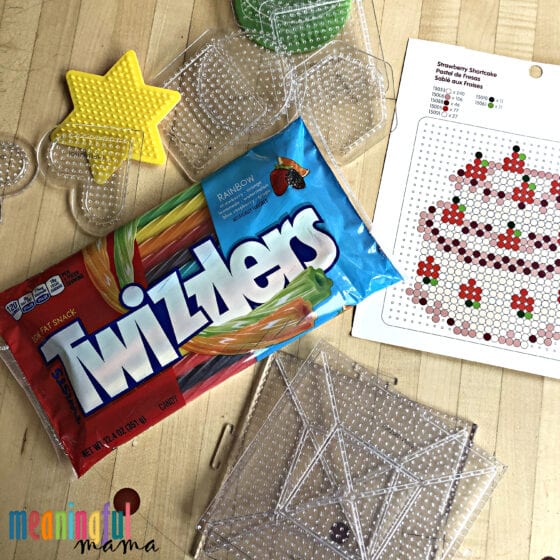
Materials Needed to Make Edible Perler Bead Art with Twizzlers
Note: Amazon affiliate links are provided for your convenience. Anything you purchase through these links help to provide the free resources I provide at Meaningful Mama. Thank you for your support.
- Rainbow Twizzler Licorice Candy
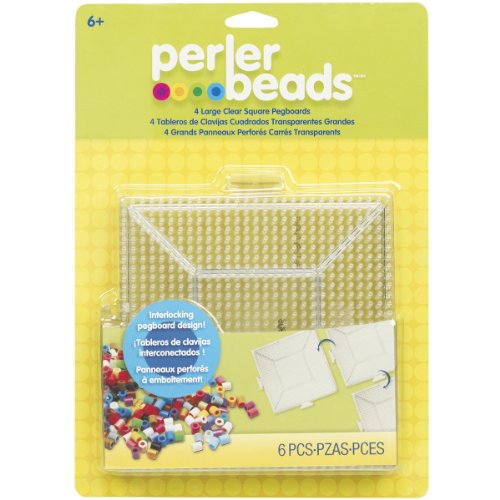
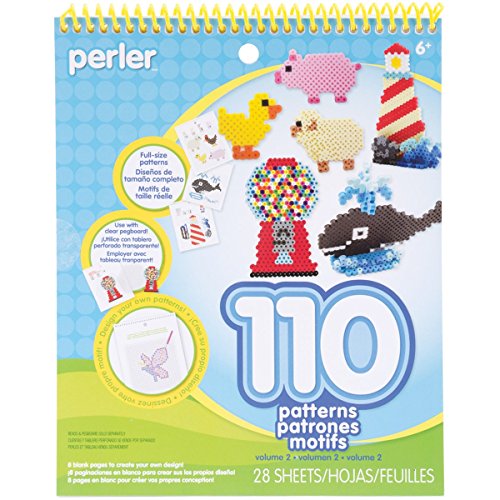
- Perler Bead Boards (optional)
- Perler Bead Patterns (optional)
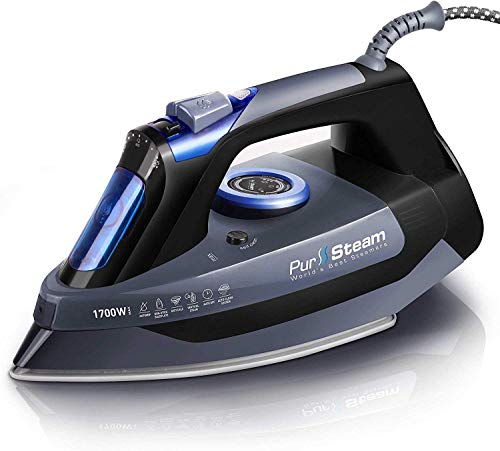
- Iron
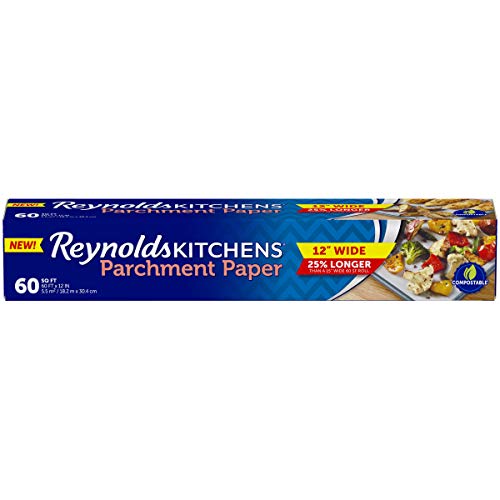
- Parchment Paper
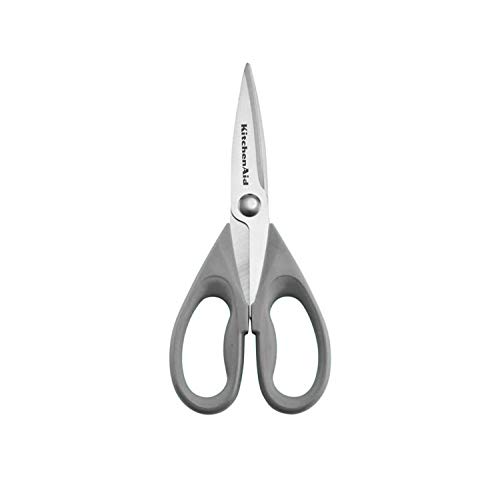
- Kitchen Scissors
TWIZZLERS Licorice Candy, Rainbow, 12.4Perler Beads Large Square PegboardsProfessional Grade 1700W Steam IronReynolds Kitchens Non-Stick Parchment PaperPerler Beads Patterns and CraftKitchenAid KC351OHGSA Shears with Soft

How to Make Edible Perler Bead Art with Twizzlers
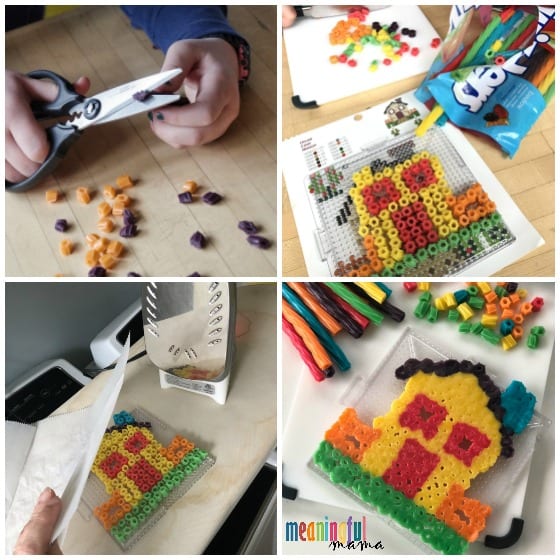
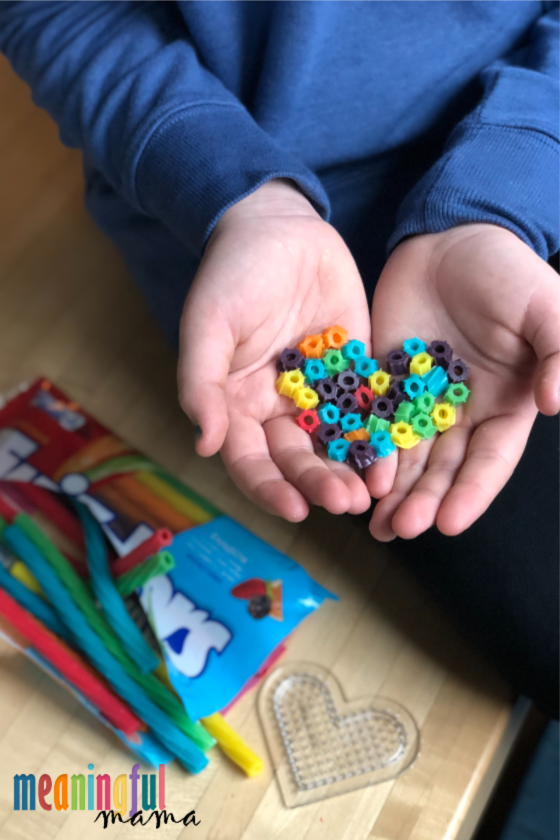
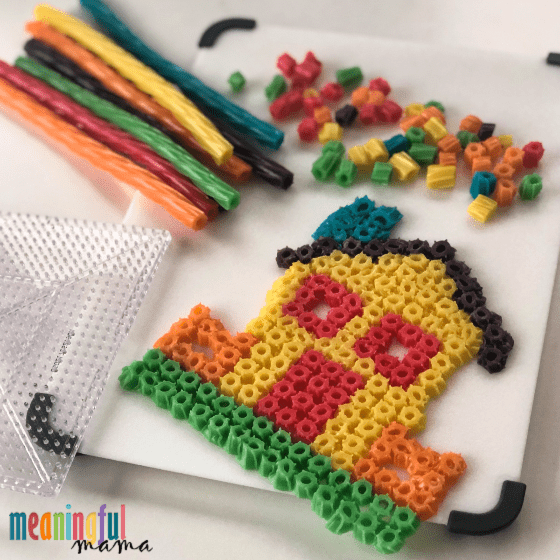
- Cut rainbow Twizzlers to bead size. The more consistent you can get them the better, but you don’t have to be OCD about this. We cut them between 1/4-1/2″.
- Begin making your design. You have a couple options here. The Twizzlers are not the exact same size as real Perler Beads. Therefore, they don’t fit exactly on the boards. That didn’t stop us. You can make it work and hit the general idea rather than having a Twizzler bead on each piece. Alternatively, do away with the bead board all together and just design on top of a cutting board or other hard surface. Another option, if you want to use the Perler Bead patterns, is to create directly on the pattern – making the design close enough to get the idea across. Having kids use their imagination and just create whatever is in their mind might be ideal for some. Others will have much more fun following a pattern, so meet their learning style and unique personality to make the experience enjoyable for all. Those type A and type B personalities out their are going to enjoy a different process. Embrace it.
- Once the design is created, cover it with parchment paper. Don’t miss this part, or you will end up with one sticky iron.
- Iron the parchment paper. I kept the iron on level 4. You know your kids. Should you be handing your 4 year old an iron? Probably not. Older and more responsible kids can learn to do this on their own. Parent supervision is never a bad thing. Iron until all pieces look like they are touching and melted together. This takes a peeling back of the parchment paper to keep an eye on things.
- Once ironed together, allow your masterpiece to cool completely before handling your design. Once handled, you can pull the design away from the board and flip it. I think the side that isn’t ironed provides the prettier result.
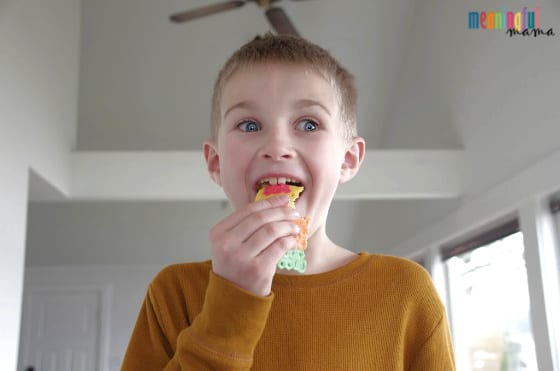
- Enjoy your designs…by both looking at and then consuming.
If your kids are anything like mine, the consuming bit will be eagerly anticipated. Their designs won’t last long. That’s all part of the fun.
Kids can make simple shapes like the heart my daughter made. They can also make more intricate designs like the house we made together.
Budding artists might come up with some super cool design work of their own. I’d love to get Facebook or Instagram tags showing the designs your kids made.
Want More Fun Edible Ideas for Kids?
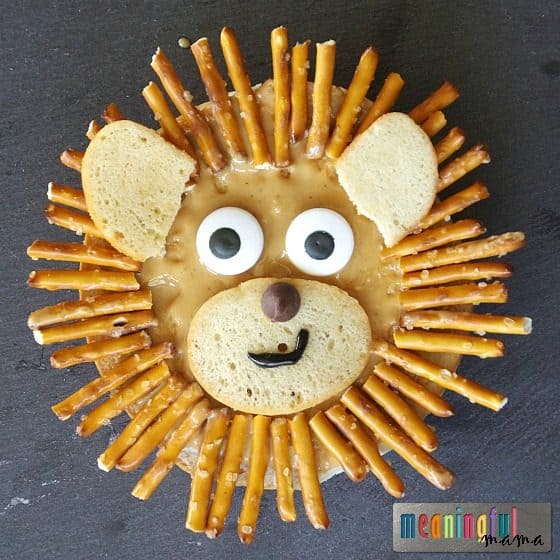
Bagel Animal Faces – This is one of many designs.
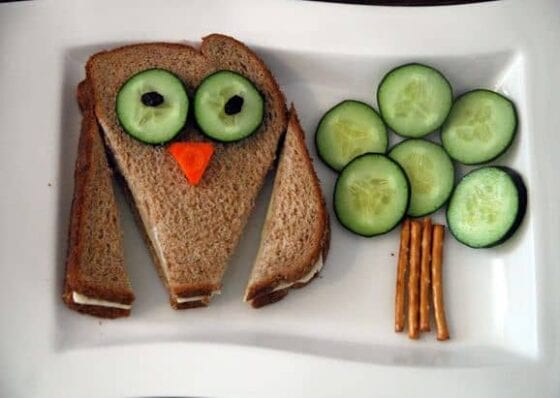
Fun with Food – One of my first posts. Don’t mind the picture quality.


