
This back-to-school bus craft is a great way to celebrate kids entering a new school year. Adding fun pictures to this homemade school bus captures precious childhood moments at specific age levels.
Want another great craft for kids? Check out this fun snake craft.
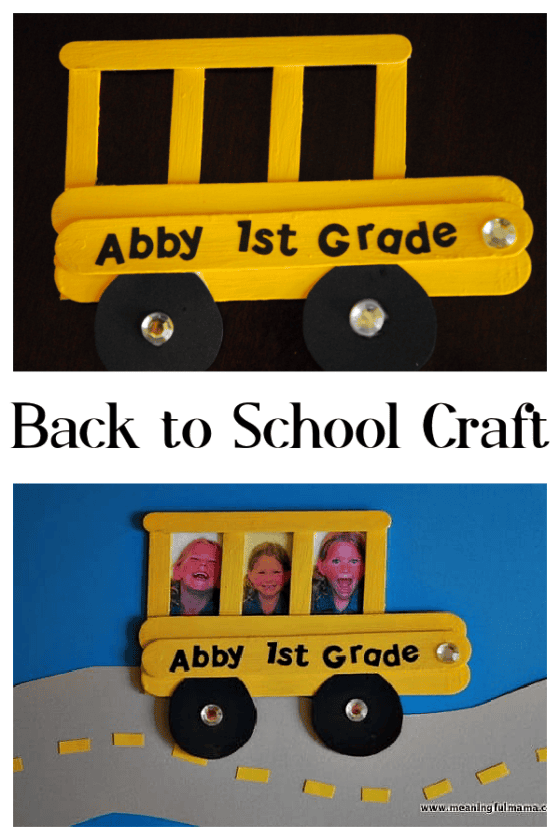
Back-to-School School Bus Craft
 School start is quickly approaching. This fun school bus craft made with popsicle sticks is the perfect thing to get your child excited about returning to school or riding the school bus for the first time.
Are you ready for the tutorial so you can make this back-to-school craft with your kids?
Materials Needed to Make This Back-to-School Bus Craft
Note: The following contains Amazon affiliate links. Anything you purchase through these links goes to support the free resources I provide here at Meaningful Mama. Thanks for your support.
- 3 Jumbo Popsicle Sticks
- 5 Popsicle Sticks
- Scissors
- Yellow Paint
- Sponge or Foam Paint Brush
- White Glue
- Black Stock Paper
- Gem Stickers
- 3/4″ Letter Stickers
How to Make a School Bus Out of Popsicle Sticks

Here are the different kinds of popsicle sticks you need. You’ll want three jumbo ones that are more like a tongue depressor. You will then want 5 normal-sized popsicle sticks, 4 of which are trimmed off slightly. I was able to cut the top off with just plain old adult scissors.
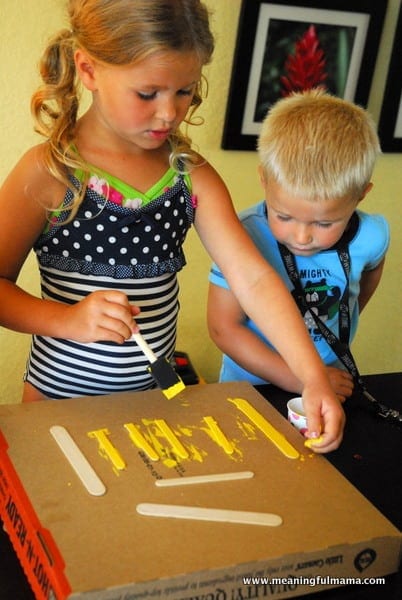
Once your popsicle sticks are all ready, your kids get to paint them yellow. I just used regular old craft paint.
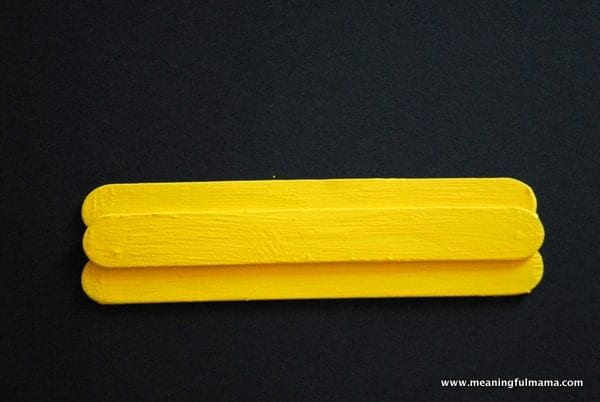
Once dry, your kids can use craft glue to glue the three bigger sticks as pictured above.
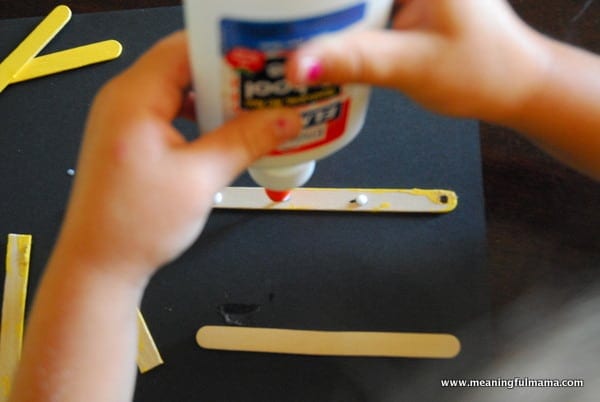
To show my kids where to place the glue on the longer (non-cut) popsicle stick, I drew 4 black dots, evenly dispersed on the stick. They were then able to add the glue dots where needed.
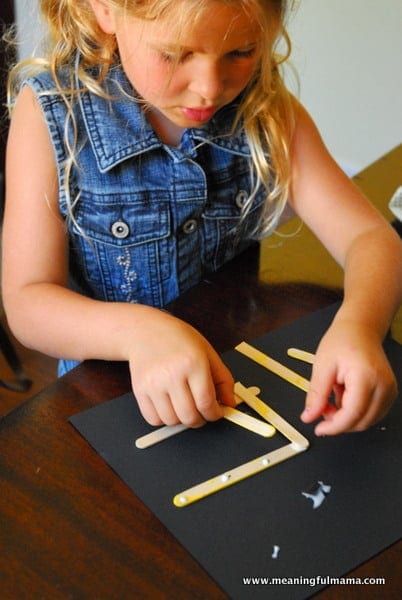
I put another popsicle stick across from the one with glue dots. Important: This one will not have glue on it. It is there just to have something to rest the shorter popsicle sticks on while they dry in place.
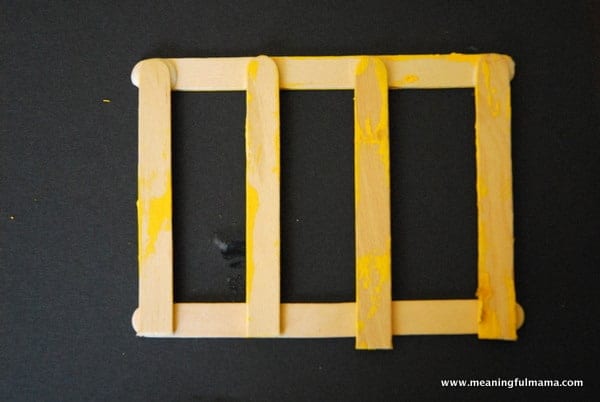
This is how the top of the bus looks as it is drying. Again, the bottom popsicle stick is not glued in place. It is just a resting stick to keep things level while it dries.
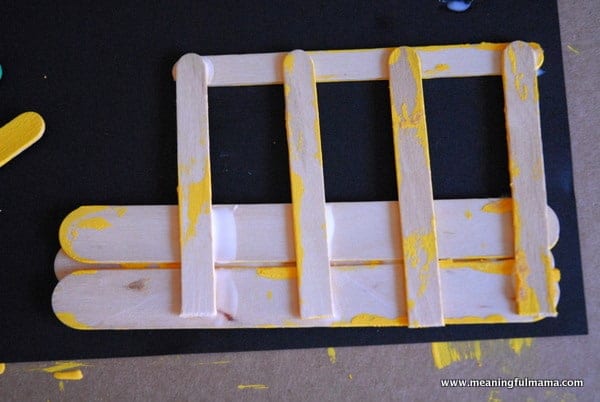
Once the top half and the bottom half of your bus are completely dry, you can glue them together as shown above. Abby was able to do all the gluing.
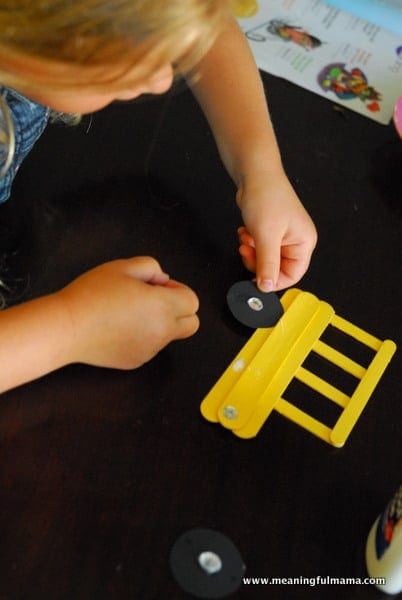
I cut out some black circles by tracing around a V8 lid onto black card stock. Have kids stick on some jewel stickers to the center of the tires. Have kids glue the tires onto the bus. A gem sticker can be added for a headlight. You can use buttons, beads, paper, or anything you have on hand.
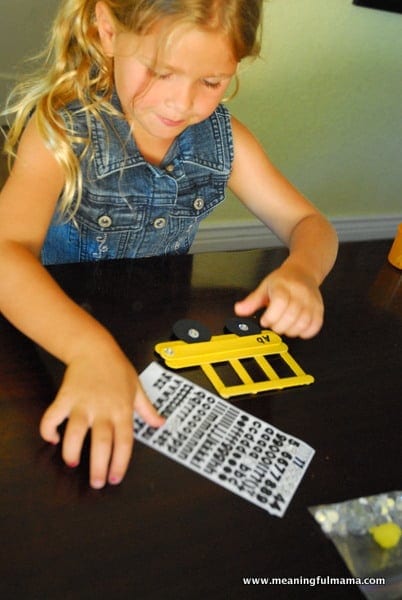
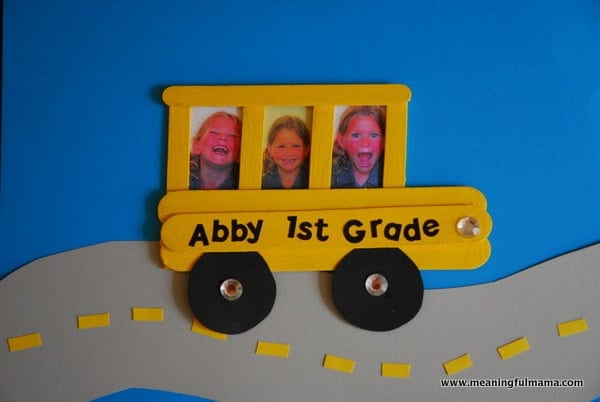
The next step was adding stickers onto the bus. I chose to write her name and grade. Finally, we printed out photos the size of the bus windows and glued them in place.
Note: This post was originally written in 2013. It was recently updated for clarity and quality.
Want More Fun Back-to-School Ideas?
15 Back-to-School Organization Ideas





I’m adding this to the top of our crafty to-do list – love it!
I’m so glad you love this. It is just one of those happy crafts, isn’t it?
How cute is this?? Love it!!
Thanks so much, Meegan!
This is adorable!!
Thank you so much!
this is a wonderful back to school craft. thanks for sharing. Sharon popping by from WFMW
Thanks so much, Sharon. We had a lot of fun with this one!