This fire fighter helmet cake idea might be the perfect cake design for the hero in your life.
As an amateur cake decorator, I feel like this is an achievable design for those beginning to work with fondant or more advanced decorators.
If you are one who loves to learn great tips and tricks, I think you’ll appreciate my Cake Making 101 and Cake Making 201 posts. I give a bunch of my best advice that will help provide both the bake and the finish you desire.
Firefighter Helmet Cake Idea
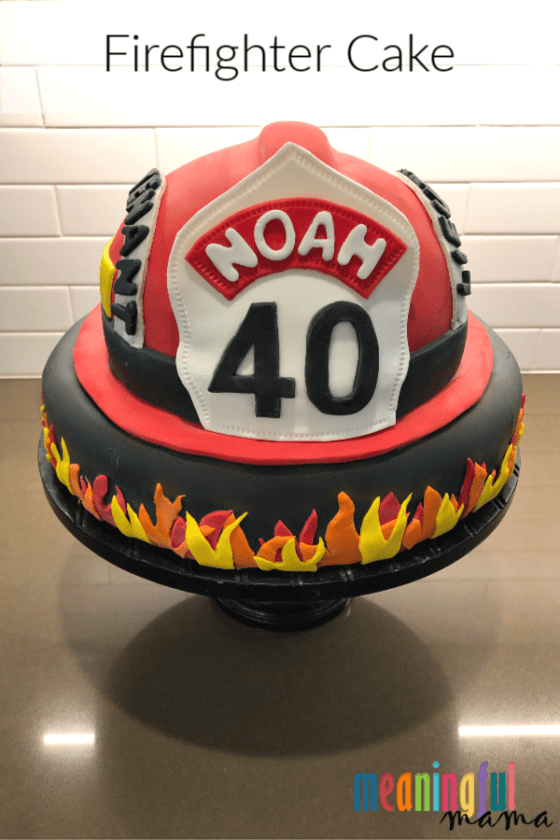
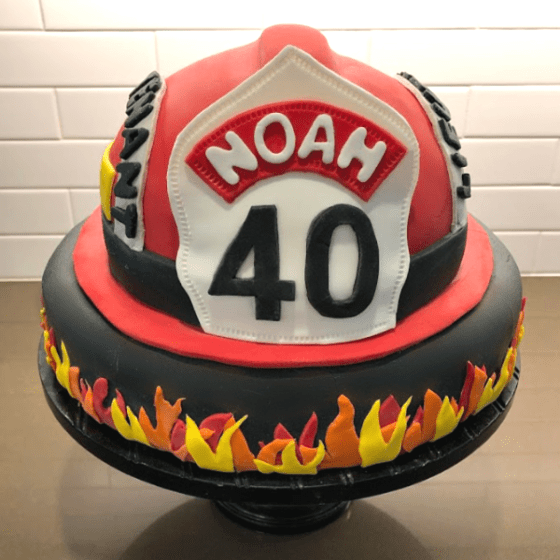
This firefighter cake was made for my good friend, Noah. His wife hosted a wonderful 40th birthday party for him. I volunteered to make the cake.
Noah’s wife provided photos of his firefighter helmet so that the cake became a replica.
He was so excited about the design, which reflected the design of his Lieutenant fire helmet. Even the stitching around the front shield creates a more authentic feel.
Materials Needed to make this Firefighter Helmet Cake Idea
- 10 inch cake pan
- 8 inch oven safe glass bowl
- 8 inch cake pan
- 2 – 10 inch round cake boards
- Black Fondant
- Red Fondant
- White Fondant
- Yellow Fondant
- Orange Fondant
- Small Letter Cookie Cutters
- Cake Quilting Modeling Tool
- Black Cake Stand
- Pizza Cutter
- Silver Luster Dust
- Vodka (for silver luster dust)
Note about fondant: You can now buy fondant pre-mixed in a variety of colors. When working with large amounts of fondant for covering larger surfaces, I like to buy pre-mixed fondant to save on time and effort. For smaller amounts, I mostly still mix my own using white fondant and gel food coloring. When black fondant is needed, definitely buy pre-mixed. it is impossible to get a pure black when starting with white. Everything turns out purple and takes loads and loads of food coloring. Before pre-mixed was an option, I would buy chocolate fondant and turn it black using food coloring .
How to Make this Firefighter Helmet Cake Idea
Make your cakes. Need great recipes? I have some go-to recipes that won’t disappoint: White Velvet Cake, Lemon Chiffon Sponge Cake, Perfect Red Velvet Cake, Chocolate Cake and My Favorite Buttercream.
Once you have baked a 10 inch cake, short 8 inch cake and an 8 inch bowl cake, using my Cake Making 101 post you’re ready to get started.
Part of the process of preparing cakes is cutting a layer off the top to make a nice flat surface. Normally this layer would be picked at and eaten by you and/or any minions you have in the home. This time don’t allow it…at least not yet. you will need a strip of it to create the top ridge of the fire helmet.
The bottom tier will be covered in black fondant. I hope you learned some great fondant tips in my Cake Making 201 post. This bottom, black tier is decorated with some hand cut flames, which I layered all around the base of the cake.
When attaching fondant pieces, you want to adhere by adding a very little bit of water to the back of the fondant with a clean paint brush. Then, stick the pieces in place. Warning: Too much water and the color will run.
The top rounded bowl cake will be stacked on top of the 8 inch round and short (about 3 inches) cake with buttercream or filling in between the two.
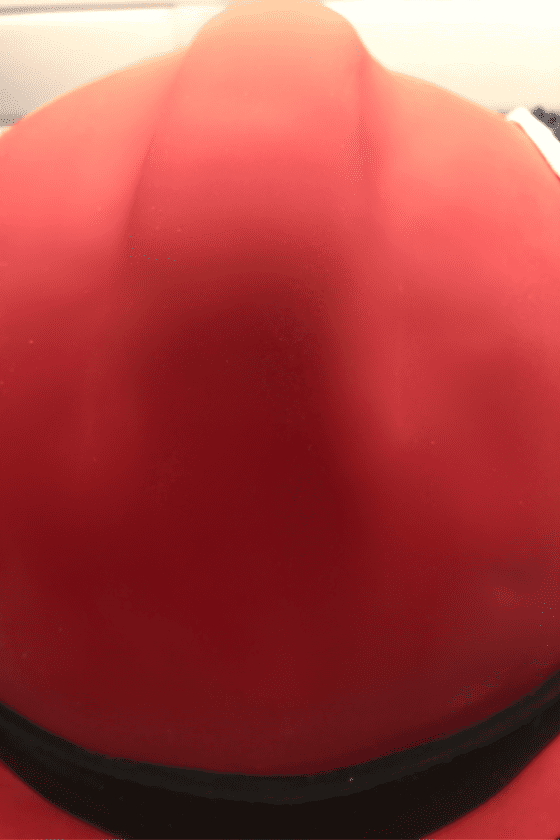
Remember those top layers of the cake you saved before? Cut out a strip and place down the center to create a raised ridge over the rounded top.
This tier will then be covered in the red fondant.
Using one of the 10 inch cardboard rounds, cut the brim of the hat. It is basically shaped into a long oval. This also needs to be covered in red fondant. Place the red rounded cake piece toward the front of the oval base brim.
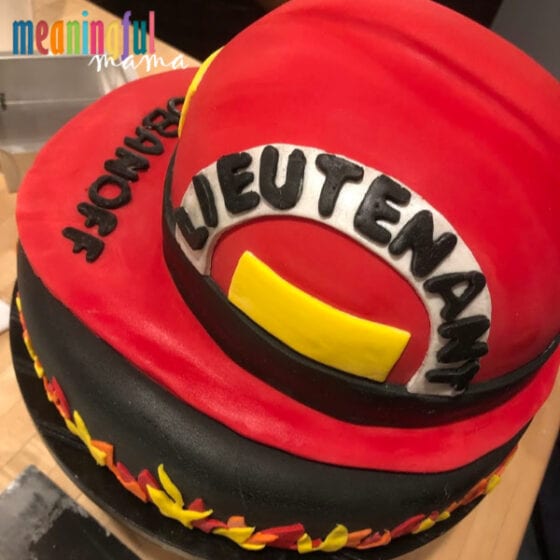
The next step is to cut out a strip of black fondant to go around the base of the top tier. Roll out a long piece of black fondant, lay down a yard stick and use your pizza cutter to roll along both sides of the yard stick to create your strip.
On the back of the helmet brim you will put the last name of the recipient by cutting out black fondant in small letters.
The back and the sides have a yellow rectangle attached on the top edge of the black strip.
Using two bowls as a template, create the rounded rainbow-like strip that will feature the word “lieutenant” or any other appropriate title. Attach these rainbow-shaped pieces to both side of the helmet.
Paint the white rainbow-like strips with the silver luster dust. The trick is to dip your clean paintbrush in vodka and then in a bit of luster dust you have set aside. Next paint it onto the strip.
Cut out letters and put them in place.
Almost done!
The final step is to make the front badge. To get the right shape, I found an image of a badge on Google. I’m sorry that I forgot to write down the dimensions I used, but you will want the front badge to be about the same height as the top part of the helmet.
Cut around the template onto white fondant and smooth around the edges with your finger.
Next, use your cake quilting modeling tool to make stitch marks around the edge. You can hand-cut the numbers, use a number cookie cutter or make a template to cut out the age or badge number of your recipient.
I used two small bowls as the template to cute out the red rainbow-like strip and then attached the cut-out, white fondant letters on top.
You’re done. The firefighter in your life is going to love it. To all the firefighters out there, thanks for your bravery and for the risks you take to save lives. You make a difference!
Want to See More Fun Cakes?
If you are like me and just enjoy looking at cake designs, please visit my cake tab. In the mean time, here are a few teasers:
